
Note: This job will require a valve spring extractor. When assembling, use new valve stem seals.
Disassembly
1. After removing the cylinder head as described in Chapter 21, clean its outer surface from dirt.
2. Remove the thermostat housing, and on models 1.4 and 1.6 liters, the thermostat itself, as described in Section 3. Remove collectors as described in Section 4A, 4B or 4C. Remove the spark plugs if you haven't already.
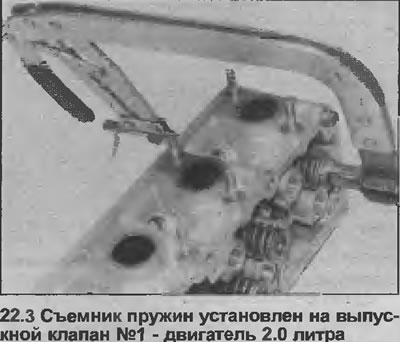
3. Install a puller to remove the valve. Check that the tool levers are securely seated in the valve head and spring seat (see illustration).
4. Compress the valve spring to relieve the support pressure on the valve cotters.
5. Remove the two valve cotters, then slowly release the compressor.
6. Remove the spring seat, spring, valve stem seal and second spring seat, then remove the valve.
7. Repeat the procedure for the remaining valves, fold all components in order so that they can be installed in their places (see illustration).

8. Check the condition of the cylinder head and valves as described in Chapter 23.
Assembly
9. After cleaning all the components, start the assembly as follows.
10. Starting at one end of the cylinder head, install the valve components as follows.
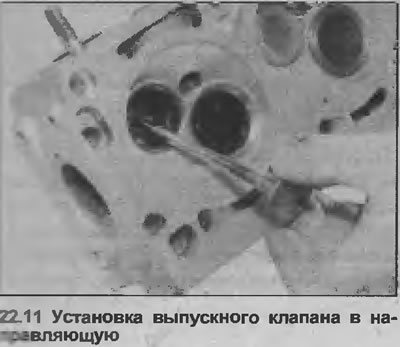
11. Insert the valve into the guide, lubricate the valve stem well with clean oil (see illustration). Please note that old components must be installed in their places.
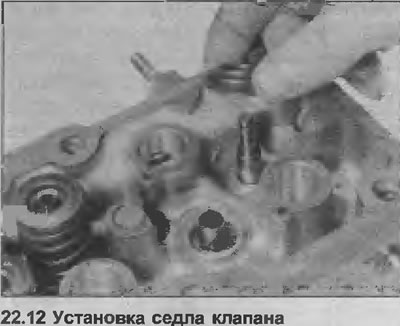
12. Install the spring seat (see illustration).
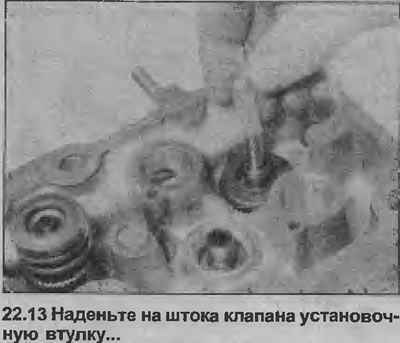
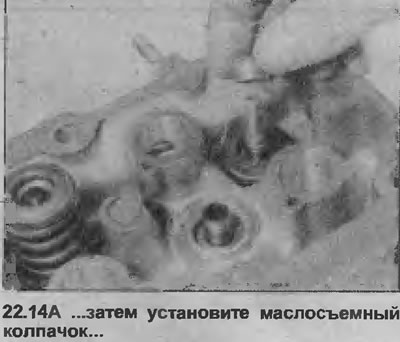
13. New valve stem seals are fitted with a locating sleeve that wraps around the keyway in the stem to prevent damage to the stem seal as it travels down the stem (see illustration). If there is no bushing, wrap the top of the valve stem with masking tape.
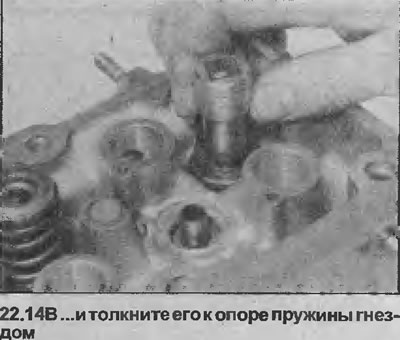
14. Push the valve stem seal down the stem using a tube until it is fully seated against the spring seat (see illustrations). Remove the bushing or tape from the valve stem.
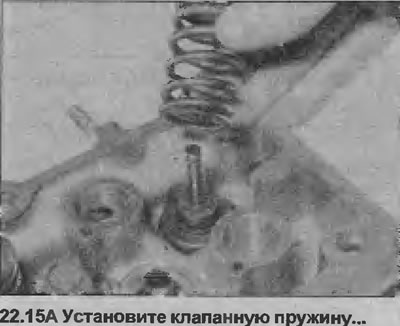
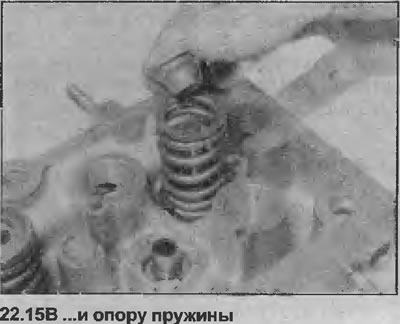
15. Install the valve spring and support (see illustrations).
16. Install the spring extractor, compress the spring until a cracker groove emerges from the support.
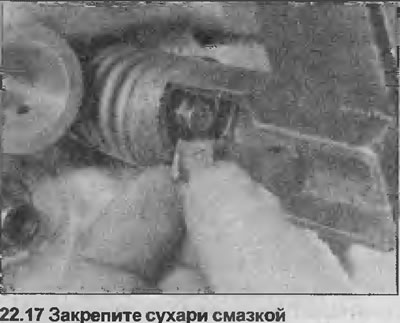
17. Apply a little grease to the cotter groove, then install the cotters, narrow ends against the spring (see illustration). The grease should keep them in the groove.
18. Slowly release the compressor, making sure that the crackers are not displaced in the groove. When the compressor is completely free, hit the top of the valve assembly with a mallet to settle the components.
19. Repeat the procedure for the remaining valves. When doing this, make sure that all components are installed in their original positions.
20. Where necessary, install manifolds as described in Section 4A, 4B or 4C, and/or thermostat and shroud as described in Section 3. Install spark plugs if required.
21. Install the cylinder head as described in Chapter 21.
Visitor comments