
Removing
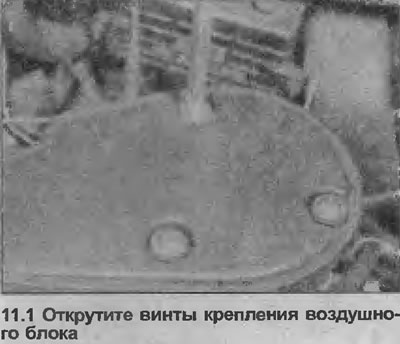
1. On early models, remove the air filter. On late models, disconnect the main air line from the air filter, then disconnect the vacuum pipe and breather hose from the air unit. Unscrew the three fastening screws, remove the air unit together with the main air duct (see illustration).
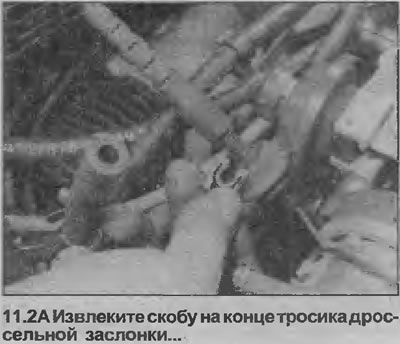
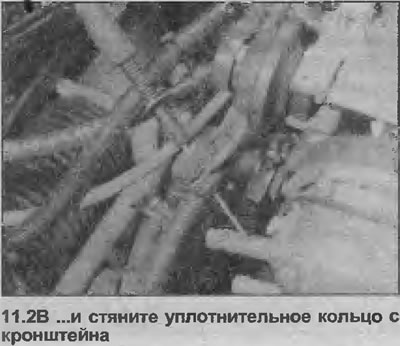
2. Remove the clip at the end of the cable attached to the bracket on the carburetor, then pull the o-ring off the bracket (see illustrations).
3. Pull the end of the cable from the throttle lever on the carburetor.
4. Working in the cabin, remove the lower trim panel in the driver's footwell
5. Pull the cable support from the bracket on the top of the pedal, disconnect the end of the cable from the pedal.
6. Remove the cable through the bulkhead into the engine compartment.
Installation
7. Install in reverse order, paying attention to the following.
8. Make sure the cable is properly routed as noted prior to removal.
9. Make sure the o-ring is correctly seated in the baffle hole.
Adjustment
10. Finally, check that the throttle mechanism works correctly and, if necessary, adjust the cable as described in the following paragraphs.
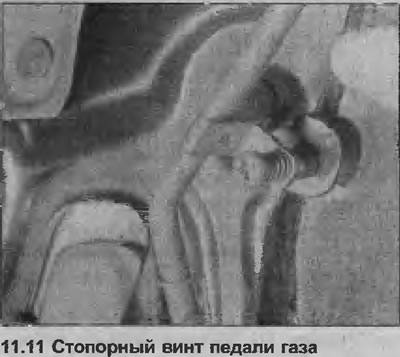
11. There are two cable adjustment points. Locking screw on the pedal arm to adjust the position of the fully released pedal stop (see illustration). The bracket on the threaded part of the cable sheath in the bracket on the carburetor is designed to adjust the cable slack.
12. The cable must be adjusted so that when the gas pedal is released, there is a slight slack in the cable on the side of the carburetor.
13. Check that the throttle is fully open when the gas pedal is fully depressed. Adjustment is carried out by shifting the bracket on the cable sheath, and the pedal limiter locking screw.
Visitor comments