
2. Unscrew the 2 fixing screws of the console, set the gear lever to the position "R" and remove the console.
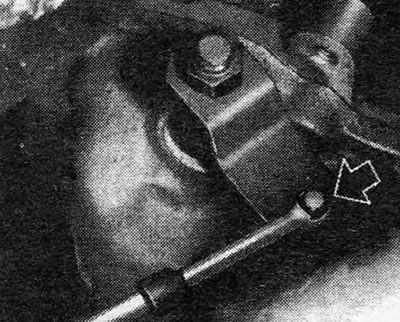
3. Moving to the gearbox, disconnect the cable by removing the mounting clip "A" and unscrewing the cable from the support "IN" (see Fig.6.47).
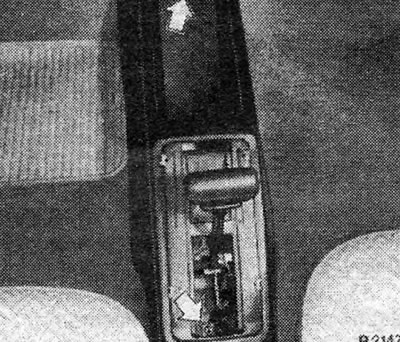
4. Going into the cabin, disconnect the cable from the gear shift lever.
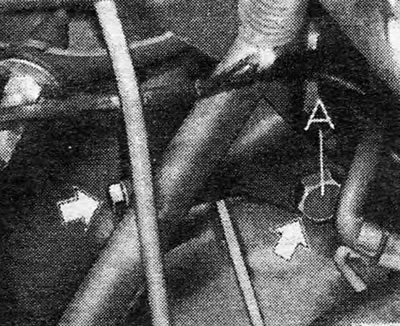
5. Pull the cable out of the clamp "A" and then loosen and remove the coupling "IN" (see Fig.6.48).
6. Pull the cable into the engine compartment and remove it.
7. Installation of a new cable is carried out in the reverse order. Please note the following points. Check that the rubber bushing through which the cable passes is firmly seated on the engine compartment bulkhead. Install the cable into the coupling so that it is not tensioned. When connecting the cable, the gear shift lever must be in the position "R".
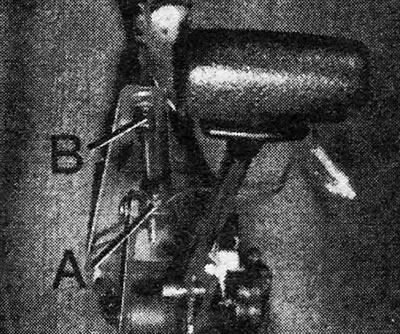
8. With someone’s help, check that when the gear lever is in each position, the lever on the gearbox is correctly inserted into the corresponding lock (is felt) and was not under voltage. If necessary, adjust the cable at the point "A" next to the gear lever (see Fig.6.48).
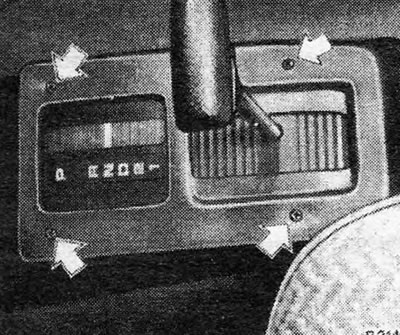
Pic. 6.45. Shift Lever Cover Screws (shown by arrows)
Pic. 6.46. Center console mounting screws (shown by arrow)
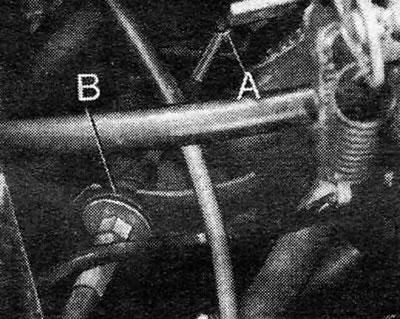
Pic. 6.47. Mounting clip "A" and support "IN" gear lever cable
Pic. 6.48. Place of connection of the cable to the gear shift lever: A. Clamp; B. Coupling.
Pic. 6.49. Place of connection of the cable to the gearbox (shown by arrow)
Pic. 6.50. Gear lever cable support bracket bolts. Bolt "A" also serves as one of the bolts securing the torque converter housing to the engine
Visitor comments