
Note: After completing the adjustment, secure the hub nut with a new cotter pin.
1. Where applicable, remove the cap, then loosen the rear wheel bolts. Block the front wheels, then jack up and support the rear of the vehicle on axle stands. Remove the wheel.
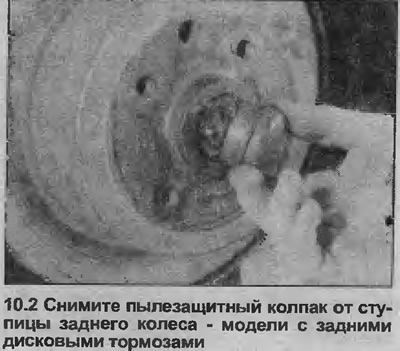
2. Remove, using a screwdriver as a lever, the dust cap of the hub (see illustration).
3. Remove the cotter pin from the end of the stub axle, then loosen the hub nut.
4. Tighten the hub nut with a tightening torque of 25 Nm while rotating the hub.
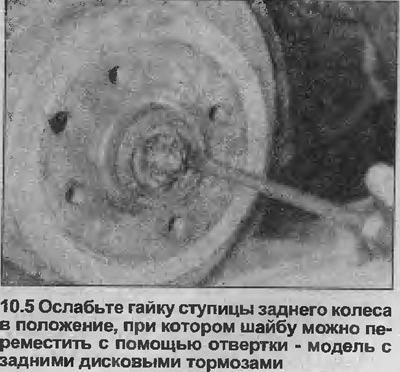
5. Gradually loosen the hub nut until the washer under the nut can be displaced with a screwdriver (do not use a screwdriver as a lever) (see illustration).
6. If the cotter pin hole in the stub axle is not aligned with the slots in the hub nut, tighten the nut to align its nearest slot with the hole. Then check that the washer can still move as described in step 5. If the washer does not move, loosen the nut until its adjacent slots line up with the cotter pin hole.
7. Secure the hub nut using a new cotter pin, then install the hub dust cap.
8. Install the wheel and lower the vehicle to the ground. Finally tighten the wheel bolts and, where applicable, install the cap.
Visitor comments