
Note: The nuts holding the anti-roll bar to the lower arm must be replaced upon installation.
Removing
1. Support the engine and raise the car as described in steps 2 and 3 Chapters 3.
2. If required, remove the front exhaust box as described in Section 4C.
3. Working under the vehicle, loosen and remove the lock nuts securing the ends of the anti-roll bar to the lower control arms. Remove concave washers and rubber pads.
4. Make sure the engine is supported securely, then loosen and remove the two nuts and washers securing the rear transmission motor mount to the subframe.
5. Support the sub-frame with a jack, laying a piece of board between them.
6. Unscrew and remove the two rear and two central bolts securing the subframe to the bottom of the vehicle. Note that the rear bolts also attach the lower arms to the subframe. The bolts are very tight, you will probably need an extended rod to loosen them.
7. Loosen but do not remove the two bolts securing the subframe to the bottom.
8. Gently lower the subframe just enough to access the stabilizer bar to subframe bolts, then loosen and remove the bolts.
9. Separate the anti-roll bar from the sub-frame and lower arms and remove it from under the vehicle.
Installation
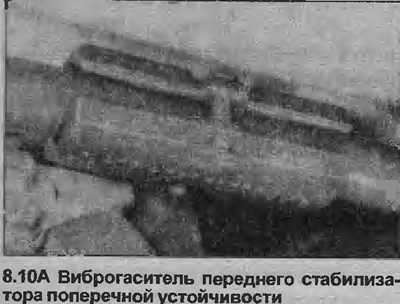
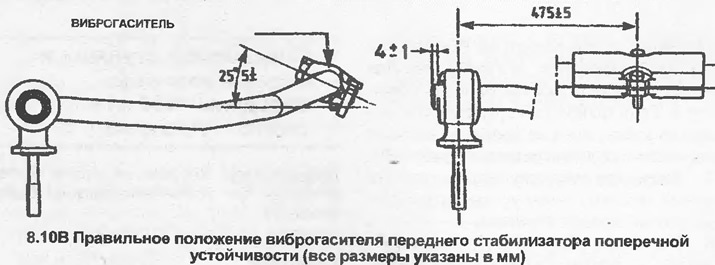
10. Please note that on some models a vibration damper is attached to the center of the anti-roll bar (see illustration). If the stabilizer needs to be replaced, rearrange the vibration damper (where applicable) on the new component to the position shown (see illustration).
11. If required, the mounting bushings of the anti-roll bar can be replaced (Chapter 9).
12. Install in reverse order, paying attention to the following.
13. Connect the ends of the anti-roll bar to the lower arms, remembering that the concave washers holding the rubber pads must be installed with the concave side towards the lower arm.
14. Tighten the nuts securing the stabilizer to the lower arm so that the regulated compression of the rubber bushing is achieved as described in paragraph 16 Chapters 5. If necessary, replace rubber bushings.
15. Tighten all nuts and bolts with the specified tightening torque specifications, bearing in mind that the rear bolts of the underframe to the bottom must be tightened in stages (see specs).
16. Once removed, install the front exhaust system as described in Section 4C.
17. Lower the vehicle onto the wheels, finally tighten the wheel bolts and, where applicable, install the cap.
Visitor comments