


Contents: Removal ⬇ Installation ⬇
The authors of this Manual recommend that all threaded fasteners be replaced without fail.
Removal
1. Remove the front subframe (see Removal and installation the front subframe).
2. Mark the installation position of the vertical stabilizer rods. Loosen the fastening nuts and disconnect the rods from the stabilizer bar - when loosening the nuts, hold the rod pivot pin from turning with a second key by the specially provided flats.
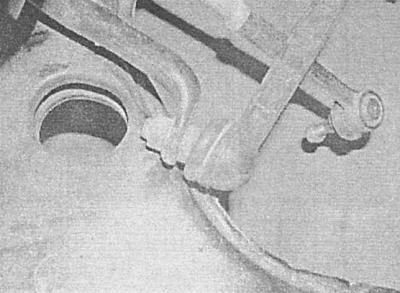
3. Unscrew the bolts securing the stabilizer bar clamps to the subframe.
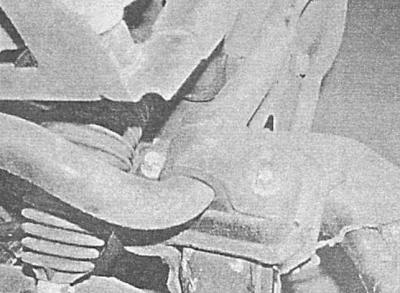
"Stuck" bolts can be cut off and then the remains drilled out - during assembly you will have to use inserts (consult with car service specialists).
4. Remove the anti-roll bar from the subframe.
5. Remove the rubber bushings from the stabilizer bar - try to remember the installation position of the components.
6. Examine the condition of the stabilizer bar, its vertical rods and rubber bushings. Replace worn or damaged components.
Installation
Installation is performed in the reverse order of dismantling the components. Please note the following points.
Material taken from an internet portal: www.OpelBook.ru
1. Rubber bushings must be installed on the stabilizer bar with the split locks facing forward.
2. Ensure that all threaded fasteners are replaced and tightened to the required torque.
3. Install the front subframe in accordance with the instructions (see Removal and installation the front subframe).
Visitor comments