


Contents: Disassembly ⬇ Assembly ⬇
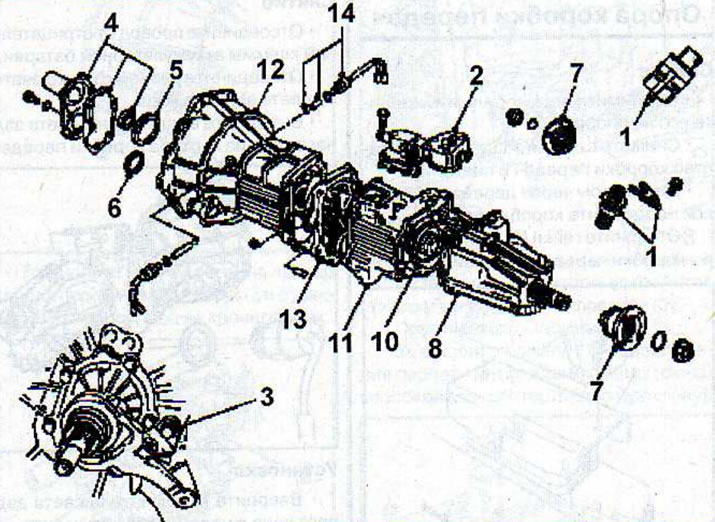
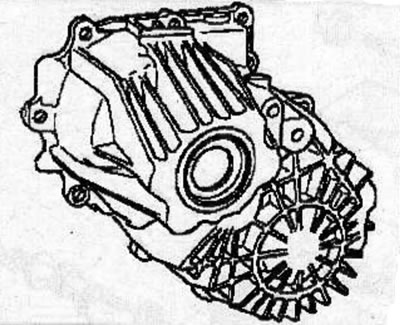
MUA5C gearbox: 1 - vehicle speed sensor and sensor driven gear; 2 - gear shift mechanism; 3 - bearing and clutch release fork; 4 - input shaft cover and gasket; 5 - input shaft bearing retaining ring; 6 - intermediate shaft bearing retaining ring; 7 - output shaft flange; 8 - rear cover of the transfer case; 9 - gear shift forks and rods; 10 - rear bearing and input gear of the main shaft; 11 - transfer case; 12 - Front gearbox housing; 13 - intermediate plate and gear shafts; 14 - neutral position switch (only cars with cruise control system)
Disassembly
Remove the gearbox assembly with the transfer case (see the relevant chapter).
Remove the drain plugs and drain the transmission oil from the gearbox housing and transfer case into a suitable container.
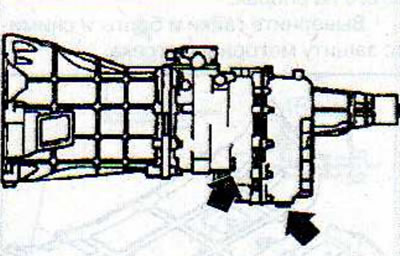
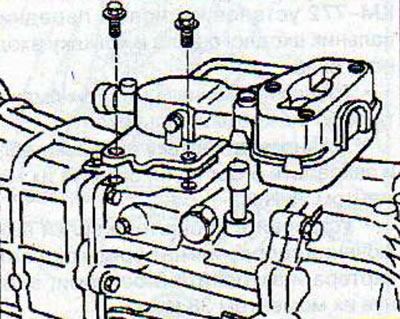
Remove the shift mechanism cover.
Remove the bearing and the clutch release fork.
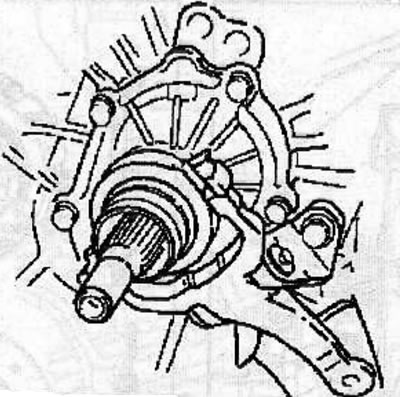
Unscrew 3 bolts and remove the clutch release fork bracket from the front of the crankcase (only pull type clutch).
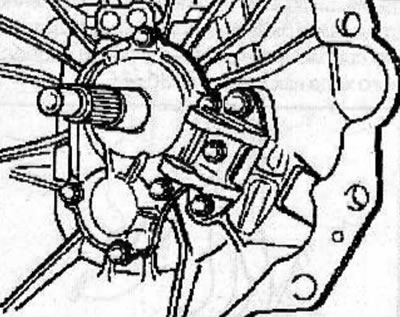
Remove 6 bolts and input shaft cover from front transmission housing.
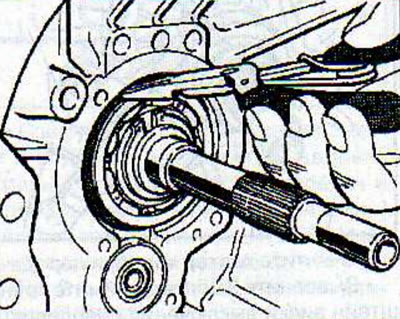
Remove the retaining rings securing the input and intermediate shaft bearings in the front gearbox housing.
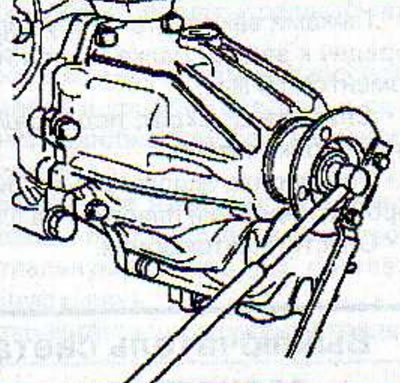
Using the special tool KM-468-A, remove the output flange from the rear driven shaft of the transfer case.
Remove the vehicle speed sensor and the sensor driven gear from the transfer case (see the relevant chapter).
Remove the 2WD/4WD shift actuator from the transfer case (see the relevant chapter).
Remove the bolts and remove the rear cover from the transfer case.
Remove the forks and rods from the transfer case (see the relevant chapter).
Remove the rear bearing, high/low synchronizer sleeve and input gear from the main shaft (see the relevant chapter).
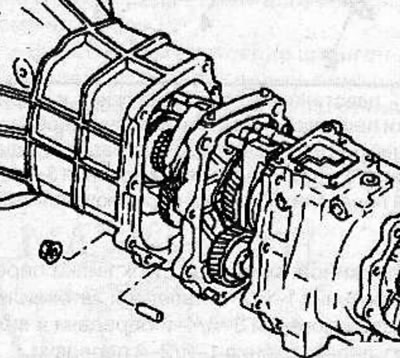
Remove the bolts and nuts and remove the front gearbox housing from the intermediate plate.
Assembly
Apply a thin layer of sealant to the mating surfaces of the transfer case housing and the front transmission housing.
Install the front transmission case and transfer case case onto the intermediate plate, being careful not to damage the oil seal in the transfer case. Pass the input shaft through the front gearbox housing so that the groove for mounting the bearing lock ring is accessible, then tighten the bolts and nuts to a torque of 37 Nm.
Install the rear bearing, high/low synchronizer sleeve and input gear onto the main shaft (see the relevant chapter).
Install the transfer case forks and rods (see the relevant chapter).
Apply a thin layer of sealant to the mating surfaces of the transfer case housing and rear case.
Make sure the tab (A) on the transfer case high/low shift block fits into the 4x2/4x4 shift block.
Install the synchronizer ring on the driven shaft.
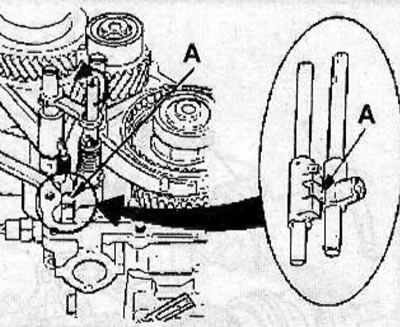
Move the rear case and make sure the synchronizer ring notches are aligned with the retainer keys on the hub, then move the shift rod into the D-shaped hole in the rear case.
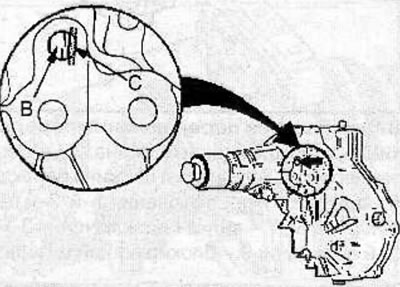
Clean the threaded holes for the rear cover mounting bolts, then apply a layer of sealant to the bolt threads.
Install the rear cover mounting bolts and tighten to 37 Nm.
Install the 2WD/4WD shift actuator to the transfer case.
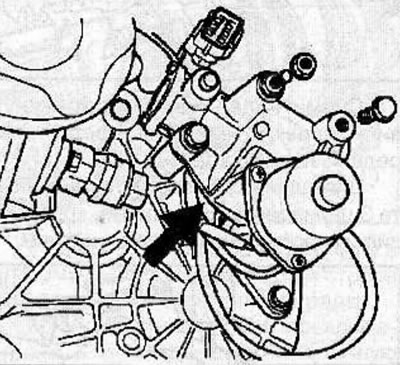
Install the vehicle speed sensor and the sensor driven gear into the transfer case and secure with the bolt (see the relevant chapter).
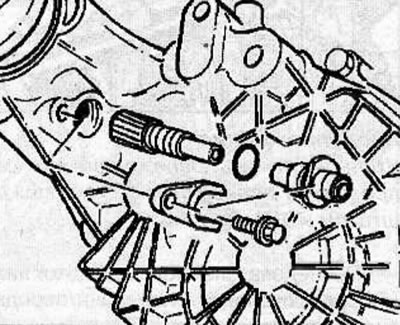
Install the reverse light switch with a new washer into the transmission housing (see the relevant chapter).
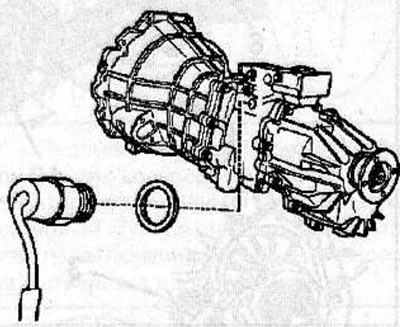
Install the shift housing with a new gasket.
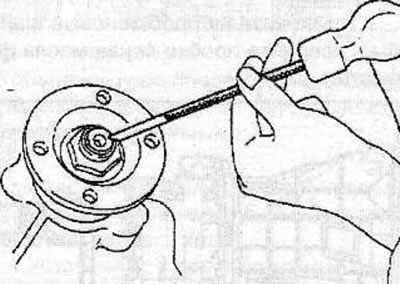
Using the special device KM-468-A, install the output flange on the rear driven shaft of the transfer case and secure it with a nut, tightening it to a torque of 167 N·m, then calk the nut in two places.
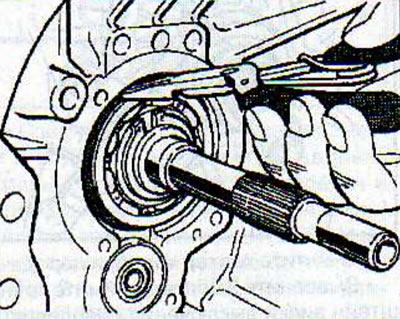
Install the snap rings securing the input and intermediate shaft bearings to the front gearbox housing.
Using a hammer and a tubular drift of the appropriate diameter, knock the front input shaft seal out of the input shaft cover, being careful not to damage the seal seat.
Clean the threaded holes for the input shaft cover mounting bolts.
Using the special tool KM-772, install the new front input shaft seal into the input shaft cover.
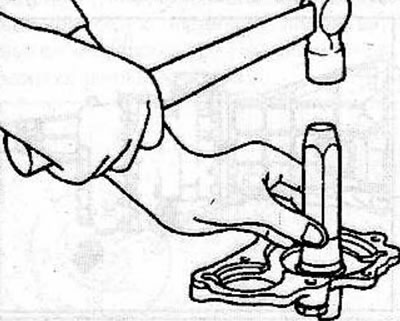
Lubricate the working lips of the oil seal with transmission oil.
Apply a bead of sealant to the threads of the input shaft cover mounting bolts.
Install the input shaft cover and secure with 6 bolts, tightening them to a torque of 25 N·m.
Install the pull type clutch release fork bracket to the front of the crankcase and secure with 3 bolts, tightening them to 38 N·m
Install the bearing and the clutch release fork (see the relevant chapter).
Install new washers on the plugs and screw the oil drain plugs back into place.
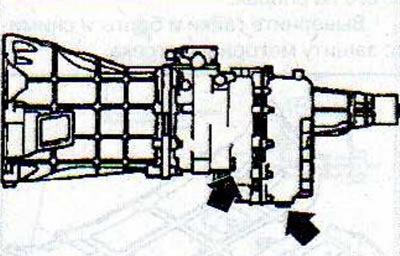
Pour the required amount of required oil through the oil level check plug holes until its level reaches the lower edge of the threaded hole.
Install the gearbox assembly with the transfer case (see the relevant chapter).
Visitor comments