


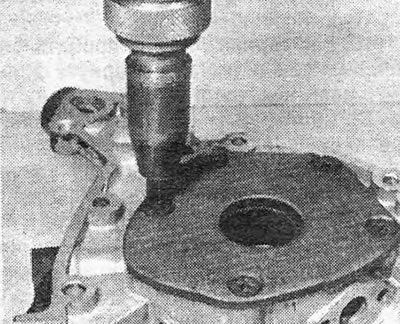
Photo 29.1. Removing the screws securing the rear cover of the oil pump.
2. Check the clearance between the teeth of the outer and inner gears and the axial clearance between the ends of the gears and the pump body (see photo).
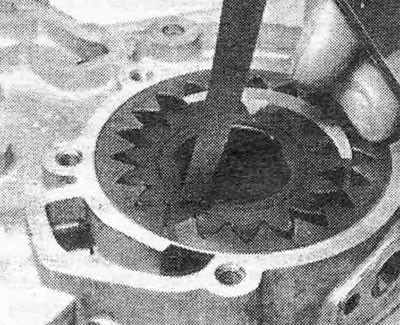
Photo 29.2A. Checking the clearance between the pump gear teeth.
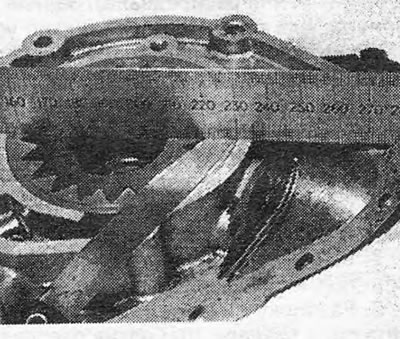
Photo 29.2B. Checking the clearance of the oil pump gears.
3. If any of the gaps are outside the permissible limits, the defective parts must be replaced. Please note that there is a special mark on the surface of the outer gear to facilitate its correct installation.
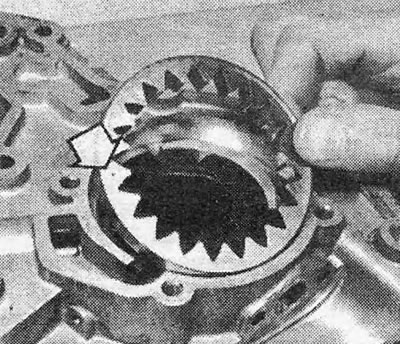
Photo 29.3. Timing mark on oil pump gear (shown by arrow).
4. You can unscrew the pressure regulator valve from the pump body and clean and inspect its parts (see photo).
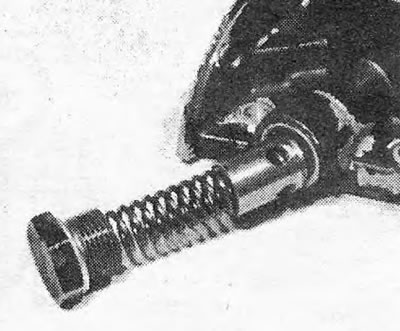
Photo 29.4. Oil pump pressure regulator valve (engine 1.3).
5. Please note that engines of different volumes have different valves. The copper washer of the valve on the 1.3 engine must be replaced during assembly.
b. Always replace the seal (you can use a socket wrench to replace it(see photo).
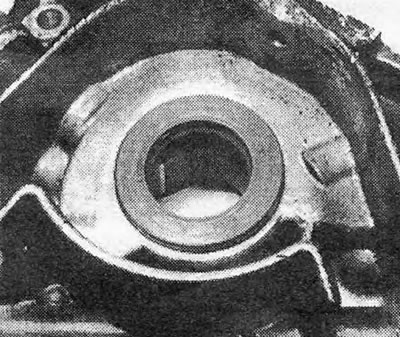
Photo 29.6. Oil pump seal.
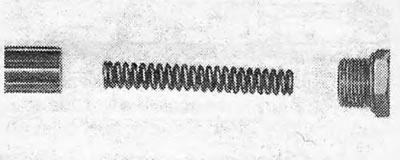
Figure 1.24. Pressure regulating valve - engine 1.6
Visitor comments