
2. Check the thickness of the friction linings of the pads (see photo).
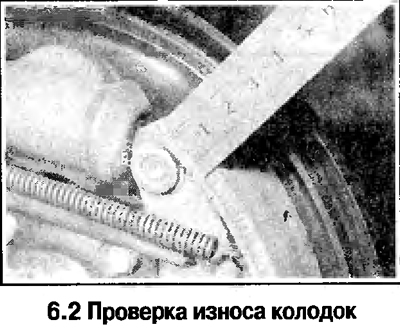
3. If the thickness of the friction lining of the pad is equal to or less than the limit, then replace the pads in the kit with the axle. The pads are also changed when they are oiled or unevenly worn.
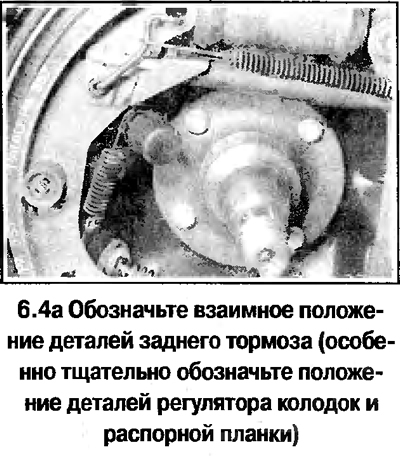
4. The further procedure for removing the pads is illustrated in the photo.
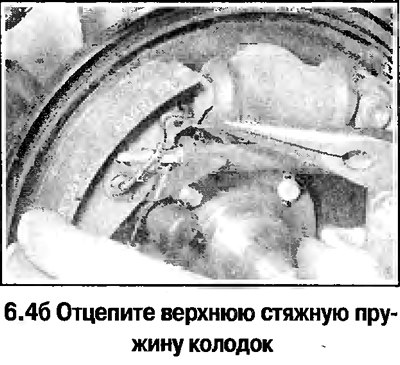
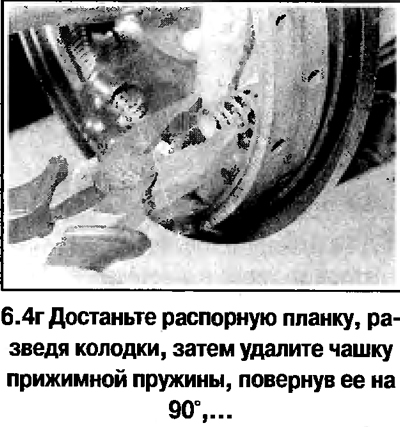

5. Remove the front, then the rear pads.
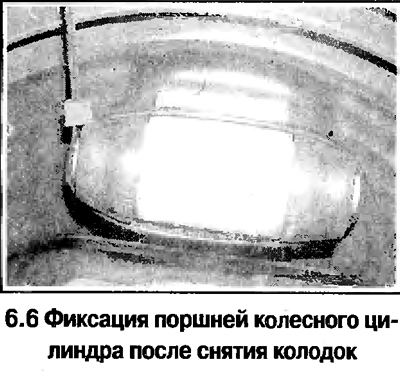
6. Fix the pistons of the wheel cylinder with a tie-down band (see photo).
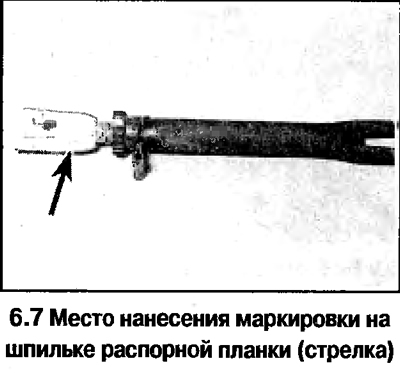
7. When disassembling the brakes of both wheels at the same time, it should be borne in mind that there are L and R markings on the brake regulator spacer, indicating respectively belonging to the left and right wheels, the rest of the parts are color-coded - for the left brake in black and for the right - silver (see photo).
8. Disassemble the regulator bar and clean. Lubricate the regulator parts with silicone grease.
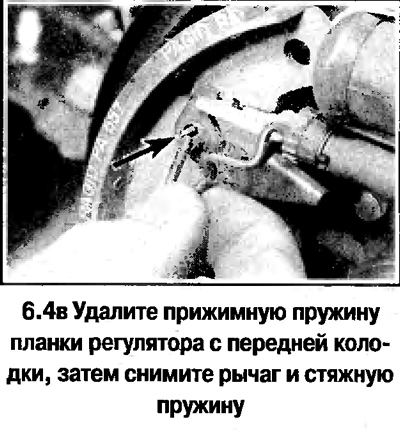
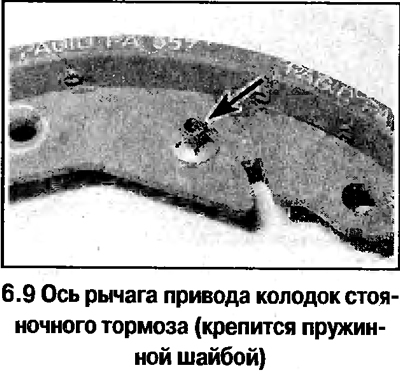
9. If the pads will be changed, then it should be borne in mind that on the part of the car, the pad drive lever is not supplied in spare parts along with the pads. In this case, it should be rearranged to new pads by removing the spring washer, or by drilling out the riveted axle (see photo).
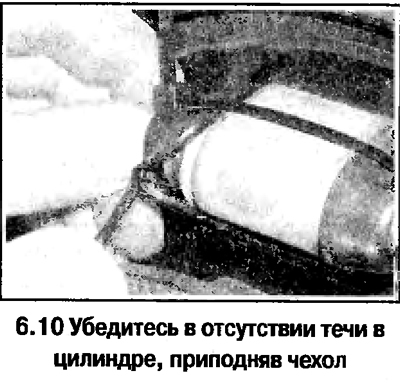
10. Check the condition of the rubber boots of the wheel cylinder. Lift the boot and check that there are no leaks in the cylinder (see photo). If necessary, disassemble the cylinder and replace the seals.
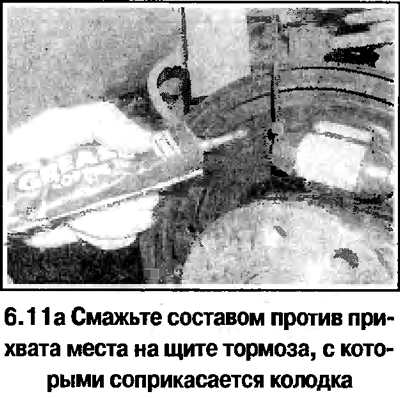
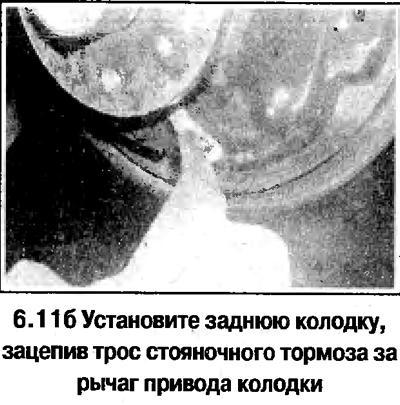
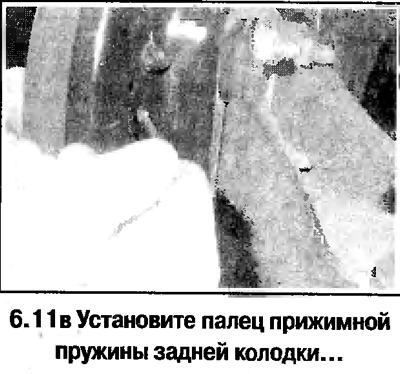
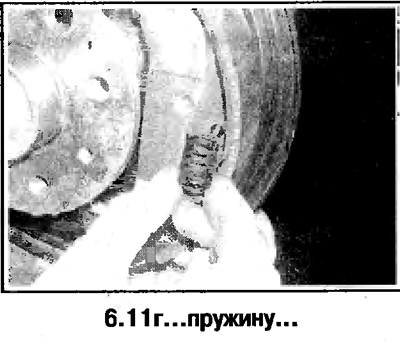
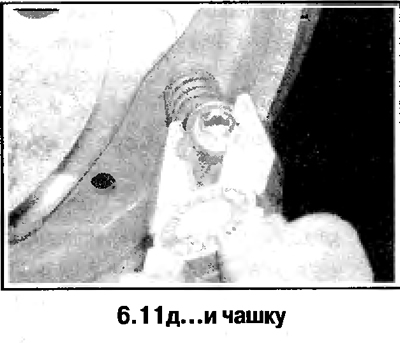
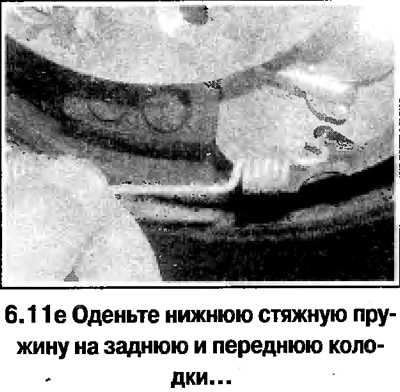
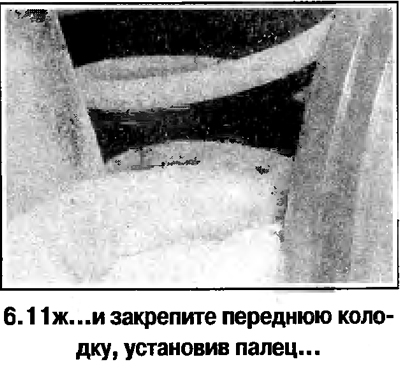
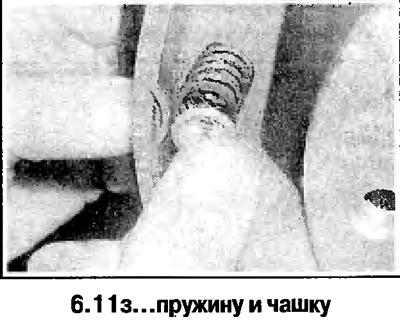
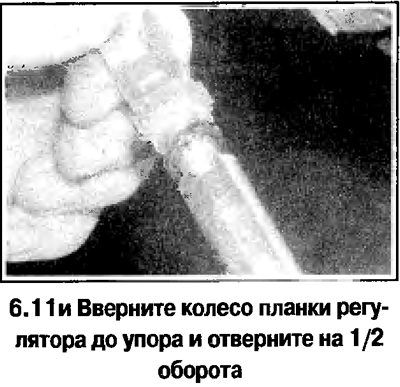
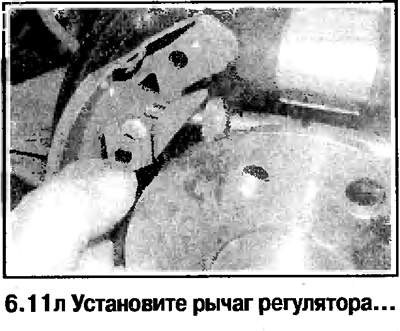
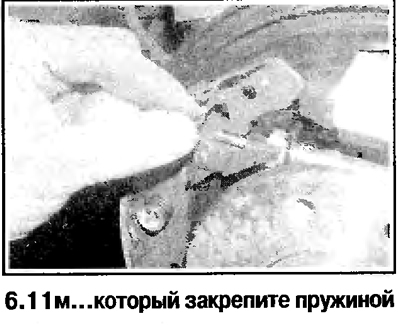
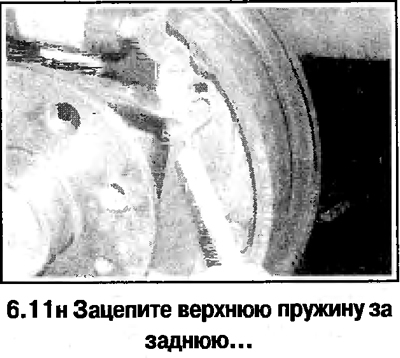
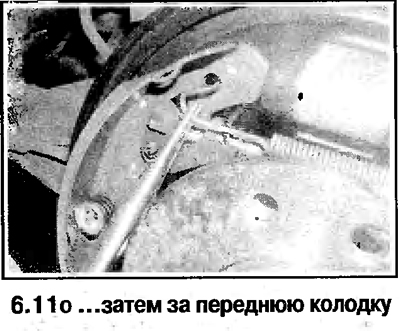
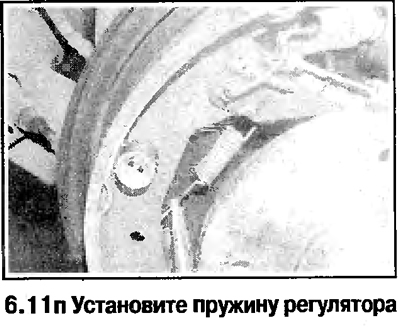
11. The procedure for assembling the rear drum brake is illustrated in the photo.

12. At the end of the assembly, put on the drum, after making sure that the thrust part of the shoe drive lever is located opposite the cheek of the shoe. If the pads have been changed, then spread them by pressing the brake pedal 20-25 times. When you press the pedal from the side of the brake drum, characteristic clicks should be heard, which indicates the normal operation of the shoe adjuster. Check fluid level. Adjust parking brake cable (see below).
Visitor comments