


Contents: Front brake discs ⬇ Rear brake discs ⬇
Attention! The disks are changed in pairs per axle.
1. Raise the vehicle and remove the wheel.
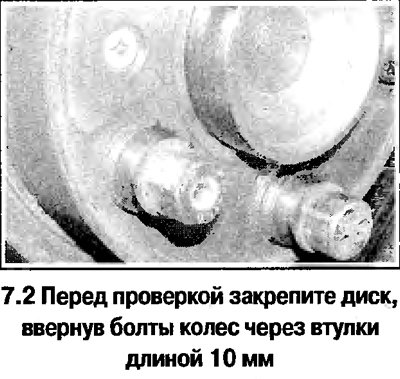
2. Screw the wheel bolts into the disk through 10 mm long bushings (see photo).
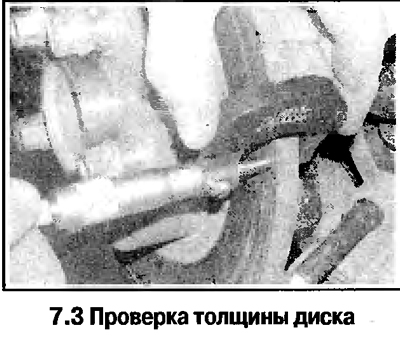
3. Slowly rotating the disc, check the condition of its surface, the presence of wear and damage. If necessary, remove the pads. Minor damage (scratches) in the area of contact between the discs and pads is allowed. If there is severe wear or cracks, replace the disc. Check the thickness of the disc (the maximum permissible thickness is stamped on the outer surface of the disc).
Source is on this resource opelbook
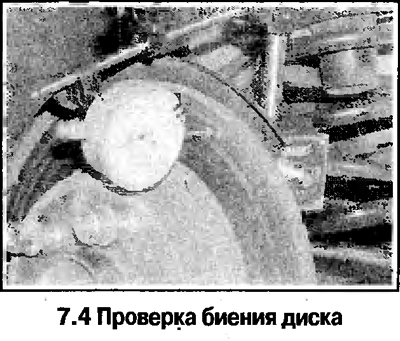
4. Check the disc runout (see photo), placing the indicator 10 mm from its edge.
5. If the runout of the rear brake disc exceeds the norm, check the adjustment of the hub bearing (Chapter 10).
6. If the front brake disc runout exceeds the norm, remove the disc and check the cleanliness of the adjacent surfaces of the disc and hub. If after cleaning and installing the disc the runout is still higher than the norm, replace the disc.
Front brake discs
7. Remove the temporarily installed bolts.
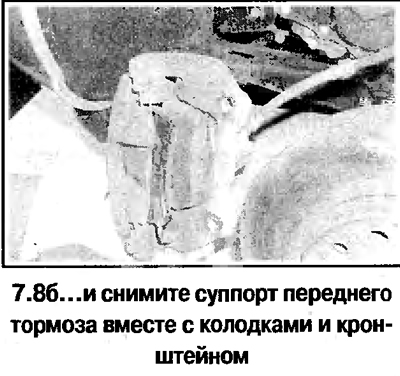
8. Remove the front brake caliper together with the pads and bracket, move the unit to the side and secure it (see photo)On 1.8L ABS models and all 2.0L models, remove the caliper bracket and disconnect the hose from the strut.
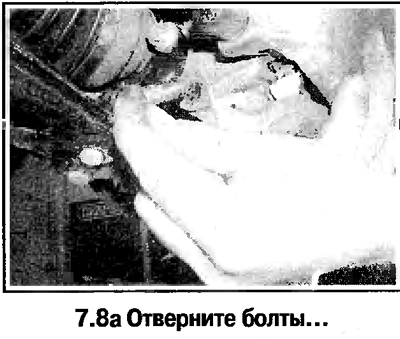
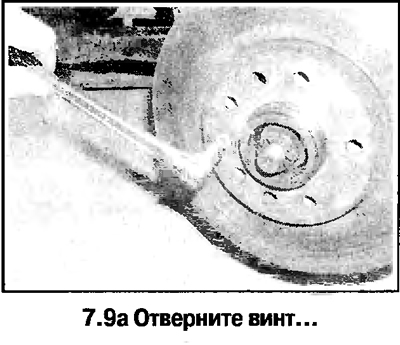
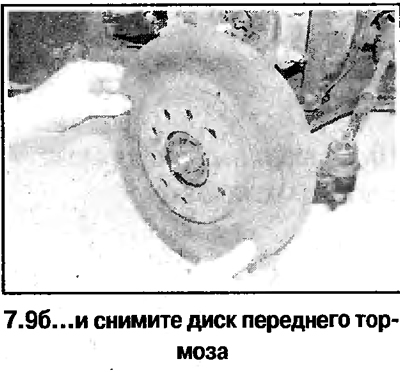
9. Loosen the screw and remove the disk (see photo).
10. Install the disk in the reverse order. Tighten the disk mounting screw with the fixing compound.
Rear brake discs
11. Remove the rear brake pads, move the caliper away from the upper hinge joint and secure it.
12. Loosen the bolts and remove the caliper bracket from the suspension arm.
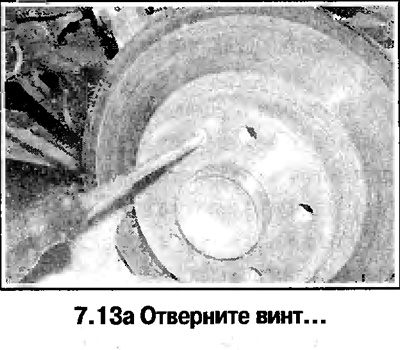
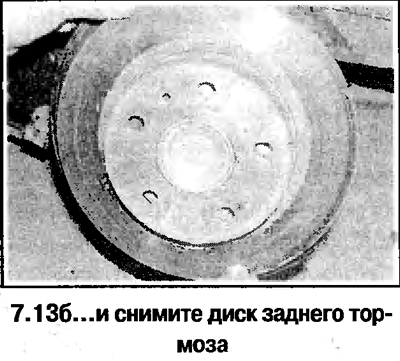
13. Loosen the screw and remove the disc from the hub (see photo).
14. Install the disc in reverse order.
Visitor comments