
2. Release the parking brake lever. Loosen the adjusting nut, leaving some slack in the parking brake cables.
3. Use a screwdriver to remove the pad drive lever from the back of the caliper and disconnect the cable and cable sheath from the lever by removing the bracket (see photo).


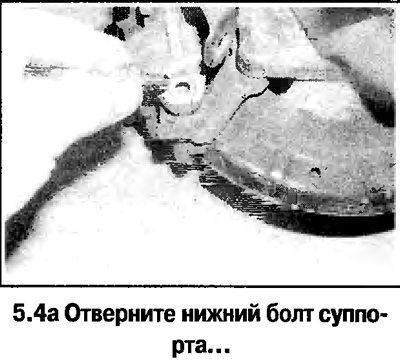
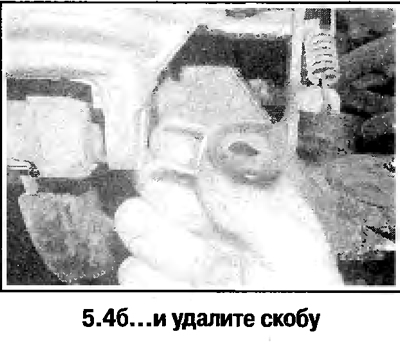
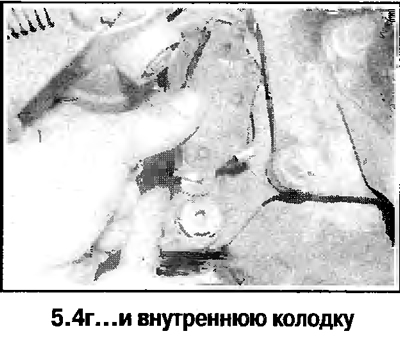
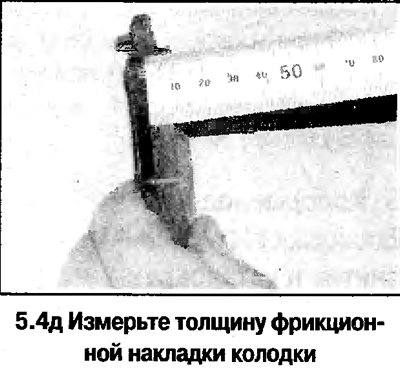
4. Remove and check the pads by following the steps illustrated in the photo. If the thickness of the friction lining of the pad is equal to or less than the limit, then replace the pads in the kit with the axle. The pads also change when they are oiled or when. detection of uneven wear.

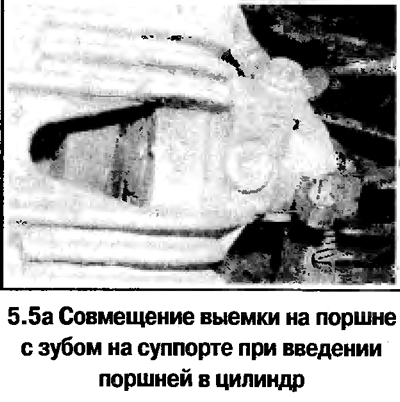
5. When assembling, apply copper-based grease to the thrust surface of the pads. If the pads are changed, then the pistons should be inserted into the cylinders. To do this, align the tooth on the caliper with the notch on the piston. For this, either a special device or a clamp is used (see photo), however, if the pistons are being squeezed by the clamp, the piston must be rotated as it enters the cylinder. As the pistons are inserted, remove excess fluid from the reservoir.

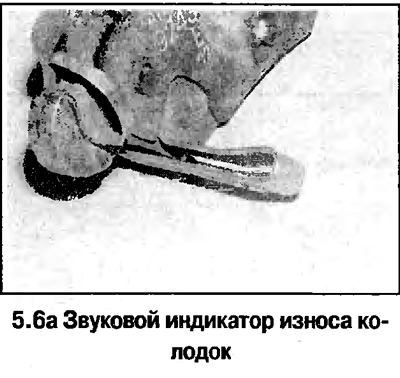
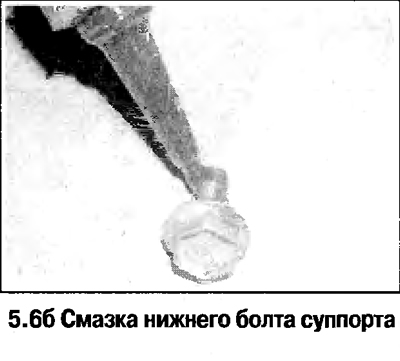
6. After installing the pads, put an audible wear indicator on the inner pad (when the pads are worn, the indicator provides increased noise when braking). Lubricate the lower caliper bolt with fixing compound (see photo).
7. Install the rest of the removed parts, adjust the parking brake. At the end, press the brake pedal several times until you feel increased resistance.
Visitor comments