


Contents: Removal ⬇ Disassembly ⬇
Attention! On 1.4, 1.6 and 1.8 l models, 1.8 l without ABS system, the caliper is non-disassemblable and is replaced as a whole. The disassembly procedure described below applies only to 1.8 l models with ABS system and 2.0 l models.
Removal
1. Raise the front of the car and place it on stands. Remove the wheel
2. To reduce fluid loss, tightly close the tank cap, placing a piece of plastic film underneath it, or clamp the hose with a clamp.
3. Clean the hose nipple and unscrew the bolt. Remove the two gaskets.
4. Remove the pads.
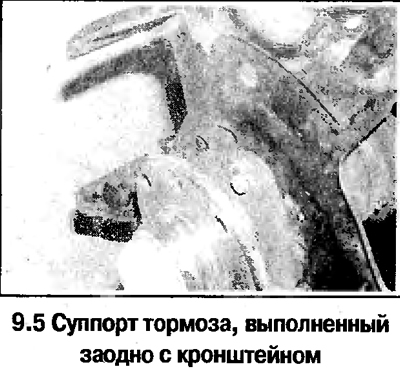
5. On 1.8L ABS models and all 2.0L models, remove the caliper bracket. On other models, the caliper is integral with the bracket (see photo).
Disassembly
6. Carefully clean the caliper with a dry cloth.
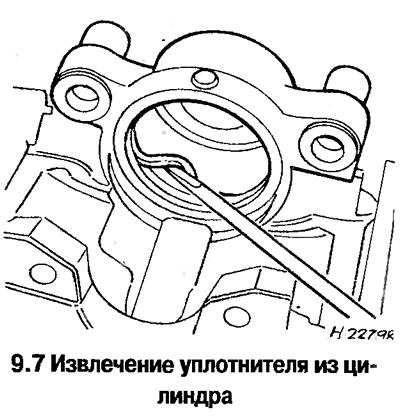
7. Remove the piston by feeding air from the pump into the nipple hole. Remove the cylinder seal (see photo) Remove the bushings from the caliper.
8. Wash all parts in clean brake fluid or alcohol.
9. All seals and covers must be replaced.
10. Check the condition of the caliper, especially carefully inspect the piston and the inner surface of the cylinder. If significant wear of the cylinder and piston is detected, replace the caliper. Check the condition of the bushings. The bushing should enter the caliper hole by hand with a little force.
11. Before assembly, check the cleanliness of all parts. Dip the cylinder seal in liquid and install it in the cylinder groove. Put the edge of the boot in the piston groove, lubricate the piston and cylinder with brake fluid, install the piston in the cylinder and put the second edge of the boot on the piston. Insert the piston into the cylinder.
Material copied from this resource: opelbook.ru
12. Install the bushings into the caliper.
13. The support is installed in the reverse order. Replace the hose fitting gaskets.
Visitor comments