
2. Loosen the rod end joint nut, release the stud using a ball joint release tool, and remove the nut (photo). Remove the ball joint from the steering arm.
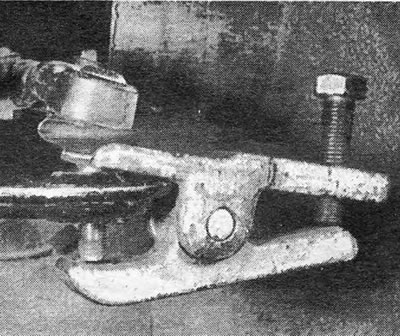
Photo 3.2 Typical ball joint extractor.
3. Loosen the clamp bolt that secures the rod end to the outer rod. Mark the position of the rod end on the outer rod using paint or tape, and then unscrew the rod end.
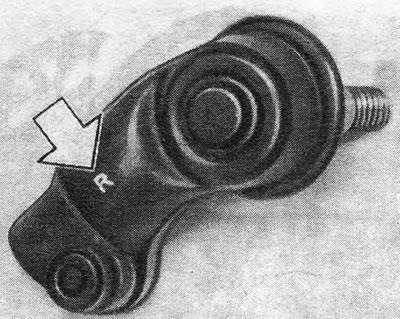
Pic. 8.3 Designation on the ball joint of the rod - indicated by an arrow
4. Please note that the rod ends are different. The right-hand end is marked "R", and the left-hand end has no marks.
5. Screw the new rod end onto the rod, placing it approximately in the same position as the old end. Secure it with a clamp bolt.
6. Connect the end of the rod to the steering arm and secure it with a new self-locking nut tightened to the specified torque.
7. Reinstall the wheel and lower the machine to the ground.
8. Check and adjust the position of the front wheels (convergence) as specified in Section 12.
Visitor comments