
Removing
Loosen wheel bolts, raise vehicle.
Unscrew the rear wheel.
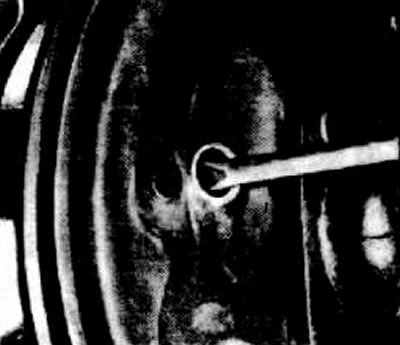
Loosen the locking screw of the brake drum.
If necessary, set the brake shoes to a comfortable position with the adjusting eccentric.
Note: Vehicles with automatic rear brake adjustment (from 8/1983): Unscrew the plug on the back of the brake shield. The plug is located at the left brake on the left side of the right brake on the right side at about half the height of the center. Push with a screwdriver through the hole but the hand brake lever. Thanks to this, the shoe return spring can be pulled out and the brake drum can be removed.
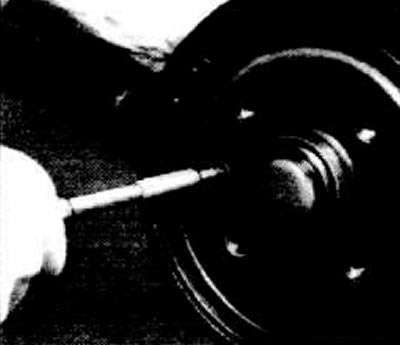
If the drum is firmly seated on the centering shoulder of the hub, then it should be knocked down with light blows of a polymer hammer.
Installation
Before installation, check the drum by hand, grooves up to 0.4 mm are acceptable, otherwise give the drum to the groove. Then install thicker pads (5.6mm).
So install the drum on the hub so that the hole for the locking screw and the hole in the hub match.
Attention: In the case of automatic brake adjustment, rotate the drum and measure the gap between the lining and the brake drum with a feeler gauge. The set value on each side is 0.2 mm, for a total of 0.4 mm. If necessary, adjust the adjusting gear accordingly. At the same time, do not forget about the right and left threads on the gear.
A brake drum that has been used for a long time has a shoulder on the outside, as a result of which it is impossible to accurately measure the gap between the friction lining and the drum. In this case, the brake drum must be machined first. Drum inner diameter (new) 200 mm.
After turning, the diameter can be a maximum of 201 mm.
Screw in the locking screw.
Coat the hub lip with grease.
Install the wheel.
Set the rear brake.
Lower the car, tighten the wheel bolts to 90 Nm.
Visitor comments