


Contents: Removal ⬇ Installation ⬇
Removal
Loosen the wheel fastenings and raise the front of the vehicle.
Mark the wheels and hubs with chalk so that you can later install the wheels in their original position. Remove the wheels.
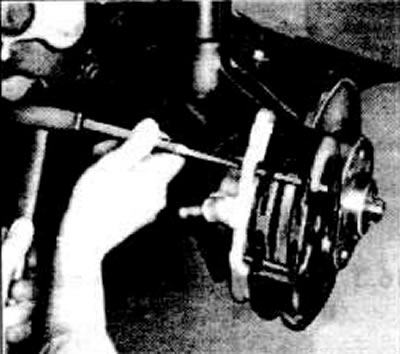
Knock out the fixing pins on the outside using a special punch.
Make sure that the springs do not pop out.
Caution: If the brake pads are to be used again, they must be marked before removal. It is not permissible to swap the pads of the inner and outer side, as well as the pads of the left and right wheel. The change may lead to uneven braking. Only original OPEL pads must be used. The pads must be changed on both wheels together.
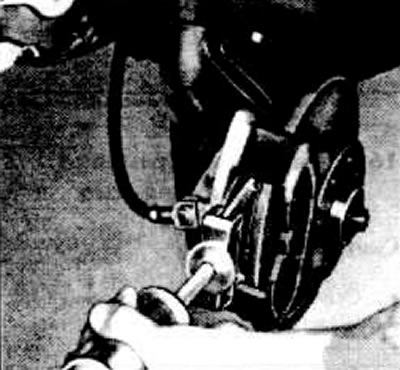
Use a collet to remove the outer pad from the brake caliper.
Then pull out the inner shoe. If the shoe comes out with difficulty, you need to insert a screwdriver into the shoe eye and knock it out with light blows.
Installation
Clean the guide surfaces, in particular the caliper shaft, with a soft metal brush or cloth. Do not use a product containing mineral oil or tools with sharp edges. Check that the dust boot and clamping ring are seated properly in the brake caliper.
Damaged, cracked or hardened anthers should be replaced.
Before installing the brake pads, you should check the brake disc. You need to feel it with your fingers, if there are grooves, then the disc needs to be removed, ground down or replaced with a new one.
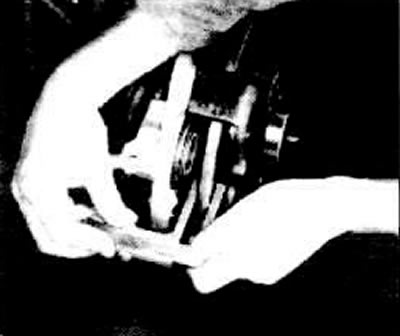
Measure the thickness of the disc. In workshops, a special gauge is used for this, since wear on the disc creates an edge.
The thickness of the disk can be measured with a regular caliper, if you put a gasket of known thickness on each side and then subtract the total thickness of the gaskets from the measurement results.
If grooves are found on the brake disc, it should be treated. In this case, do not forget about the minimum thickness of the disc.
If the brake disc wear limit is reached, it must be replaced.
Note: Both brake discs must either be machined or replaced.
| Engine | Brake disc thickness in mm | ||
| New | After processing | Wear limit | |
| 1.0-/1.2-/1.3-l | 10 | 9 | 8 |
| 1.6-liter | 12,7 | 11,7 | 10,7 |
| 1.8-l | 20 | 19 | 18 |
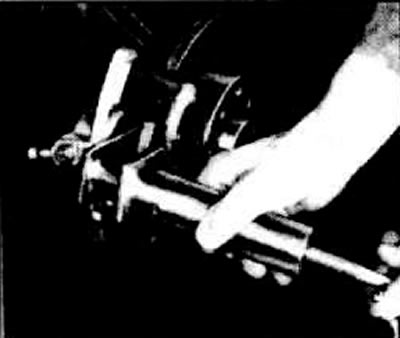
Press back the piston in the brake cylinder. In workshops, a piston return device is used for this purpose. You can also press back the piston using a smooth wooden block. To do this, install a brake shoe on one side so that the brake disc does not warp. Be careful not to damage the dust cover.
Note: When the piston is pressed back, brake fluid is removed from the brake cylinder into the expansion tank. Monitor the fluid in the tank. It is possible to suck out the brake fluid using a siphon.
Warning: Brake fluid is poisonous and destroys varnish. Never suck out brake fluid with your mouth through a hose.
For ATE floating caliper. Rotate 20° piston installation. Workshops use a 20° template for this.
Install template.
The long side of the template should be adjacent to the brake caliper. The piston has a protrusion, this protrusion should be adjacent to the inclined surface of the template, otherwise turn the piston.
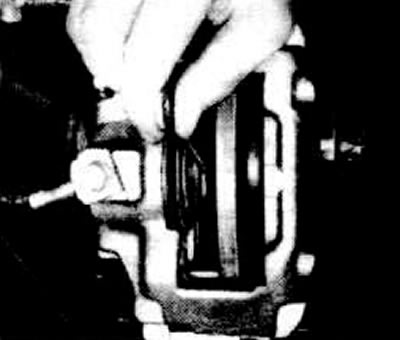
The piston installation is correct when the template's lower part is adjacent to the caliper shaft, and its 20° slope coincides with the piston protrusions.
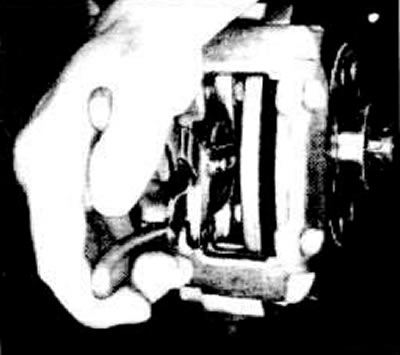
If necessary, turn the piston with special pliers or a pin made of hard wood.
Note: As a rule, when replacing the pads, the piston does not change position.
Insert the brake pads. When installing, make sure that the pad moves easily back and forth.
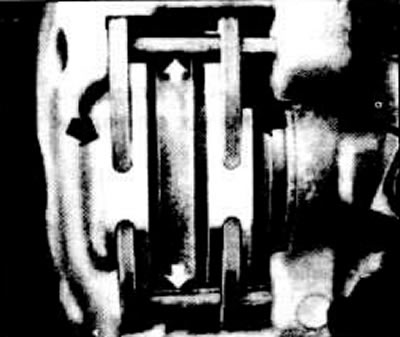
Insert the pins from the outside so that the holes (white arrows) were facing each other.
Install spring clamps (black arrows), as shown in the figure.
Install the front wheel, the chalk marks should match.
Lower the vehicle and tighten the wheel bolts crosswise to 90 Nm.
Important: Press the brake pedal several times to engage the brake pads.
Check the brake fluid level in the reservoir and top it up to the maximum if necessary.
Attention: With new brake pads for the first 200 km. You need to brake carefully, if possible avoid sudden braking.
Visitor comments