
2. Lubricate the pistons and piston rings and position the piston ring locks as required.
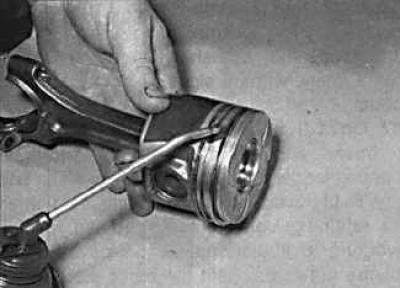
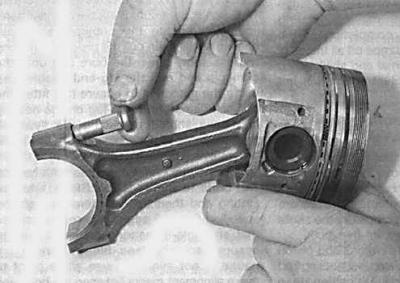
3. Piston installation must begin with the first cylinder. Compress the piston rings on the piston with a piston ring compressor.
Gasoline engines
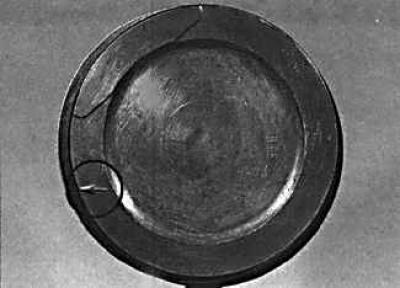
4. Insert the piston with the ring compressing tool into the top of the first cylinder. The arrow on the piston head must point towards the toothed belt.
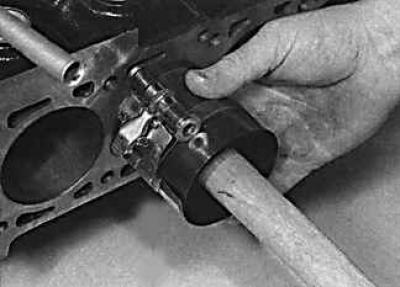
5. Using a block of wood or a hammer handle, push down on the piston and press it into the cylinder.
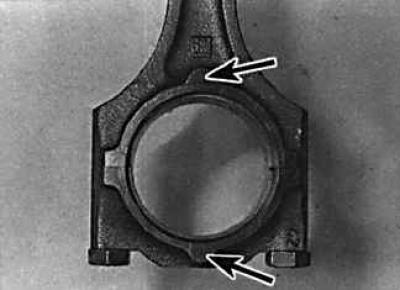
6. Check the alignment of the bottom head of the connecting rod with the neck of the crankshaft. If necessary, tighten the piston with a connecting rod and install the lower head of the connecting rod with an insert on the crankshaft journal. The protrusion on the base of the connecting rod bearing cap must point towards the flywheel.
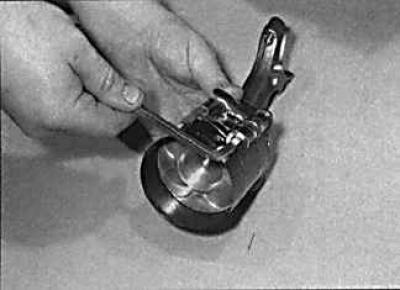
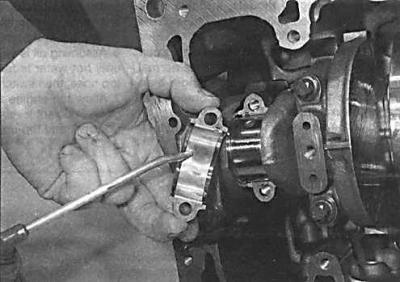
7. Screw in bolts of fastening of a cover of a rod the demanded moment (on the left - tightening the bolts for fastening the bearing caps of the lower head of the connecting rod to the required torque, on the right - tightening the bolts for fastening the lower cap of the connecting rod, turning it to a certain angle).
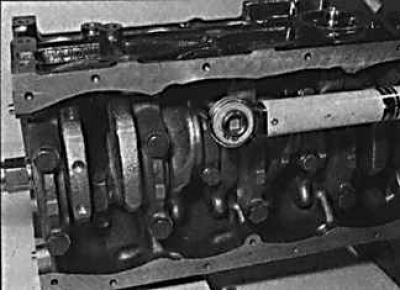
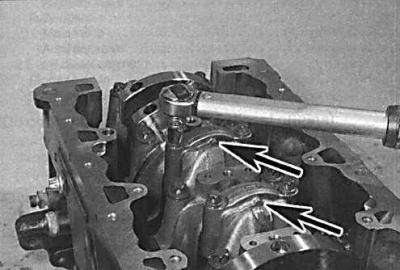
8. On 1.8L and 2.0 engines, install the main bearing cap and tighten the mounting bolts diagonally from center to edge.
9. On all engines, install the oil receiver pipe, oil pan and cylinder head.
Diesel engines 1.7 l
10. Remove the bolts from the connecting rod base and install new bolts into the connecting rod.
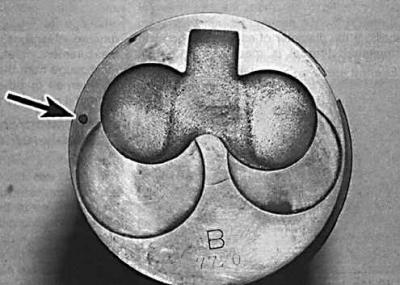
11. Insert the piston with the mandrel that compresses the piston rings into the top of the first cylinder. In this case, the alignment mark on the piston head must be directed towards the toothed belt.
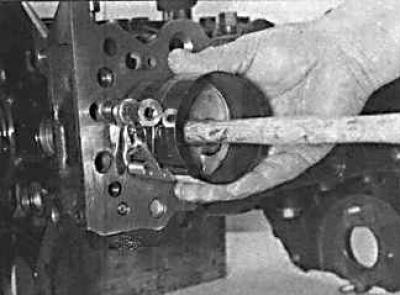
12.. Using a block of wood or a hammer handle, push down on the piston and press it into the cylinder.
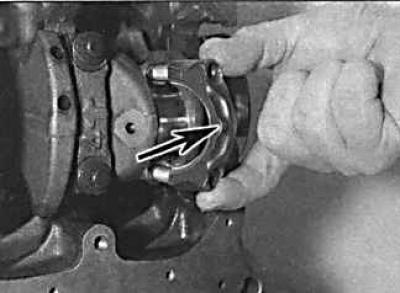
13. Check the alignment of the lower end of the connecting rod with the crankshaft journal and, if necessary, tighten the piston with the connecting rod and install the lower end of the connecting rod with the bushing on the crankshaft journal.
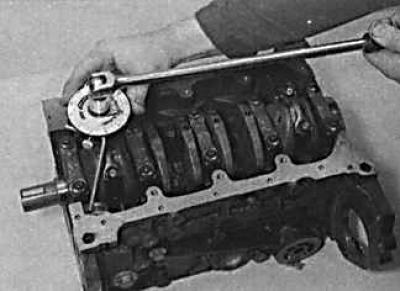
14. Establish a cover of the bottom head of a rod and tighten nuts the demanded moment / tightening on a certain corner.
15. Install the remaining three pistons with connecting rods in the same way.
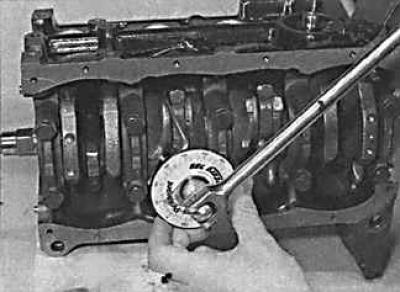
16. Rotate the crankshaft and check that it rotates freely and without binding. Install the bulkhead at the bottom of the cylinder block and secure with bolts, tightening them to the required torque.
17. Install the oil receiver pipe, oil pan and cylinder head.
Diesel engine 2.0L
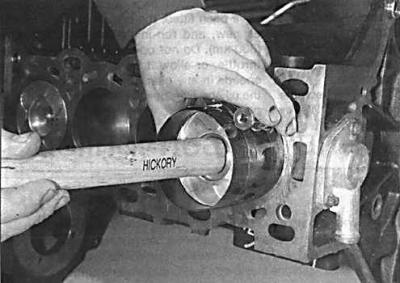
18. Insert the piston with the mandrel compressing the rings into the top of the first cylinder. The arrow on the piston head must point towards the timing chain. Using a block of wood or a hammer handle, push down on the piston and press it into the cylinder.
19. Check the alignment of the lower end of the connecting rod with the crankshaft journal and, if necessary, tighten the piston with the connecting rod and install the lower end of the connecting rod with the bushing on the crankshaft journal. Establish a cover of the lower head of a rod with an insert. In this case, the protrusion on the connecting rod cover must be directed towards the flywheel.

20. Tighten the mounting bolts to the required torque in several steps (on the left - tightening the bolts for fastening the cover of the lower head of the connecting rod with a torque wrench, on the right - tightening the bolts for fastening the cover of the lower head of the connecting rod with turning them to a certain angle).
21. Install the other three pistons and connecting rods in the same way.
22. Rotate the crankshaft and check that it rotates easily and without binding.
23. Install the oil receiver pipe, oil pan and cylinder head.
Visitor comments