


Contents: Removal ⬇ Examination ⬇ Installing and checking the…⬇ Checking the lubrication clearance…⬇
Removal
1. On 2.0L SOHC engines, remove the cylinder head and oil pan. Remove the oil pickup tube and baffle plate.
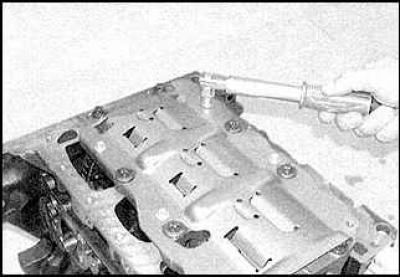
2. On 2.0L engines, remove the cylinder head, oil pan, and oil pickup tube. On models built after 1998, remove the crankshaft balancer block. On earlier models, remove the oil pan baffle.
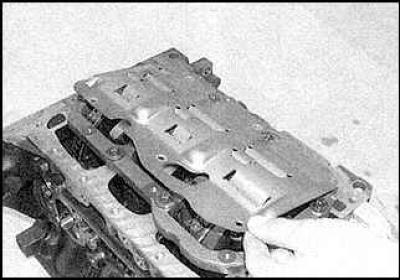
3. On 2.5 and 3.09 liter engines, remove the cylinder heads and oil pan. Remove the bulkhead.
4. Remove any ridges on the top of the cylinders caused by wear.
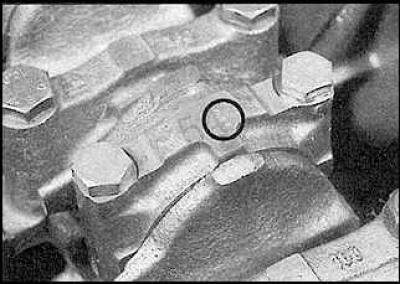
5. If the connecting rods and connecting rod caps are not marked, mark them. On 2.0 liter engines, the N1 cylinder is located on the timing belt side. On 2.5 and 3.0 liter engines, the N1 cylinder is located on the right side of the cylinder block on the timing belt side.
6. Set piston N1 to bottom dead center.
7. Unscrew the bearing cap bolts of the first connecting rod. Remove the connecting rod cap and the lower bearing shell, mark the shell.
8. Remove the bearing shell and lift the connecting rod out from the top of the cylinder block.
9. Remove the remaining connecting rods and pistons in the same manner.
Examination
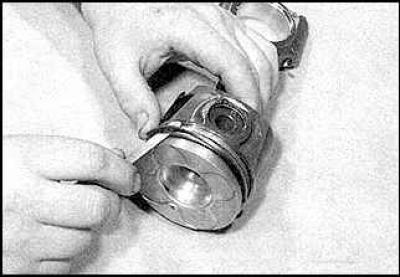
1. Remove the old piston rings. Clean the piston crown from deposits and clean the piston ring grooves. After removing all deposits, clean the pistons and connecting rods with solvent and dry them.
2. If the pistons and cylinder walls are not very worn and the cylinders have not been bored, new pistons do not need to be installed.
3. Carefully inspect all pistons for cracks in the piston skirt and around the connecting rod pin.
4. Inspect the pistons for scratches, scoring, burnt areas or corrosion.
5. Measure the piston diameters and compare the results with the specifications.
6. Measure the clearance between the piston and the cylinder. To do this, subtract the piston diameter from the cylinder diameter or insert the piston into the cylinder and measure the clearance with a feeler gauge. If the clearance is too large, the piston must be replaced.
7. Do the same procedure with the remaining pistons.
8. Inspect the connecting rods for cracks and other damage. For a more detailed inspection of the pistons and connecting rods, contact specialists.
9. On 2.0 and 2.5 liter engines, the piston pin is fixed in the connecting rod bearing, so contact a specialist to replace the piston or connecting rod.
10. On 3.0L engines, use a small screwdriver to remove the piston pin retaining rings and remove the pin.
11. Inspect the pin for wear and damage; if damage is found, replace the pin and connecting rod.
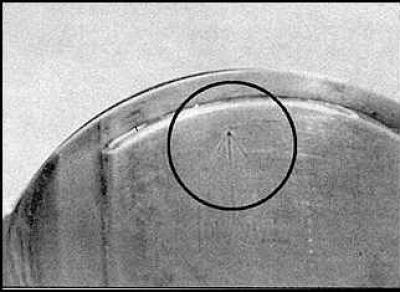
12. Lubricate the piston pins and assemble the pistons and connecting rods so that the arrows on the piston heads point (drawing on the left) and marks on the bases of the connecting rods (drawing on the right) were directed in opposite directions.
Installing and checking the lubrication clearance of connecting rod bearings
Selection of inserts
To select the correct bearings, use the lubrication gap size, which can be measured using a plastic measuring tape. If you have any problems selecting bearings, contact a specialist.
Checking the lubrication clearance of connecting rod bearings
To measure the lubrication gap, you can use an internal micrometer or other special device, but the most accurate and easiest method is to use a special plastic gauge.
1. Temporarily install the piston in the cylinder, install the liners, tighten the connecting rod cap bolts and check the connecting rod bearing lubrication clearance in the same way as checking the main bearing lubrication clearance.
2. If the gap size is not as required, the bearing shells may be the wrong size.
Final installation of pistons and connecting rods
1. Remove all traces of plastic. Check that the surface of the bearings is absolutely clean and lubricate them with engine oil.
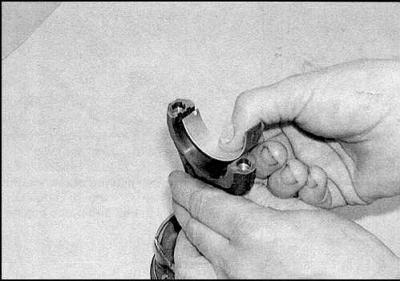
2. Clean the upper connecting rod bearing shell and install it on the connecting rod. The oil holes in the connecting rod and the shell must be aligned.
3. Clean the second bearing and install it into the connecting rod cap.
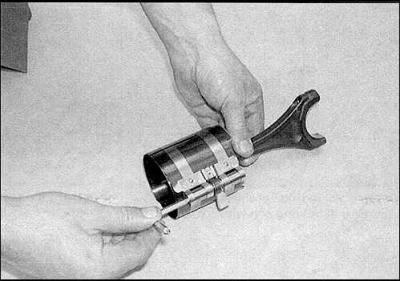
4. Lubricate the pistons and rings and compress the piston rings using a special tool.
5. Turn the crankshaft so that the connecting rod bearing of the first cylinder is in the bottom dead center position and lubricate the cylinder walls.
6. Check that the arrow on the piston head is pointing towards the timing belt.
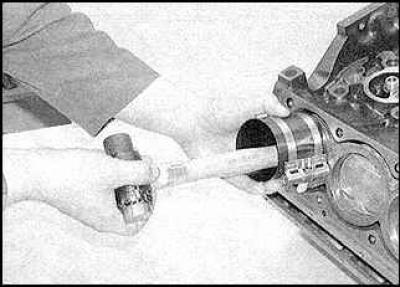
7. Press the piston down and install it into the cylinder.
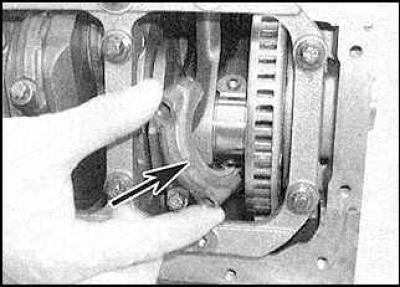
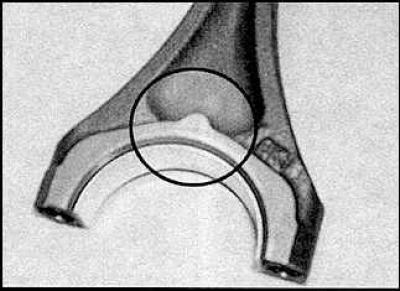
8. Install the connecting rod on the shaft journal, install the connecting rod cap so that the protrusion (indicated by the arrow) on the cover was directed towards the flywheel.
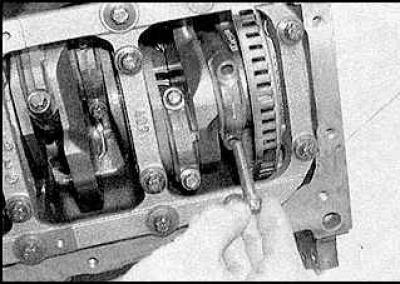
9. Insert the cover mounting bolts.
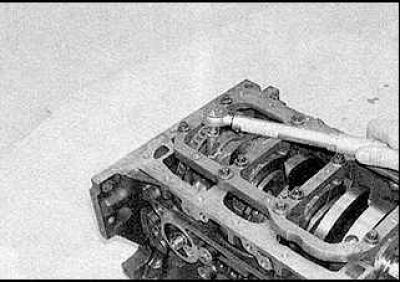
10. Tighten the bolts to the specified torque.
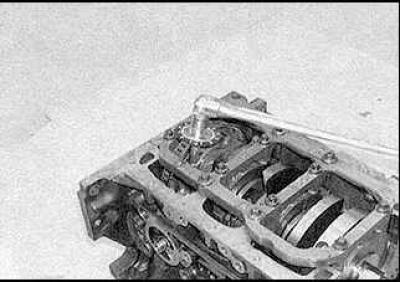
11. Tighten the bolts to the required angle.
12. Install the remaining pistons in the same manner.
13. After installing all connecting rods, turn the crankshaft several times and check for ease of movement.
14. Depending on the engine model, install the remaining parts.
Visitor comments