
Removing
1. Remove the hood.
2. Remove the battery.
3. Raise and secure the front of the car, remove the engine undershield.
4. Drain the coolant and engine oil, remove the oil filter.
5. Release the pressure in the fuel system and remove the engine control unit.
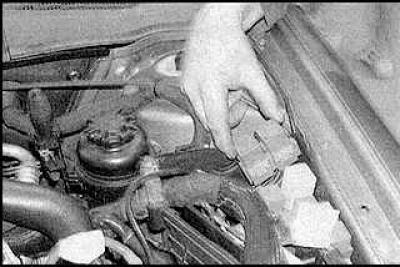
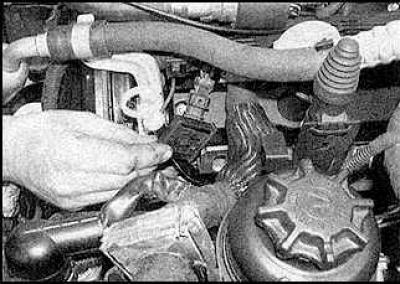
6. Remove the relay box cover and disconnect the connectors from the fuel injection relay.
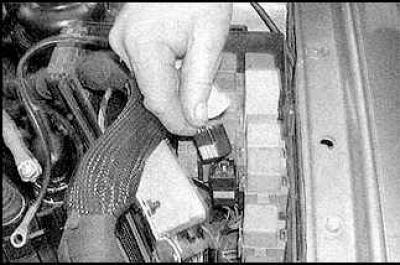
7. Disconnect the engine harness connectors from the relay box.
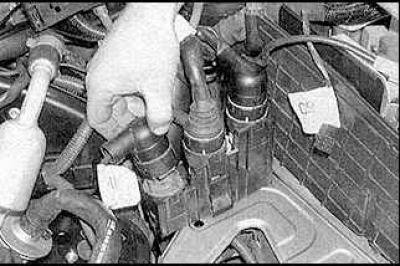
8. Disconnect the harness connectors behind the battery.
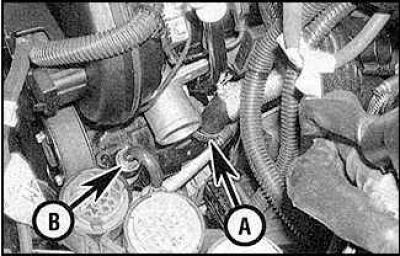
9. Unscrew the ground wire at the front of the engine and, if the engine harness is connected to the fuse box, remove the fuse box.

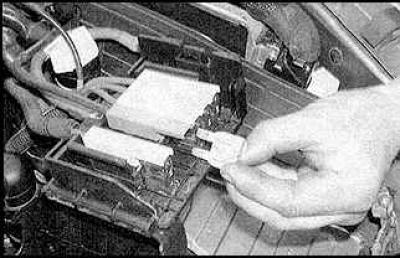
10. Disconnect the wiring harness from the fuse block.
2.0 liter SOHC engines
11. Remove the air filter and front section of the intake pipe. Disconnect the fuel supply and return hoses from the fuel line. Disconnect the accelerator cable and cruise control cable from the throttle, remove the cable bracket. Disconnect the hoses from the intake manifold.
12. Remove the DIS module and reinstall the engine lift bracket.
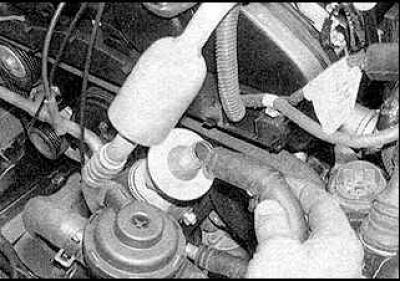
13. Disconnect the engine coolant hose from the tube. Disconnect the upper radiator hose from the cylinder head.
14. Remove the radiator cooling fan.
15. Disconnect the air conditioner compressor (if it is installed) and move it to the side. Do not disconnect hoses from the compressor.
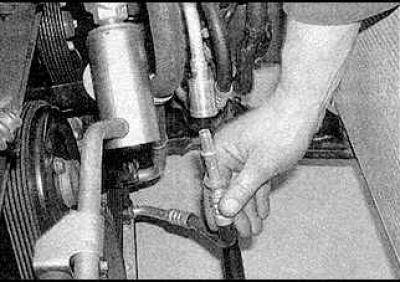
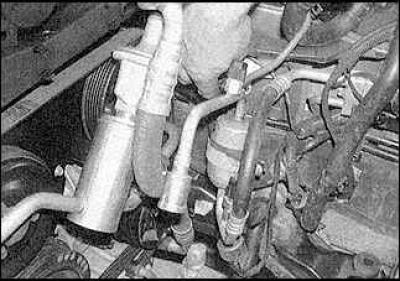
16. Remove the power steering pump and move it to the side. Do not disconnect hoses from pump.
17. Mount the engine on a hoist and remove the gearbox.
18. Check that all hoses and wires that interfere with the removal of the engine are disconnected.
19. Tighten the nuts on the left and right engine mounts.
20. Remove the engine and lower it to the floor.
2.0 liter DOHC engines
21. Remove the air filter and throttle cover. Remove the front section of the exhaust pipe.
22. Disconnect the fuel hoses from the fuel line. Disconnect the hose from the secondary air inlet valve located on the exhaust manifold and disconnect all hoses from the intake manifold.
23. Disconnect the engine coolant hose from the tube. Disconnect the upper radiator hose from the cylinder head.
24. Remove the engine following the steps (see p.p. 14–21).
2.5 and 3.0 liter engines
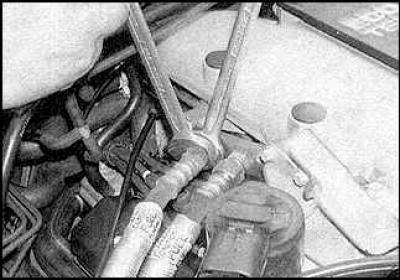
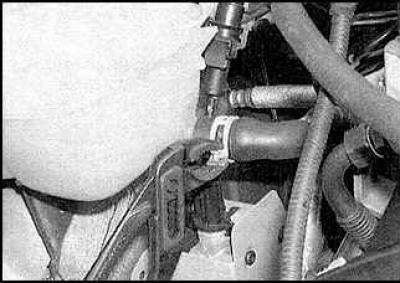
25. Remove the windshield wiper motor.
26. Remove the radiator.
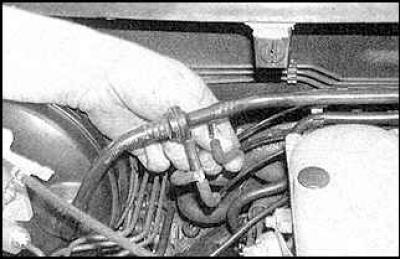
27. Disconnect the upper radiator hose from the coolant pipe.
28. Thoroughly clean the hose and pipe connections of the power steering pump. Disconnect the hose (A) fluid supply from the pump and drain the fluid into a suitable container. Twist the nut and disconnect the tube (IN) from the pump.
29. Remove the air filter and air intakes. Disconnect the accelerator cable and cruise control cable from the throttle and from the mounting bracket. Remove the front pipes of the exhaust system. Disconnect the fuel hoses from the fuel line.
30. Disconnect all hoses from the intake manifold. Disconnect the hose from the secondary air inlet valve.
31. Disconnect the multi-flow air intake hoses from the servo tube.
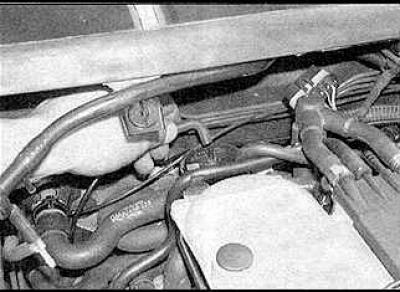
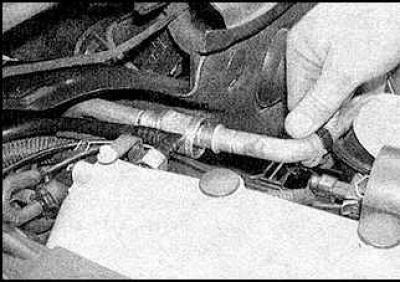
32. Disconnect the coolant hoses from the expansion tank.
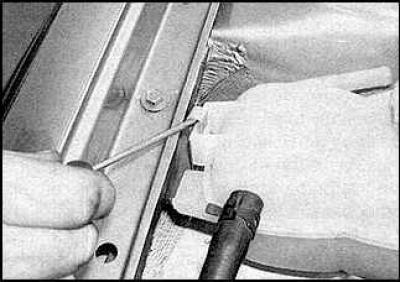
33. Remove tank mounts
34. Remove the tank by disconnecting the wire from the fluid level sensor.
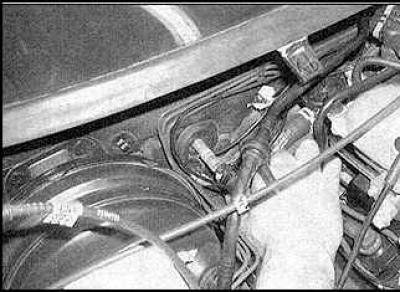
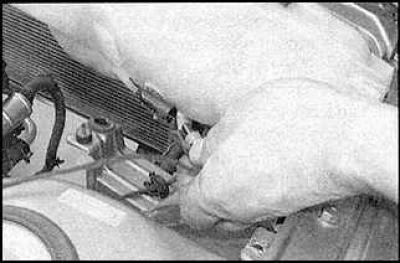
35. Disconnect the hoses from the heater core.
36. Disconnect the vacuum hose from the radiator shut-off valve.
37. On models equipped with air conditioning, disconnect the wire and refrigerant pipes from the compressor. Disconnect the wire from the compressor.
38. Disconnect the coolant pipes located above the left cylinder head.
39. Disconnect the coolant pipes located at the front of the engine.
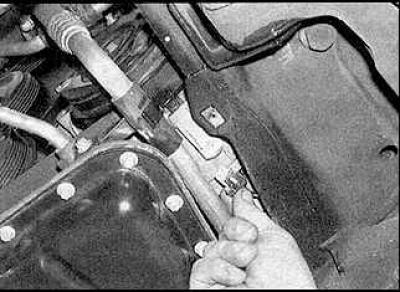
40. Detach the shock absorber bracket and move the shock absorber to the side.
Warning! To carry out the procedure described in paragraphs 37 to 40, you must contact a specialist.
41. Remove the caps from the engine lugs, mount the engine on a hoist and remove the gearbox.
42. Check that all hoses and wires that interfere with the removal of the engine are disconnected.
43. Unscrew the bolts and remove the shock absorbers of the left and right engine mounts.
44. Remove the nuts securing the left and right engine mounts to the engine brackets and body.
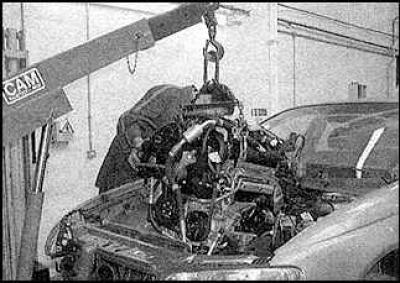
45. Remove the engine and lower it to the floor.
Installation
Installation is carried out in the reverse order of removal (don't forget to replace old gaskets and seals).
Visitor comments