


Contents: Checking the free play of the shaft ⬇ Examination ⬇ Selection of inserts ⬇ Checking the lubrication clearance…⬇ Final installation of the crankshaft ⬇
2.0 liter engines
1. Remove the oil pump and flywheel.
2. Remove the pistons and connecting rods.
3. Check the crankshaft free play.
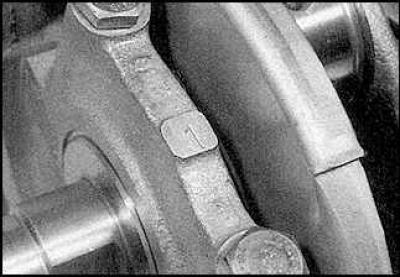
4. The main bearing caps should be numbered 1 through 5. If the caps are not numbered, number them. Cap N1 is on the timing belt side.
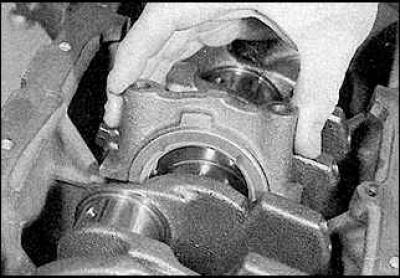
5. Unscrew the cover bolts and remove the covers together with the bearing shells.
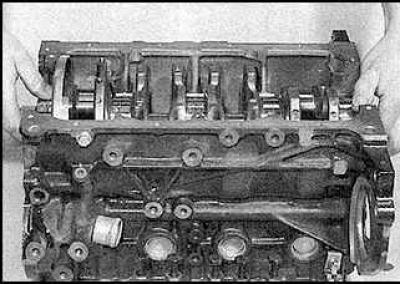
6. Remove the crankshaft.
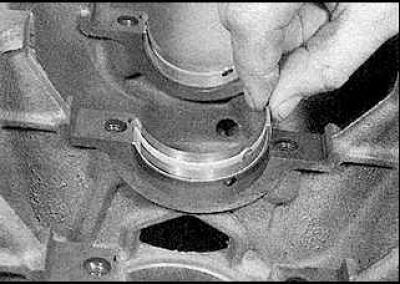
7. Remove the liners from the cylinder block and remove the central bearing half rings.
2.5 and 3.0 liter engines
8. Remove the oil pump and flywheel.
9. Remove the pistons and connecting rods.
10. Check the crankshaft free play.
11. Remove the four cap block bolts that secure the block to the cylinder block.
12. Remove the remaining eight cap block bolts, remove the bolts and remove the block.
13. The main bearing caps should be numbered 1 through 3. Cap N1 is on the timing belt side. If the caps are not numbered, number them.
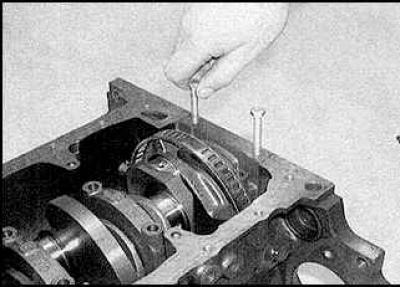
14. Remove the covers together with the bearing shells.
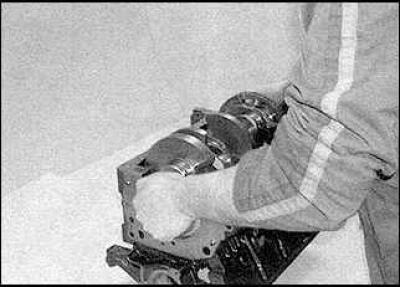
15. Remove the crankshaft.
16. Remove the liners from the cylinder block and remove the central bearing half rings.
Checking the free play of the shaft
To perform the check, the crankshaft must be installed in the cylinder block.
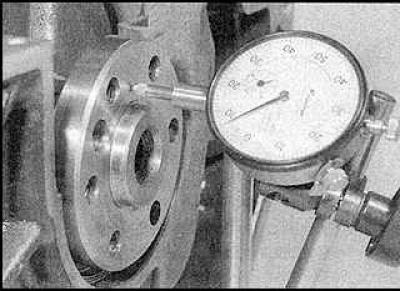
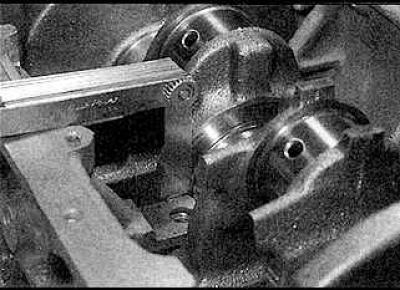
Check the free play of the shaft using a special measuring tool (drawing on the left) or using measuring probes (drawing on the right).
Examination
1. Clean the crankshaft with solvent and dry it with compressed air.
2. Inspect the crankshaft bearing journals for wear, scratches, corrosion, or cracks. Rub a copper coin across the bearing. If the bearing rubs off the copper, the surface is too rough and needs to be resurfaced.
3. Inspect the crankshaft for cracks or other damage.
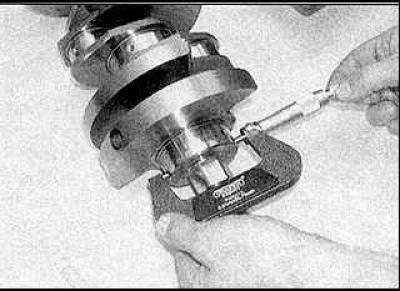
4. Measure the diameters of the main and connecting rod bearings. Check the bearing journals for taper and ovality.
5. Check the crankshaft oil seal journals for signs of wear or damage. If the seals have worn through the grooves on the journals, the new seals will leak oil.
6. Measure shaft runout.
7. If you notice any wear, damage or any discrepancies with technical specifications, please contact a specialist.
Selection of inserts
To select the correct bearings, use the lubrication gap size, which can be measured using a plastic measuring tape. If you have any problems selecting bearings, contact a specialist.
Checking the lubrication clearance of the main bearings
1. Clean the back surfaces of the liners thoroughly.
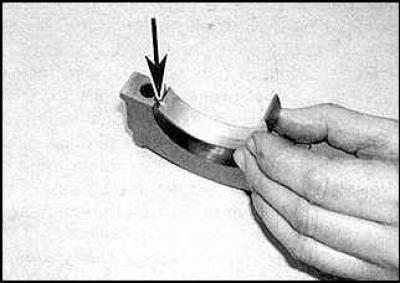
2. Install the liners by aligning their protrusions (indicated by the arrow) with recesses in the covers and cylinder block.
3. To measure the lubrication gap, you can use an internal micrometer or other special device, but the most accurate and easiest method is to use a special plastic gauge.
4. Clean the crankshaft, bearings and oil holes, then carefully install the crankshaft onto the bearings.
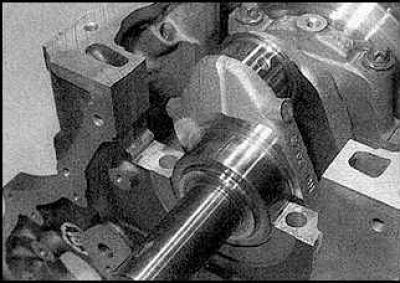
5. Place a piece of plastic on each of the main bearings along the shaft axis.
6. Install the main bearing caps, being careful not to displace the plastic. Tighten the cap mounting bolts to the specified torque. Do not turn the crankshaft.
7. Unscrew the bolts and carefully remove the covers.
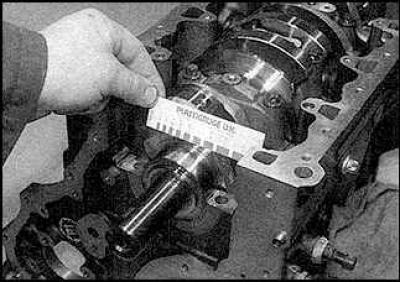
8. Measure the width of the crushed film using a special scale to determine the size of the lubrication gap.
9. If the gap size does not meet the specifications, install liners of a different size.
10. Carefully remove any traces of film from the shaft and bearings.
Final installation of the crankshaft
2.0 liter engines
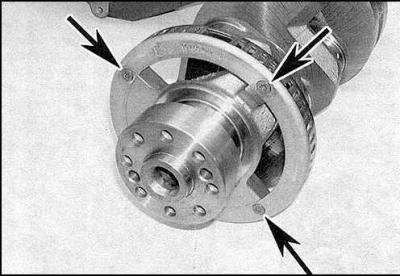
1. Carefully remove the crankshaft. If you are installing a new shaft, do not forget to reposition the shaft sensor rotor (the mounting bolts are indicated by arrows).
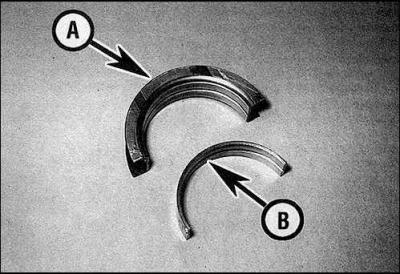
2. Install the bearing shells. Shells with side projections (A) are installed on the center bearing (N3) in 2.0-liter engines and on the rear bearing (N4) in 2.5- and 3.0-liter engines. The remaining shells do not have projections (B).
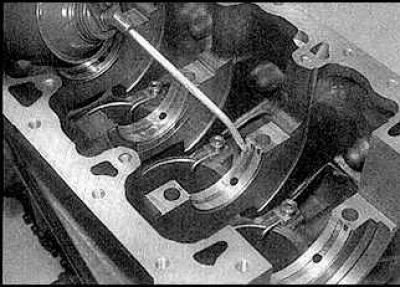
3. Clean the surface of the upper bearings and lubricate them with grease or engine oil. Check that the crankshaft bearings are clean and install the crankshaft in place.
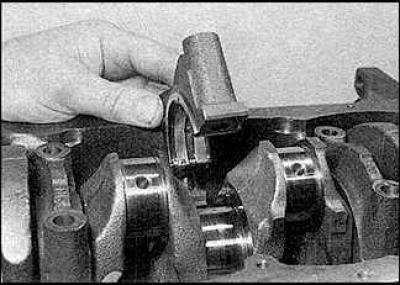
4. Lubricate and install the lower bearing shells. Install the main bearing caps.
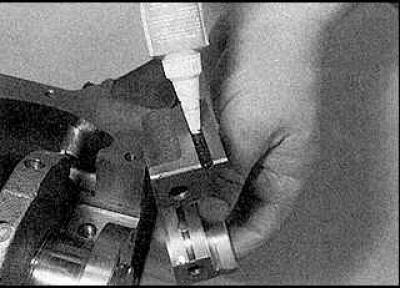
5. Clean the rear cover and fill the side grooves of the cover with sealant N15 03 295. Install the rear cover.
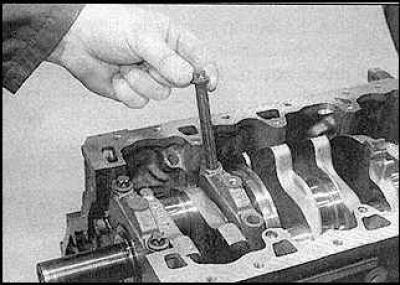
6. Lubricate the cover bolts with engine oil, insert the bolts and tighten them by hand.
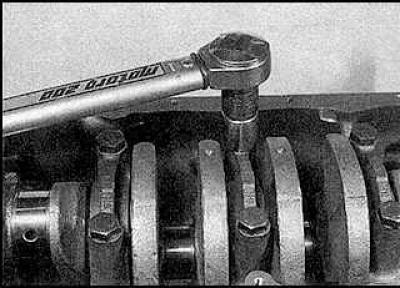
7. Tighten all main bearing cap bolts to the specified torque.
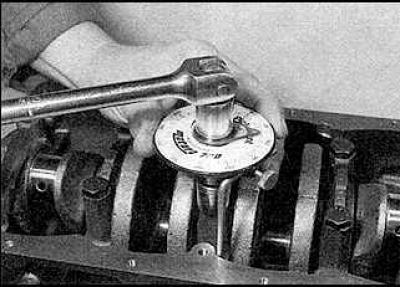
8. Tighten the bolts to the required angle.
9. Turn the crankshaft by hand several times and check for ease of movement.
2.5 and 3.0 liter engines
10. Install the crankshaft.
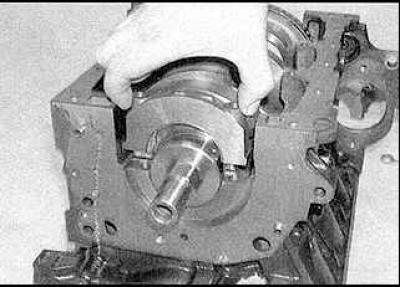
11. Install the liners into the bearing caps and install caps 1–3 into the cylinder block.
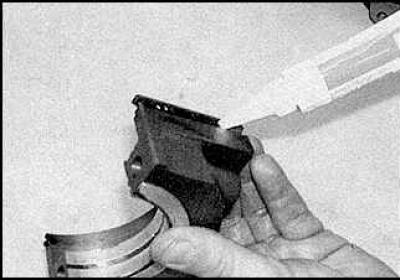
12. Clean the rear cover and fill the side grooves of the cover with sealant N15 03 295.
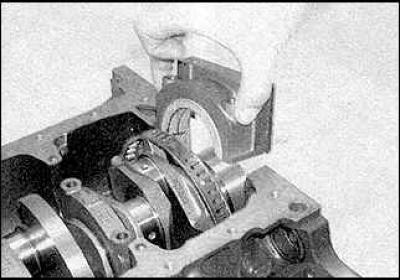
13. Install the back cover.
Material was taken from a resource www.opelbook.ru
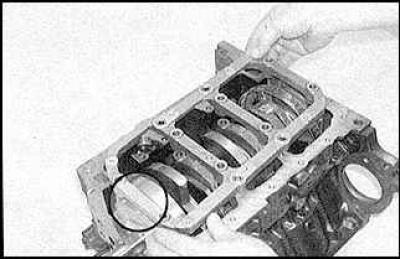
14. Install the cover block so that the arrow on the block points towards the timing belt.
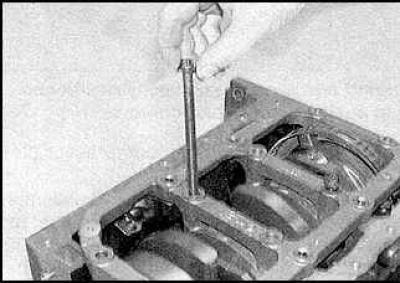
15. Lubricate the threads of the new cover block bolts and insert the bolts.
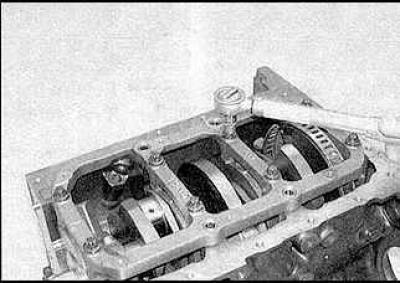
16. Tighten the bolts to the specified torque.
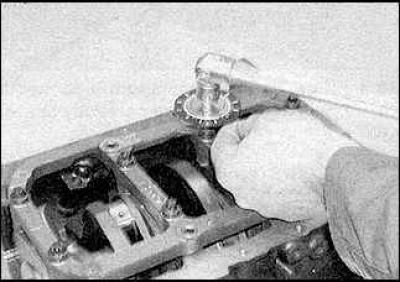
17. Tighten the bolts to the required angle.
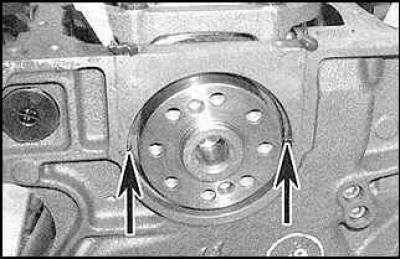
18. After you have tightened the bolts, squeeze some more sealant into the grooves of the back cover (indicated by arrows). The sealant should flow from the joints.
19. Turn the crankshaft by hand several times and check for ease of movement.
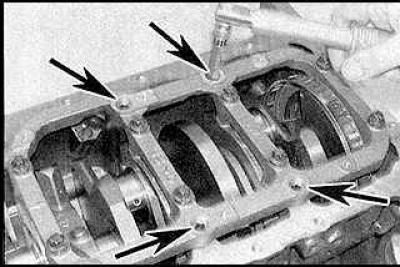
20. Screw the bushing caps into the block (indicated by arrows) with threads cut into them and tighten them to the required tightening torque.
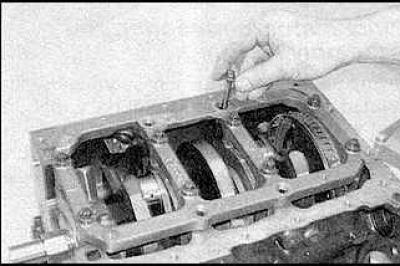
21. Insert the bolts securing the cylinder head assembly to the cylinder block.
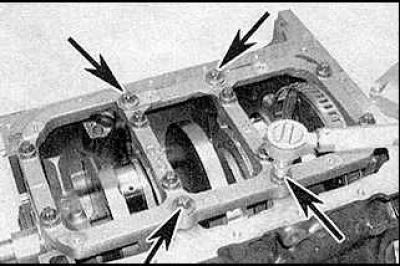
22. Tighten the bolts (indicated by arrows) to the required tightening torque.
Visitor comments