


Contents: Driving in winter ⬇ Injection system repair ⬇ Replacing and draining sediment from…⬇ Draining water ⬇ Replacement ⬇ Removal and installation the…⬇ Checking and adjusting idle speed ⬇ Checking and adjusting the maximum…⬇ Checking glow plugs ⬇ Removal and installation injectors ⬇
The fuel system includes: a fuel tank, fuel lines, a high-pressure fuel pump with injectors and a fuel filter. The tank is located under the rear seat. The fuel system has ventilation, which operates automatically during starting.
Attention! If automatic ventilation does not occur and the pump does not have manual control, then you should:
- Fill the fuel filter with fuel.
- When working on the injection system, it is necessary to strictly follow the following cleanliness rules:
- Fill the injection pump (high pressure fuel pump) with fuel.
- Slip the car.
These measures will help remove air from the power supply system.
Attention! If the engine does not start, check the fuel supply to the injectors. Unscrew the nuts from the two injectors and start the engine without preheating until fuel appears on the nuts. Tighten the nuts and start the engine.
Driving in winter
The fluidity of diesel fuel decreases with decreasing temperature due to the paraffin content in it. Therefore, oil refineries add special additives to diesel fuel, allowing the engine to start at -15 oC. It is also recommended to install a fuel filter heater. They are produced by BOSCH OPEL ET 813170 (90271789).
If the filter heater is not installed, you can add gasoline to summer diesel fuel.
Add gasoline in advance so that the filter and fuel lines are cleared of dense diesel fuel.
Since this additive reduces engine power, only a certain amount should be added, see table.
Caution! Do not mix diesel fuel with super gasoline.
First fill the car's tank with gasoline, then diesel fuel.
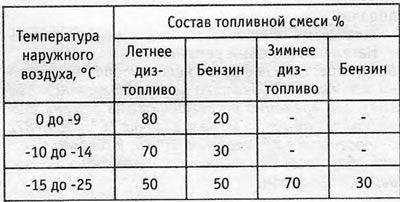
If at very low temperatures, due to thickening of the fuel, the engine does not start, it is recommended:
- Remove the fuel filter and heat it in a water bath until the diesel fuel liquefies.
- Replace the fuel filter.
- Have a heated garage.
- Spray the injection device with hot water.
Caution! Do not heat the injection device with a blowtorch!
Injection system repair
1 - Before disassembling, thoroughly wipe the parts with gasoline.
2 - Place the removed parts on clean foil or paper and cover. Do not use lint-free cloths.
3 - Cover the holes if the repair is delayed.
4 - Install only clean parts.
Remove new parts from packaging only immediately prior to installation.
Do not install parts that have been stored for a long time without packaging.
5 - During repairs:
- Do not use compressed air.
- Do not move the car.
- Make sure that diesel fuel does not come into contact with the cooling system hoses.
Replacing and draining sediment from the fuel filter
Water is drained from the filter every 5,000 km, the filter is replaced every 30,000 km.
Draining water
Place a container underneath to collect the sediment.
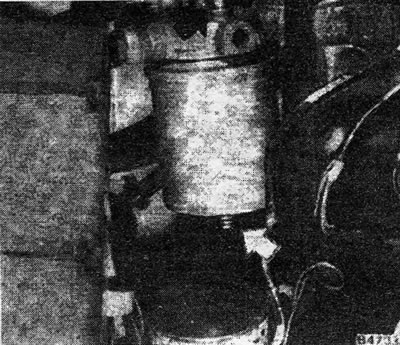
Loosen the air bleed screw one turn (arrow up) and the drain screw (arrow below).
Release about 100 cm of liquid.
Attention! A large amount of liquid indicates that the ventilation hoses are porous. Check and replace all black, porous fuel tank hoses with cloth covered hoses.
Screw in the ventilation and drain holes.
Replacement
To unscrew the filter, use an oil filter wrench or a leather belt.
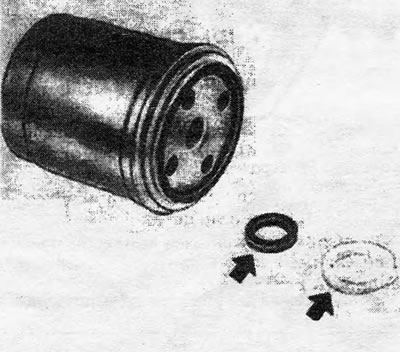
Please note! The filter is supplied with a sealing ring and a holder made of artificial material (arrows).
The sealing ring is installed on the filter and secured with a holder.
Attention! If the filter is installed without the sealing ring, this may lead to engine damage.
Lightly lubricate the outer sealing ring of the new filter with diesel fuel.
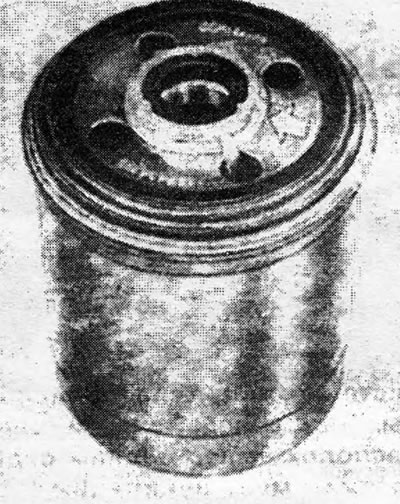
Tighten the filter by hand.
Start the engine. At idle, after applying gas several times, fuel should flow through the transparent hose without bubbles.
Check for leaks.
Removal and installation the electromagnetic valve
The solenoid valve interrupts the fuel supply after the engine stops.
Removal
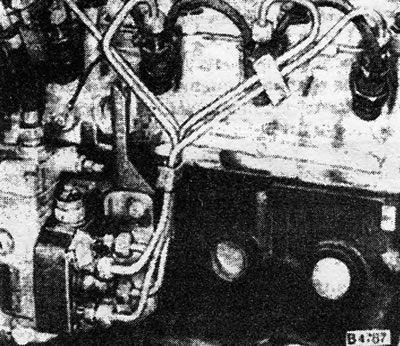
Disconnect the cable from the valve.
Unscrew the valve.
Installation
Screw in the solenoid valve with a new sealing ring and tighten to 2.5 Nm.
Caution! If tightened too much, there is a risk of short circuit in the housing.
Connect the electrical wiring.
Checking and adjusting idle speed
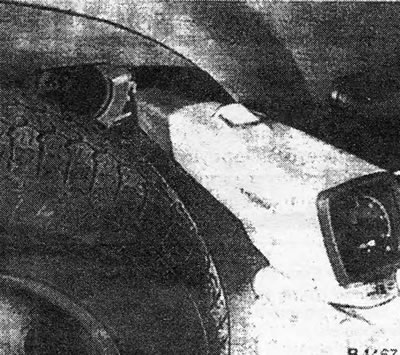
To adjust the idle speed, a diesel tachometer is used, which operates on the photo principle.
Apply a line 1-2 cm wide on the flange of the V-belt pulley.
Warm up the engine to an oil temperature of 50-70°C.
The cold start accelerator button must be depressed.
All electrical consumers are switched off.
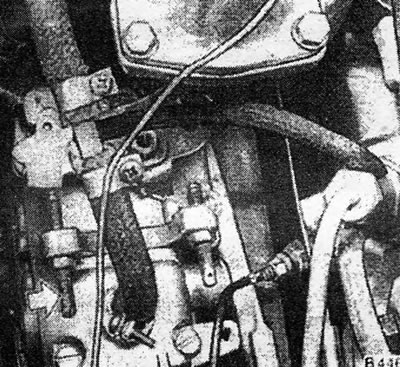
Measure idle speed with a tachometer.
Loosen the adjusting screw lock nut.
Adjust idle speed: 16D engine — 850±50 rpm, 16DA engine — 850±30 rpm (arrow).
Attention! Set idle speed precisely.
Lock the adjustment screw and varnish.
Checking and adjusting the maximum speed
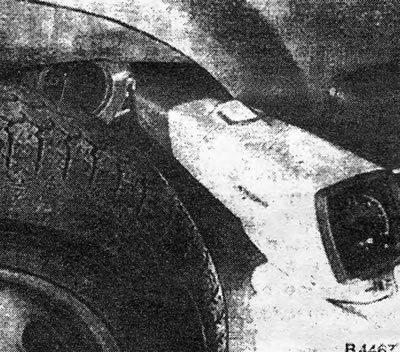
To adjust the maximum speed, a diesel tachometer is used, which operates on the photo principle.
Apply chalk lines on the flange of the V-belt pulley, 1-2 cm wide.
Warm up the engine to an oil temperature of 50-70°C.
The cold start accelerator button must be depressed.
All electrical consumers are switched off.
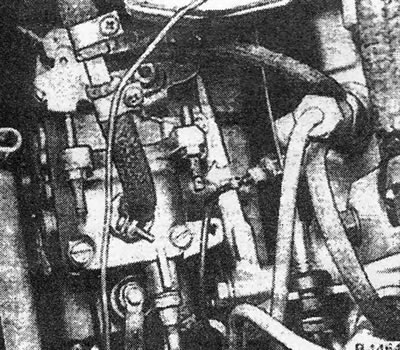
Give full throttle and measure the speed with a tachometer.
Use the adjusting screw to set the speed to 4800 rpm.
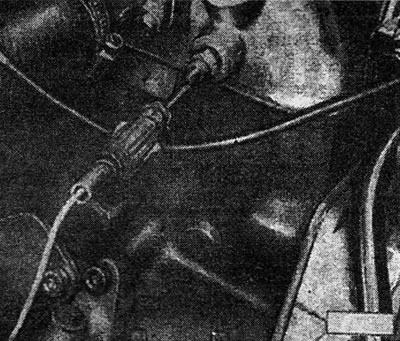
Checking glow plugs
Remove the connecting cable and the glow plug current bus.
Connect the test lamp to the positive terminal of the battery, connect the other end of the wire in series to the glow plugs.
The spark plugs are good if the lamp lights up.
The spark plug is faulty if the lamp does not light. Replace. If the glow rods are burnt, follow the instructions.
Candles with burnt rods
A burnt glow rod (Figure) is a result of a faulty jet, not a faulty glow plug. This type of fault is a defect in the internal part of the spark plug, not the external part. If such candles are found (arrow, drawing) it is not enough to simply replace them, it is necessary to check the injectors for spraying, noise, pressure, and tightness (factory work). In this case, special attention should be paid to the fact that the spray spot during sharp energetic rocking (4-6 strokes/sec) was impeccable.
Removal and installation injectors
A faulty injector causes loud knocking noises in the engine. Carry out the check at idle speed, turning off the injectors one by one. If the knocking noise disappears after disconnecting the injector, it means it is faulty. Replace. You can also check at high idle speed, turning off the injectors one by one. If after the injector is turned off, the engine speed remains constant, then this injector is faulty. Checked with a pressure gauge (factory work). In case of faulty injectors:
- Knocking in one or more cylinders.
- The engine gets very hot.
- Power is dropping.
- Thick exhaust gases.
- Increased fuel consumption.
Removal
Clean the injection lines with fuel. Disconnect them from the pump and injectors.
Material taken from an internet portal: www.OPELBOOK.ru
Remove the fuel return lines. Unscrew the nozzle holder.
Remove the wave washer, heat insulator and copper sealing ring.
Clamp the injector holder in a vice using soft material pads. Remove the injector.
Check the condition and position of the injector needle, wear and damage to the nozzle. Use a wooden spatula to remove any carbon deposits.
Caution! Do not use for cleaning sharp, scratchy objects. Don't confuse the injectors.
The needle should be freely inserted into the nozzle under its own weight.
Installation
Assemble the nozzles and holders together.
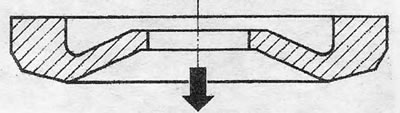
Install new sealing rings into the injector holes in the cylinder head. Install insulators with a smaller diameter towards the cylinder head. Place the sealing rings on the insulators. Install washers on insulators as shown in the figure (arrow). Install the injectors together with the holders and tighten to 70 Nm.
Install the fuel lines and tighten the nuts to 25 Nm.
Visitor comments