


Contents: Removal ⬇ Installation ⬇
Removal
Raise the vehicle and support it on supports.
Warning! Do not use a center punch or chisel to make marks.
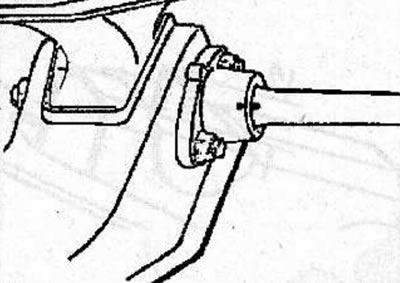
Mark the relative positions of the torsion bar and the anchor lever.
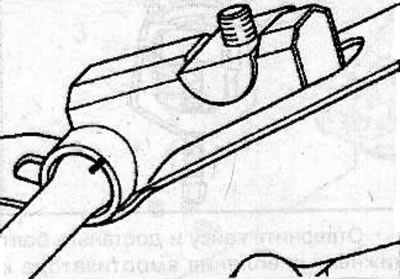
Mark the relative position of the torsion bar and the torsion bar retainer installed on the lower arm of the front suspension.
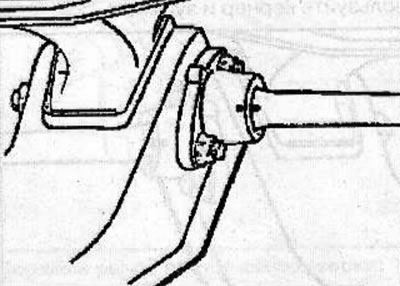
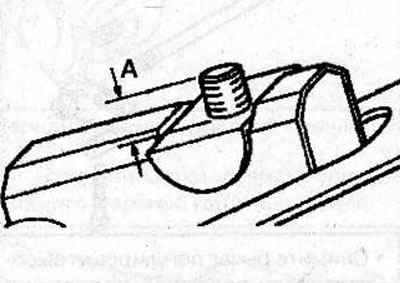
Before removing the adjusting bolt, pivot and anchor arm socket, measure the adjusting bolt protrusion.
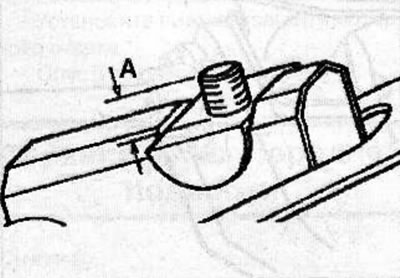
Remove the adjusting bolt from the front suspension height adjustment lever.
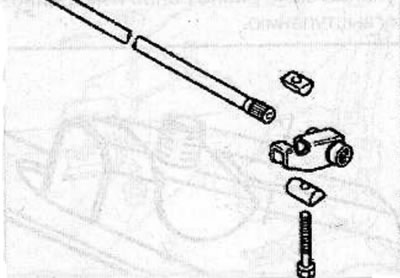
Remove the front suspension height adjustment lever from the chassis bracket.
Remove the bolts and torsion bar retainer from the lower front suspension arm.
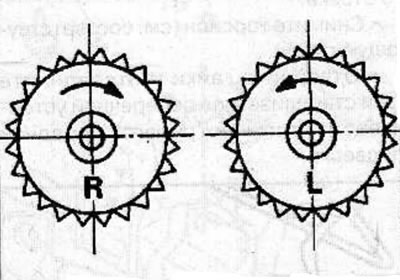
Notes: Torsion bars are identified by the following marks:
- R - right side;
- L - left side.
The torsion bar must be installed so that the end of the torsion bar with the identification mark is directed towards the rear of the vehicle.
Article posted on Internet portal OPELBOOK.ru
Installation
Lubricate the torsion bar splines with universal grease 19 48 524 (90 001 825).
Lubricate the front suspension height adjustment lever pivots and socket with 19 48 524 multi-purpose grease (90 001 825).
Install the torsion bar into the front suspension height adjustment arm, then insert it into the torsion bar retainer located on the lower front suspension arm, aligning the previously applied marks.
Screw the adjusting bolt into the front suspension height adjustment lever until its protrusion is equal to the previously measured protrusion.
Lower the vehicle and check the front suspension ride height.
Visitor comments