
Attention! Installation will require new connecting rod cap bolts.
1. On 4-cylinder engines, guided by Part A of this Section, remove the cylinder head, sump and oil pump pick-up tube / oil strainer. Remove the crankshaft balancer block.
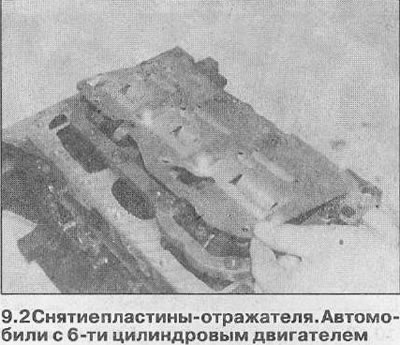
2. On 6-cylinder engines, remove the cylinder heads and sump as described in Part B of this Section. Unscrew the deflector plate and remove it from the base of the main bearing bridge (see illustration).
3. On all models, if there is a wear step at the top of any cylinder bore, it may be necessary to remove it with a reamer to avoid damaging the piston during removal. The presence of a step indicates excessive wear on the cylinder walls.
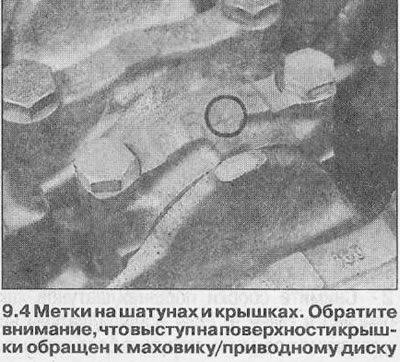
4. Using a hammer and punch or paint, mark each connecting rod and bearing cap according to the cylinder number; if the engine has already been disassembled before, carefully mark all marks (see illustration). On 4-cylinder engines, cylinder No. 1 is at the front end of the engine, and on 6-cylinder engines, cylinder No. 1 is on the right cylinder block from the side of the toothed drive belt.
5. Turn the crankshaft so that the #1 piston is at BDC (bottom dead center).
6. Remove the bolts from the #1 piston connecting rod bearing cap. Remove the cover and remove the lower bearing shell. If the liner does not require replacement, tape it to the lid.
Attention! On some engines, the connecting rods/caps are cut from a single piece. When working with such connecting rods, be especially careful not to damage the contact surfaces of the cap and connecting rod.
8. Use a hammer handle to push the piston out of the cylinder block through the top. Remove the bushing and tape it to the connecting rod.
9. Fit the connecting rod cap bolts.
10. On 4-cylinder engines, remove the No. 4 piston assembly in the same way, then rotate the crankshaft 180°so that the No. 2 and No. 3 pistons become at BDC (bottom dead center), and remove them in the same way.
11. On 6-cylinder engines, remove the remaining five piston assemblies, turning the crankshaft as necessary to gain access to the cap bolts.
Visitor comments