


2. Place the piston/connecting rod assemblies and sets of new piston rings opposite their corresponding cylinders.
3. Insert the top ring into the first cylinder, using the piston head, push it down the cylinder to a distance of 15-20 mm from the top edge perpendicular to the cylinder axis. Then remove the piston.
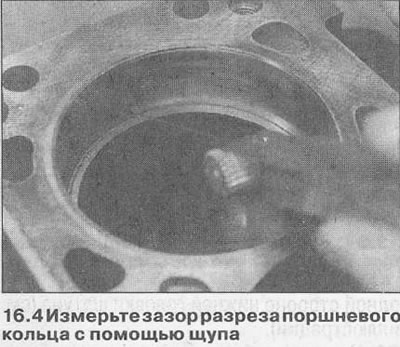
4. Measure the cut gap using feeler gauges and compare the obtained values with the data given in the Specifications (see illustration).
5. If the gap is too small (then most likely non-original Opel parts are used), the gap must be increased, otherwise the ends of the ring will touch each other when the engine is running, which can cause serious damage. Ideally, new piston rings should be installed to ensure the correct cut clearance. As a last resort, the gap can be increased by carefully filing the ends with a fine file. Clamp the file in a vice, put the ring on it and move it slowly. Remember that piston rings are very fragile and can break easily.
6. If the gap is too large, check that the ring is selected correctly for the wall size of the given cylinder.
7. Repeat the inspection procedure for each ring on the first cylinder, and then for the rings in the remaining cylinders. Do not mix up the rings and pistons between cylinders.
8. After the cut clearances have been checked and corrected if necessary, the rings can be installed on the pistons.
9. Install the piston rings using the same method used during removal. First install the lower piston spacer gasket (oil scraper) rings, then install the oil scraper ring parts.
10. The cross-sections of the second and upper compression rings are different; the upper one has a rectangular cross-section, and the second ring is tapered. Install the second and upper compression rings with the "TOP" mark facing up.
Important! Always refer to the instructions included with new piston rings - different manufacturers may specify different procedures. Do not confuse the top and second compression rings. On some engines, the top ring may not have an identification mark and can be installed in either direction.
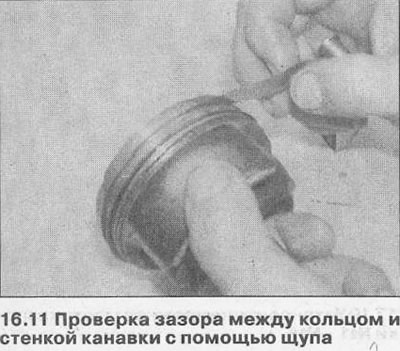
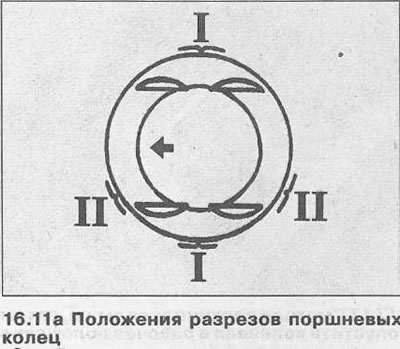
11. After installing the piston rings in place, make sure that they move freely in the groove. Check the gap between the ring and the groove wall of each ring, then position the ring cuts as shown (see illustrations).
Visitor comments