
Warning! Be sure to replace all the pads on one axle of the car, even if one pad has reached the wear limit. If the pads will be reinstalled, mark them before removing them.
1. Raise the rear of the car and secure it on stands. Remove rear wheels.
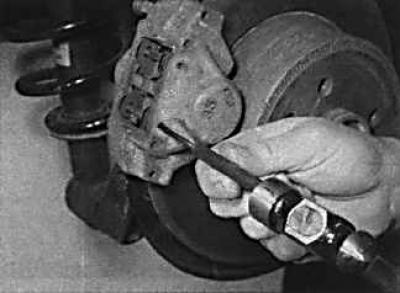
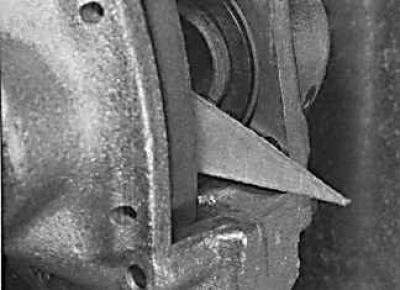
2. Mark the location of the anti-bounce spring, then, using a steel rod or a screwdriver, squeeze out the lower and upper pins of the brake pads from the outside.
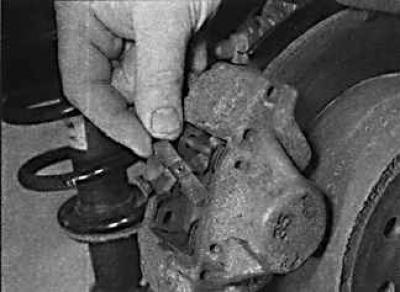
3. Remove the anti-rattle spring.
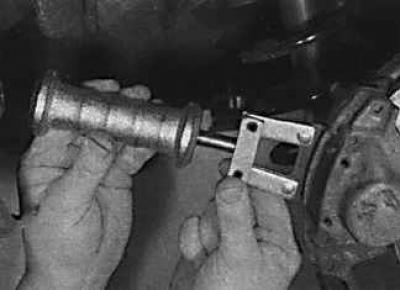
4. Using a special tool or pliers, remove the outer brake pad from the caliper.
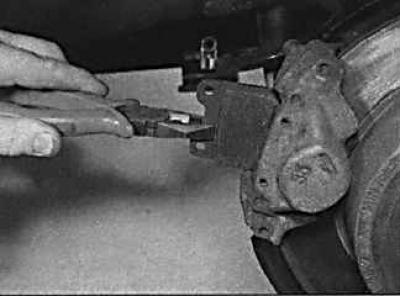
5. Using pliers, remove the inner brake pad from the caliper.
6. Clean the caliper from dust and dirt.
7. Measure the thickness of the brake pads.
8. If the pads are serviceable, clean them using a wire brush and a rag.
9. If new brake pads are to be installed, press the piston into the caliper with the handle of a hammer. At the same time, make sure that the piston is not warped, and the surfaces of the piston and anther are not damaged. When the piston is pushed in, the brake fluid is forced out of the brake cylinder into the expansion tank. Therefore, constantly monitor the level of liquid in the tank, and if necessary, pump out a small amount of it from the tank.
10. Check that the notches in the piston are at a 23°angle to the horizontal line. If necessary, turn the piston to the required position.
11. Install new brake pads to the caliper. Check that the pads move freely in the caliper.
12. Install the anti-bounce spring on the pads, then insert the brake pad mounting pins from the inside. At the same time, press the anti-bounce spring at the same time.
13. Depress the brake pedal several times until the brake pads press against the brake disc.
14. Repeat the above steps on the second wheel.
15. Install wheels and lower vehicle.
16. Check the brake fluid level.
Visitor comments