


Warning! Always replace all pads on one axle of the vehicle, even if one pad has reached the wear limit. If the pads are to be reinstalled, mark them before removal.
1. Remove the brake drum.
2. Using caution and safety precautions, clean all traces of brake dust from the brake drum, brake shield and shoes.
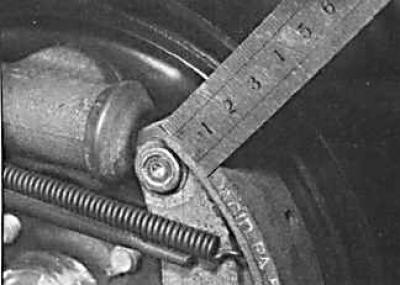
3. Measure the brake pad lining thickness at several points. If any one pad is worn to the minimum thickness at any point, replace all four brake pads.
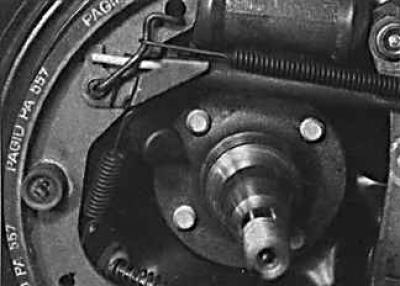
4. Mark the installation position of all rear brake components.
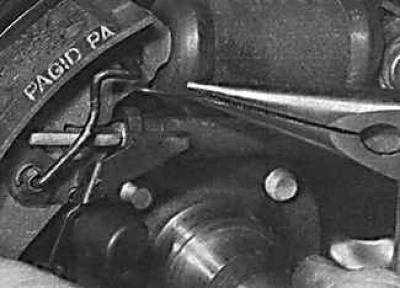
5. Using pliers, disconnect the upper brake shoe return spring.
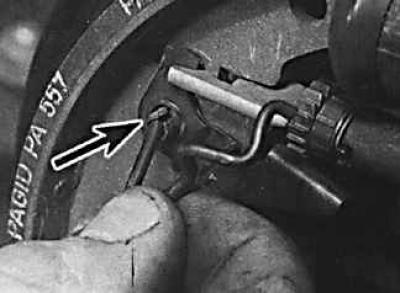
6. Disconnect the front shoe lever retaining spring and remove the retaining spring, lever and return spring from the brake shoe, noting their location.
7. Remove the upper ends of the brake pads one by one and take out the adjusting bar.
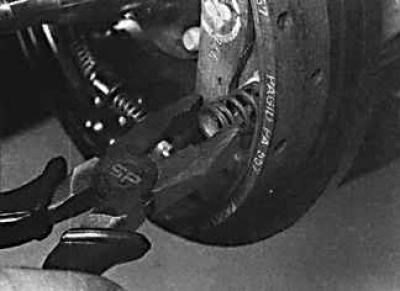
8. Using pliers, remove the shoe retaining spring plate by pressing the plate and turning it 90°.
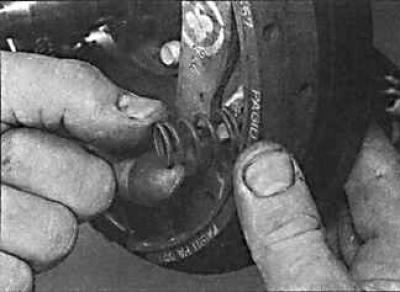
9. Remove the spring and take out the retainer pins.
10. Separate the front brake shoe from the lower return spring and remove the brake shoe and return spring.
11. Using pliers, remove the brake shoe retaining spring plate on the rear brake shoe by pressing the plate and turning it 90°. Remove the spring and remove the retainer pins. Remove the handbrake cable from the brake shoe.
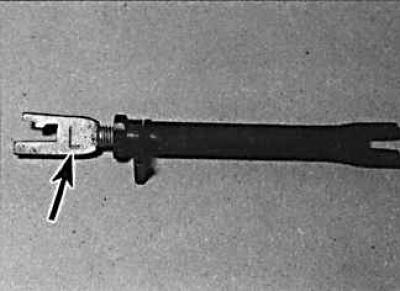
12. Do not remove the brake pads of the left and right rear wheels at the same time to avoid mixing up the brake pad parts. The threaded rods of the left and right wheel adjusting plates are marked with the letters L or R, and the other parts are identified by color: black for the left side and silver for the right side.
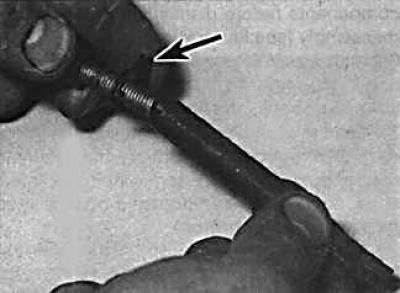
13. Disassemble and clean the adjustment bar. The arrow indicates the thermal clamp.
14. Check the condition of the return springs and replace them if necessary.
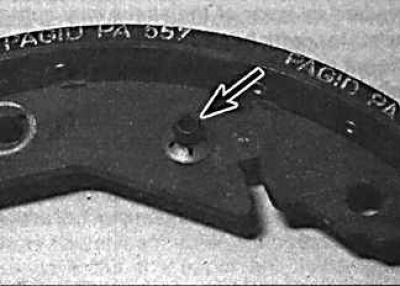
15. If the new brake pads do not have a handbrake control lever, remove it from the old brake pads and install it on the new ones. Secure the handbrake control lever pivot pin with a snap ring (indicated by the arrow).
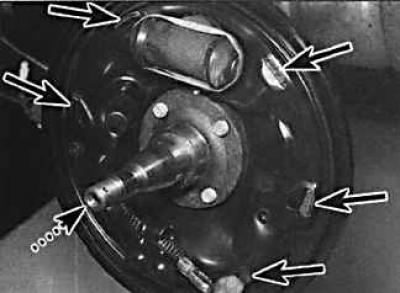
16. Apply a thin layer of high temperature grease to the contact areas of the brake pads and the brake shield.
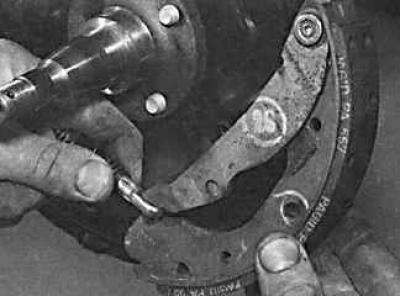
17. Connect the handbrake cable to the lever on the rear brake shoe.
18. Install the brake shoe retainer pin, spring and spring retaining plate onto the rear brake shoe.
19. Install the lower return spring onto the rear brake shoe and connect the spring to the front brake shoe.
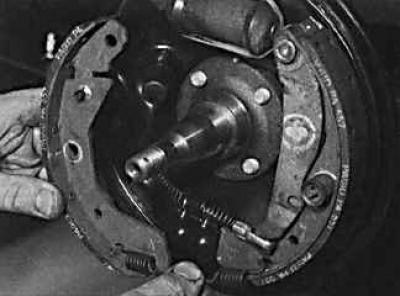
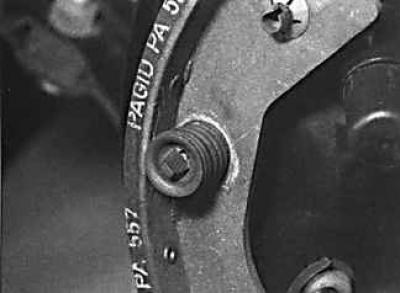
20. Install the front brake shoe onto the brake shield (photo on the left), insert the shoe retainer pin, spring and spring mounting plate (photo on the right).
21. Assemble the adjusting bar by screwing the adjusting wheel onto the adjuster bolt until there is a small gap between the wheel and the bolt head. Insert the adjuster bolt into the adjusting bar.
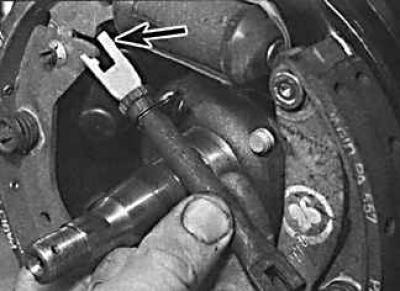
22. Install the adjusting bar between the brake shoes. Make sure that both ends of the adjusting bar are correctly installed on the brake shoes. The longer end of the adjusting bar fork should be directed toward the brake shield.
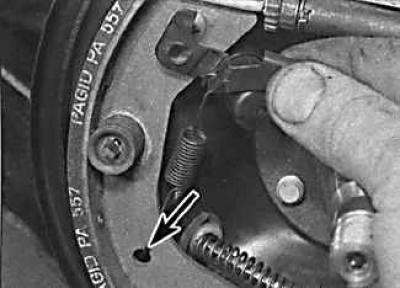
23. Connect the return spring of the adjusting lever to the front shoe and adjusting lever, and install the lever on the pivot pin. Secure the adjusting lever with the locking spring.
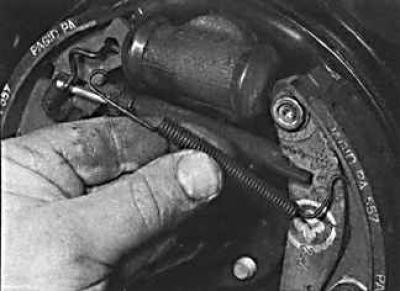
24. Check that the upper parts of the brake shoes are correctly installed in the piston of the wheel brake cylinder and install the upper return spring.
25. Check that the handbrake lever stop mark is aligned with the edge of the brake shoe, then install the brake drum.
26. Replace the brake pads on the second rear wheel.
27. After replacing the brake pads, adjust the clearance between them and the brake drum by pressing the brake pedal 20–25 times. When pressing the pedal, if the adjusting bar is working normally, clicks should be heard from the adjusting bar.
28. Check and, if necessary, adjust the handbrake.
29. Check the brake fluid level in the system.
Visitor comments