


Contents: Removal ⬇ Installation ⬇
Removal
Mark the position of the front wheels relative to the hub so that the balanced wheels take their original position when installed. For marking, it is enough to make a stroke with chalk or paint on the disk and hub.
Loosen the front wheel mounting bolts, raise the front of the vehicle, and remove the wheels.
Remove the brake pads.
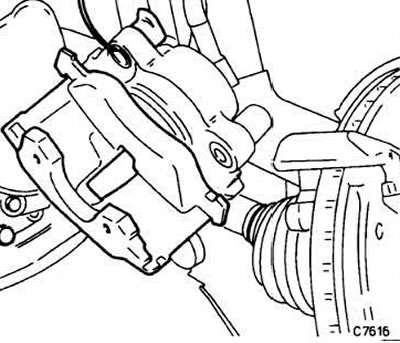
For vehicles with spring-loaded brake pads, hang the brake caliper on a wire.
Remove the retaining bolt from the hub.
Tilt the brake disc slightly and remove it. For vehicles with pin-type brake pads, pull the brake caliper slightly outward.
Installation
To ensure uniform braking on both sides, both brake discs must be of the same thickness and have surfaces with the same roughness. Therefore, it is necessary to replace or grind both discs.
Material taken from an internet portal [www.OpelBook.ru]
The brake disc runout can be checked in the workshop. The maximum permissible axial runout measured on the working surface is 0.03 mm on the removed disc and 0.1 mm on the installed disc. The maximum permissible roughness is 0.4 mm, and the permissible difference in thickness between discs is 0.1 mm.
Measure the thickness of the brake disc.
If necessary, remove traces of corrosion from the brake disc and the hub of the corresponding wheel.
Wash new discs with solvent.
Clean the threaded hole of the fixing bolt, using a tap if necessary. Coat the fixing bolt with sealant, for example, Opel 1510177.
Install the brake disc on the hub and tighten to a torque of 4 Nm.
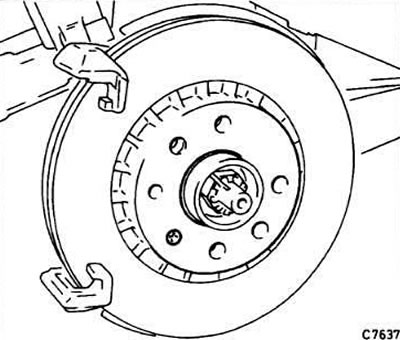
For vehicles with spring-loaded brake pads, tighten the caliper to a torque of 95 Nm.
Install the brake pads.
Install the wheel, lower the vehicle and tighten the wheel bolts crosswise to 110 Nm.
Attention! Press the brake pedal several times until resistance appears.
Check the brake fluid level in the reservoir, if necessary, top up the fluid to the "MAX" mark.
Visitor comments