


Contents: Disassembly ⬇ Assembly ⬇
Disassembly
Remove the generator from the engine (see the relevant chapter).
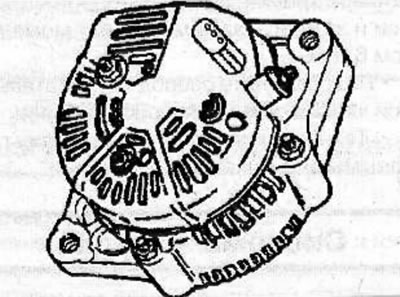
Remove the terminal insulator and unscrew the nut.
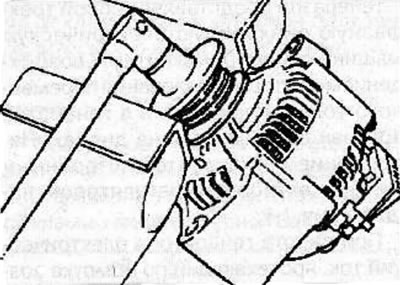
Warning! Place soft protective pads on the vice jaws to prevent damage to the alternator pulley.
Secure the generator pulley in a vice, loosen the nut and remove the generator shaft from the pulley.
Remove the 2 screws securing the brush assembly and rectifier block and remove the brush assembly.
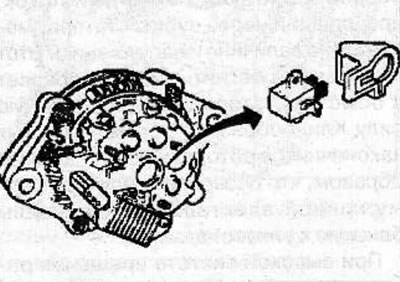
Unscrew the 3 nuts securing the rear cover, unscrew the nut securing the wire to terminal B, remove the insulator, and then remove the rear cover from the generator.
Remove the brush holder from the straightener.
Remove 3 screws and remove the voltage regulator.
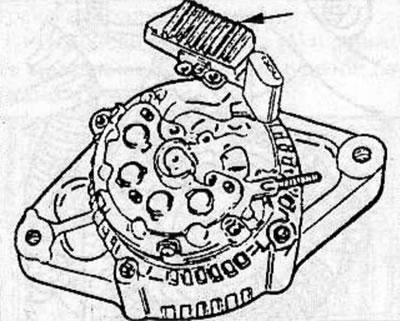
Unscrew the 4 screws securing the rectifier unit, remove the rectifier unit and disconnect the stator wire from it.
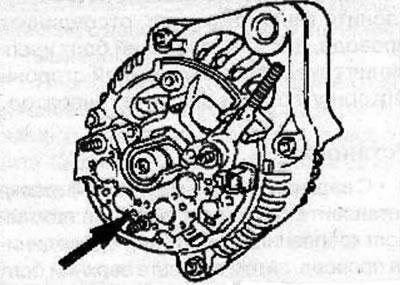
Loosen the nuts securing the rear cover of the generator on the drive side, the cover of the generator on the rectifier block side and remove the insulators.
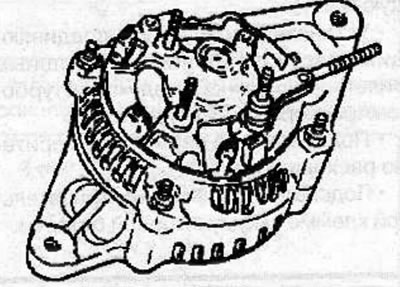
Warning: When removing the bushing, do not damage the generator stator wires.
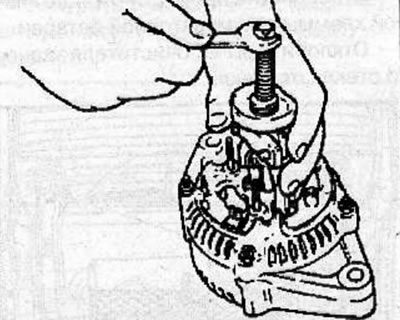
Use a puller to remove the rear end cover.
Material copied from this portal (OPELBOOK.ru)
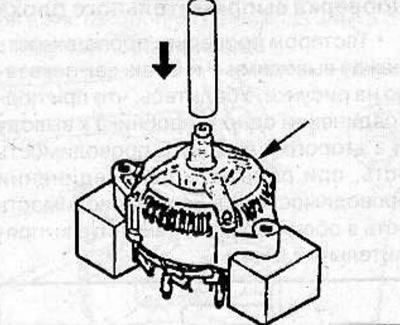
Use a press to push the rotor out of the front cover of the generator.
Assembly
The generator is assembled in the reverse order of disassembly, taking into account the following.
Using a press and socket wrench, install the rotor with the generator cover from the rectifier block side into the front cover of the generator.
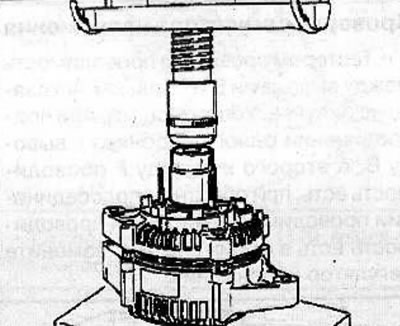
Warning! Place soft protective pads on the vice jaws to prevent damage to the alternator pulley.
Install the pulley onto the rotor. Secure the alternator pulley in a vice, screw on the pulley mounting nut and tighten it to a torque of 111 N·m.
Install the generator (see the relevant chapter).
Visitor comments