
Note: Before replacing any light bulbs, make sure the associated electrical circuit is turned off.
Headlights and front parking lights
1. Open the hood.
2. Slide the clamp located at the rear of the headlight to the side and remove the protective cap (see photo 29.2).
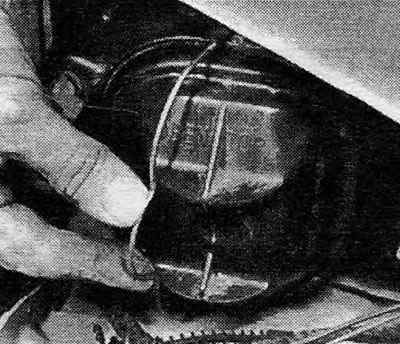
Photo 29.2 Headlight rear cover clamp
3. Disconnect the electrical wiring plug that appears (see photo 29.3).
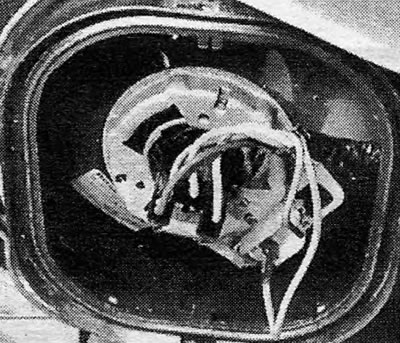
Photo 29.3 Rear headlight cover removed
4. Press down on the light bulb socket and turn it 1/8 turn (see photo 29.4).
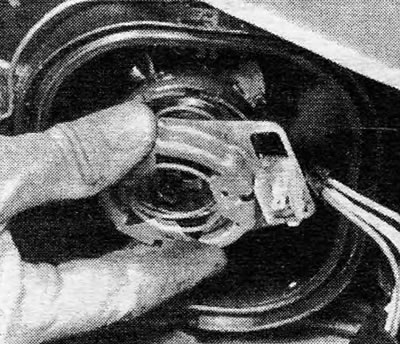
Photo 29.4 Removing the lamp mount
5. Pull out the socket along with the headlight bulb and the parking light bulb (see photo 29.5).
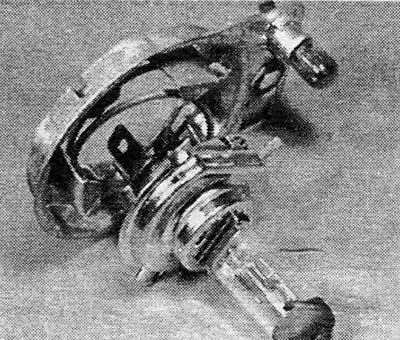
Photo 29.5 Lamps and mounts removed from the headlight structure
6. Headlight bulbs are halogen type and should not be touched with your fingers. If you touch them, wipe the glass with a piece of cloth moistened with methyl alcohol.
7. Replace the lamp with a new one of a similar type, and then replace the socket by performing the above steps in reverse order.
Front turn signal bulbs
8. Open the hood and note the position of the light bulb.
9. Release the cartridge (see photo 29.9).
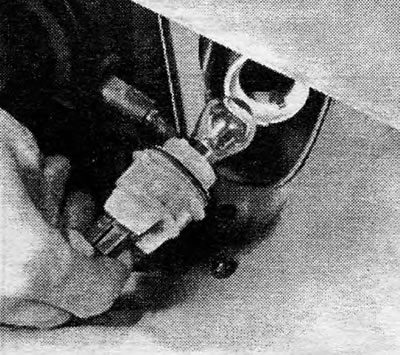
Photo 29.9 Removing the front flashing light and socket
10. Replace the bulb with a new one of a suitable type and reinstall the socket. Front fog lights
11. Remove the single screw located at the bottom of the headlight and remove the lens and reflector.
12. Release the spring clip, disconnect the light bulb from its socket and disconnect the electrical plug.
13. Do not touch the glass of a new light bulb with bare fingers; if this happens by accident, wipe the light bulb with methyl alcohol.
14. Install the new bulb, making sure that the tabs on the reflector line up with the slots in the socket. Secure the spring clip and replace the lens and reflector.
Rear light assembly (Saloon and Hatchback)
15. These bulbs can be accessed by removing the trim panel or luggage compartment carpet and then removing the bulb holder by releasing the mounting tabs (see photo 29.15 A and B).
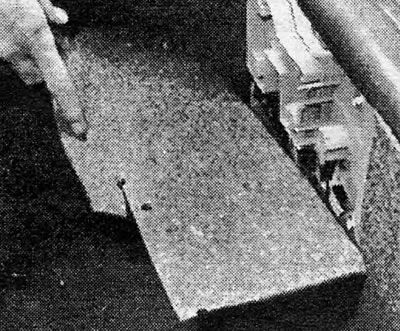
Photo 29.15A Covering the back side of the rear light assembly

Photo 29.15V Rear light bulb holder (mounting clips are indicated by arrows)
16. Replace the bulb with a new one of the correct type.
Rear light assembly (Estate)
17. Remove the four mounting screws and remove the entire assembly. The location of one of the screws is not obvious at first glance (see photo 29.17).
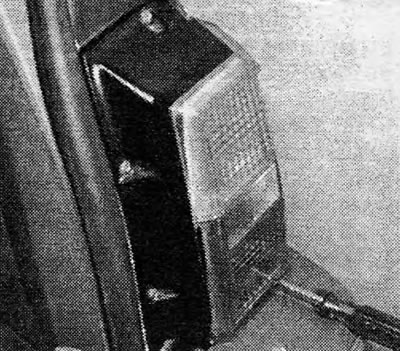
Photo 29.17 Rear light assembly (Estate) fastened with four screws - the end of the screwdriver points to an immediately invisible screw, the rest are easy to spot
18. Release the bulb holder by pressing the lever located on the side. Rotate the bulb holder and remove it (see photo 29.18).
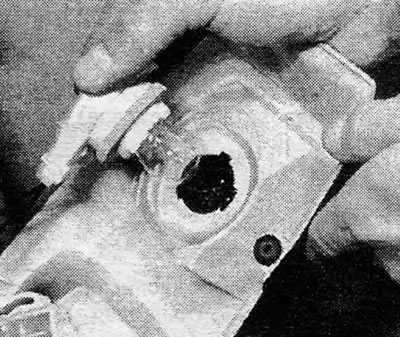
Photo 29.18 Removing the socket from the rear light assembly (Estate)
19. Replace the bulb and reinstall the bulb holder by turning it until it clicks into place slightly.
20. Reinstall the light assembly and secure it with screws.
Rear license plate light (Saloon and Hatchback)
21. Insert a thin screwdriver into the existing slot and remove the backlight from the bumper (see photo 29.21 A and B).

Photo 29.21A Release the rear license plate illumination bulb...
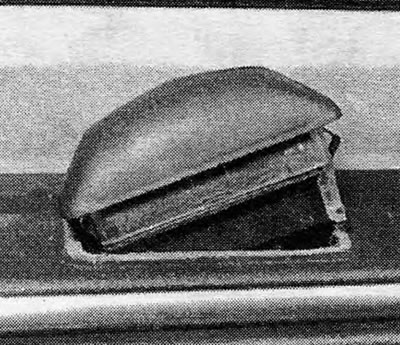
Photo 29.21B....from her hole in the bumper
22. Replace the light bulb with a new one of the correct type (see photo 29.22).
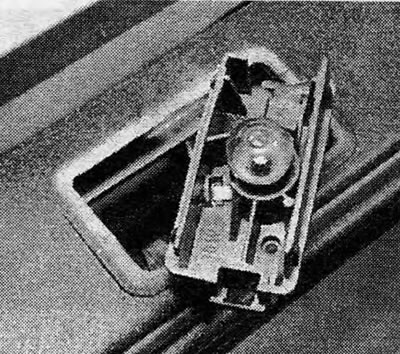
Photo 29.22 Rear license plate illumination lamp
Rear number plate (Estate)
23. Remove the rear door handle, which is secured with four screws.
24. Unscrew the two screws securing the lens and remove it.
25. Remove the old light bulb from the socket and insert the new one.
26. Reinstall and secure the lens and door handle.
Reversing lights and rear fog lights (Estate)
27. Remove the rear door interior trim panel (see Chapter 11, Section 25).
28. Rotate the cartridge and pull it out (see photo 29.28).
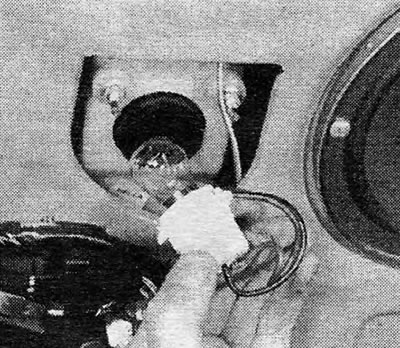
Photo 29.28 Removing the rear door light bulb - Estate
29. Replace the bulb, reinstall the socket, and then the rear door trim panel.
Interior lighting bulbs
30. Light bulb lenses along with type bulbs "minion" can be removed from the interior trim above the mirror by carefully pulling them out (see Photos 29.30 A and B, and Figures 12.27 and 12.28).
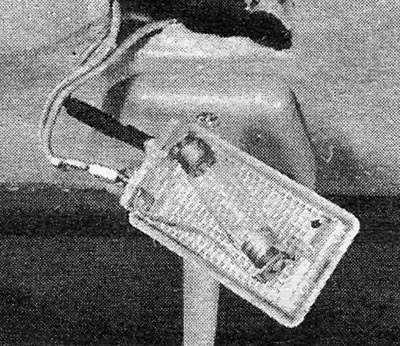
Photo 29.30A Interior lighting design - standard type
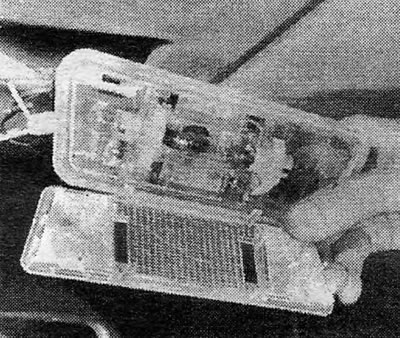
Photo 29.30V Combined design of interior lighting bulb and reading light (shot for performance photography)
31. Replace the old light bulb with a new one of a suitable type and install the structure in place. Note: On later models equipped with an interior light relay, if the bulb cannot be removed, the interior relay may be faulty.
32. Replacing the luggage compartment light bulb is done in the same way (see photo 29.32).
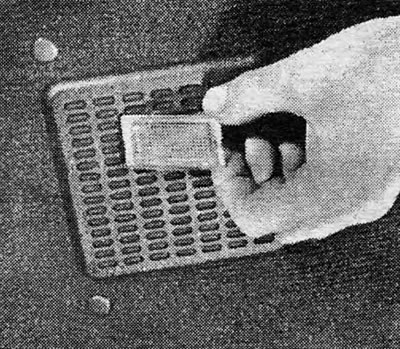
Photo 29.32 Luggage compartment light bulb
Instrument lighting bulbs
33. These bulbs can be replaced after the instrument panel has been partially removed as described in Section 26.
34. There is no need to disconnect the speedometer cable, provided that the cable is pulled through the hole in the engine when the panel is partially removed.
35. Unscrew the sockets from their sockets in the instrument panel and pull out the small cone-type bulbs (see photo 29.35).
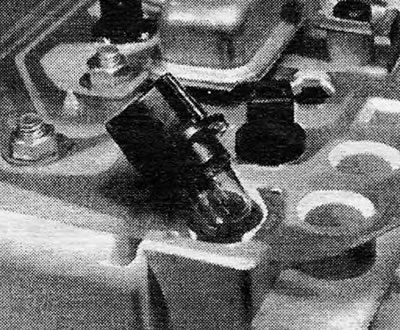
Photo 29.35 Instrument panel indicator light and socket
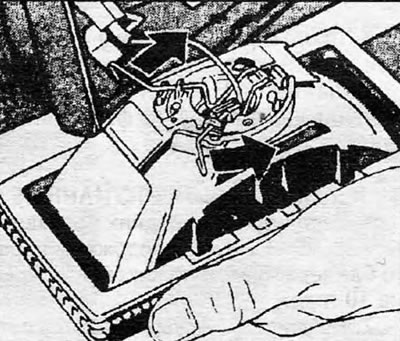
Figure 12.23. To access the front fog lamp: press the tabs on the spring clip in the direction of the arrow
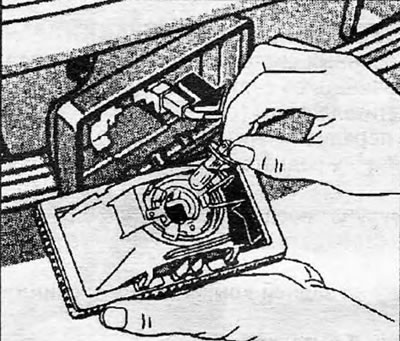
Figure 12.24. Replacing the front fog lamp bulb. Do not let your fingers touch the lamp glass (indicated by arrow)
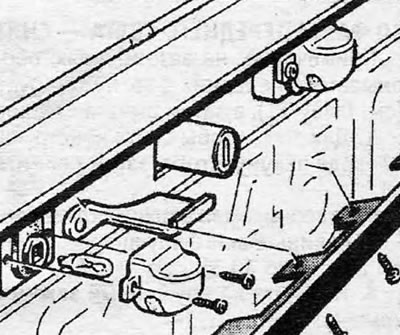
Figure 12.25. Rear license plate illumination - Estate
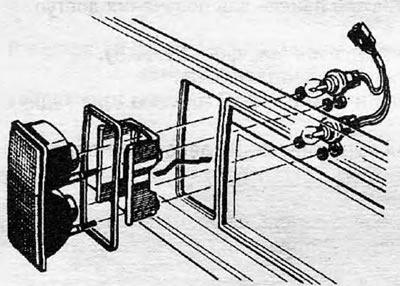
Figure 12.26. Design of reversing lights and rear fog light - Estate
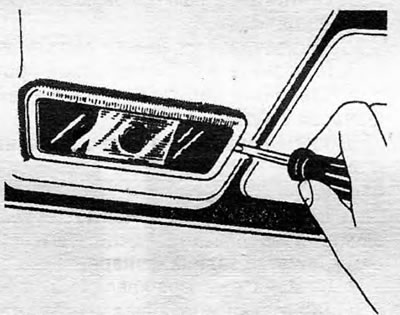
Figure 12.27. Press at the indicated point to release the standard type interior light bulb
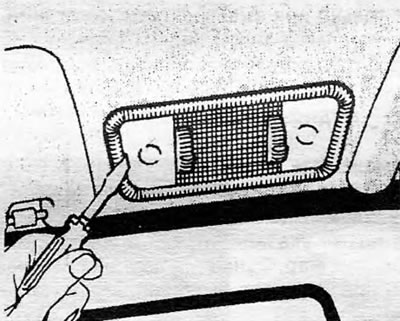
Figure 12.28. Press at the indicated point to release the interior light and reading light combination design
Visitor comments