
The vehicles covered in this manual are equipped with the SRS Supplemental Safety System, better known as the airbag. Before doing any work near the cushion or steering column assembly, be sure to turn off the system to avoid injury from accidental operation (see chapter Onboard electrical equipment). The insulation and connectors of the SRS wiring harness are bright yellow. Do not connect any diagnostic devices to this circuit!
The air conditioning system is constantly under high pressure. Never disconnect refrigeration lines or remove any system components without first discharging the system. The discharge of the air conditioning system must be carried out by an experienced specialist in a car service workshop. Always wear safety goggles when disconnecting refrigerant lines!
Do not allow antifreeze to come into contact with exposed areas of the body and painted surfaces of the car. Accidental splashes should be washed off immediately with plenty of water. Remember that antifreeze is a highly toxic liquid and getting it into the body, even in small quantities, is fraught with the most serious consequences (up to death). Never leave antifreeze stored in a loosely sealed container and clean up spilled coolant on the floor without delay. Remember that the sweet smell of antifreeze can attract the attention of children and animals. Consult any car service station about ways to dispose of used coolant. In many regions of the world, special points have been set up to receive various types of detention. Never drain old coolant down the drain and onto the ground! Recently, non-toxic grades of antifreeze have been developed, but they must also be disposed of in an organized manner.
Wait until the engine has completely cooled down before proceeding with the procedure.
Removing
1. Empty the cooling system (see chapter Current service).
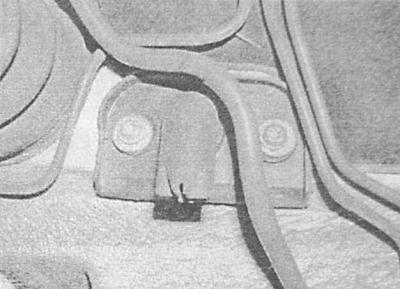
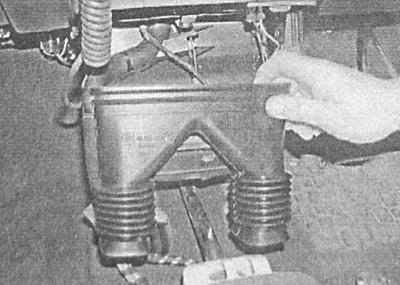
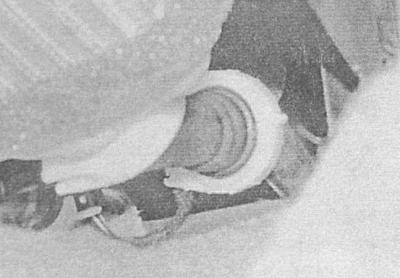
2. In the engine compartment, disconnect the heater hoses from the heat exchanger nozzles - pre-mark the hoses in order to ensure their correct connection during assembly.

Branded hoses are equipped with quick-connect connectors.
3. If you have access to a source of compressed air, blow out the heater coil to remove any remaining coolant from it to avoid getting on the carpet when removing the heater. Connect a hose to one of the nozzle fittings, lower the other end into a suitable container. Supply air to a free fitting, - if there is no access to a source of compressed air, plug the fittings.
4. On equipped with A/C models cock the parking brake, jack up the front of the car and place it on supports, if equipped, remove the crankcase protection. Remove rear engine mount (see chapter Engine).
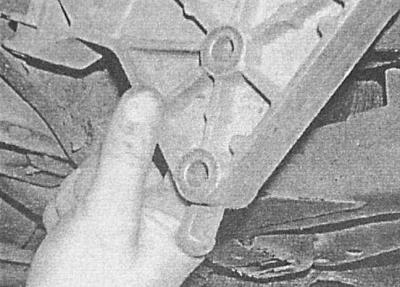
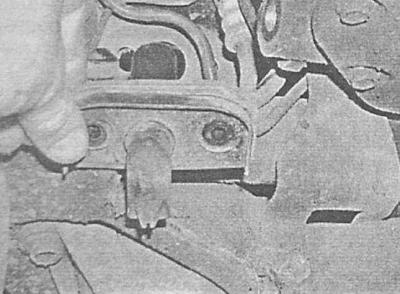
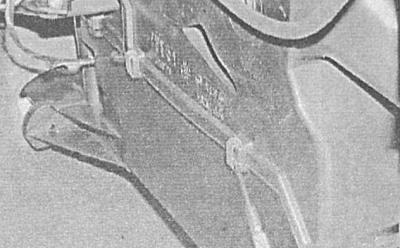
5. Turn out two fixing bolts and remove from the floor panel the drainage knot intended for removal of condensate.
Dismantling the drainage unit is possible without first removing the support, however, the work is much more complicated.
6. Remove the center console (see chapter Body). Pull forward and remove the air supply hoses to the rear footwells.
On Zafira models, before removing the air ducts, give the rack mounting bolts.
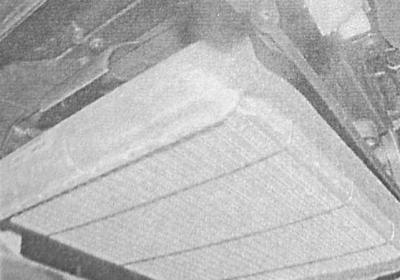
7. Release 9 fasteners securing the cover to the main body of the heater. Please note that on some models, in addition to the clamps, two mounting bolts are also used.
8. Lower the cover.
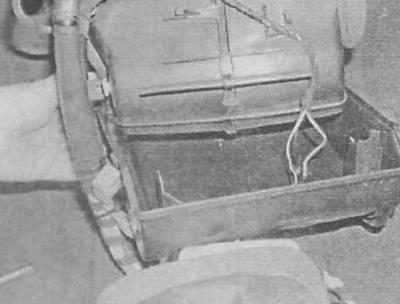
9. On equipped with A/C models Disconnect the electrical wiring from the coolant shut-off valve.
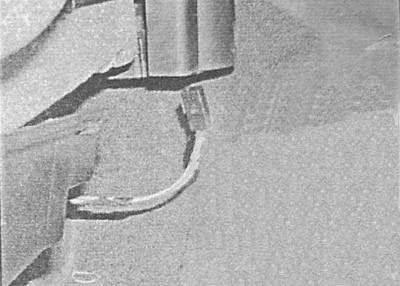
4. Release the mounting clamps and disconnect the hoses of the cooling path (models without A/C) / shut-off valve (models with A/C) from the heater heat exchanger.
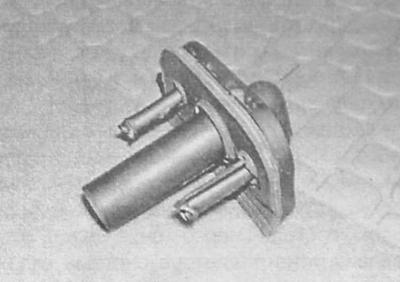
5. Remove the heat exchanger from the heater housing.
6. Remove the sealing rings - when installing the rings, they must be replaced without fail. Check the condition of the quick connectors, - replace the defective components.
Installation
Installation is carried out in the reverse order to the dismantling of the components.
1. Lubricate new O-rings with a small amount of silicone grease before installation. On Zafira models make sure that the hoses fit securely on their fittings on the bulkhead of the engine compartment, - when connecting the hoses, support them with a hammer handle.
2. Finally, charge the cooling system (see chapter Current service). Check that the quick connectors are securely fastened - the green retaining ring should be loose.
Visitor comments