
Warning! When servicing and performing work on the elements of the cooling system, observe safety precautions (see section 2)! Wait until the engine has completely cooled down before proceeding with the procedure!
1. Empty the cooling system (see Section 3).
2. In the engine compartment, disconnect the hoses (see resist. illustration) heater from the heat exchanger nozzles - pre-mark the hoses to ensure their correct connection during assembly.
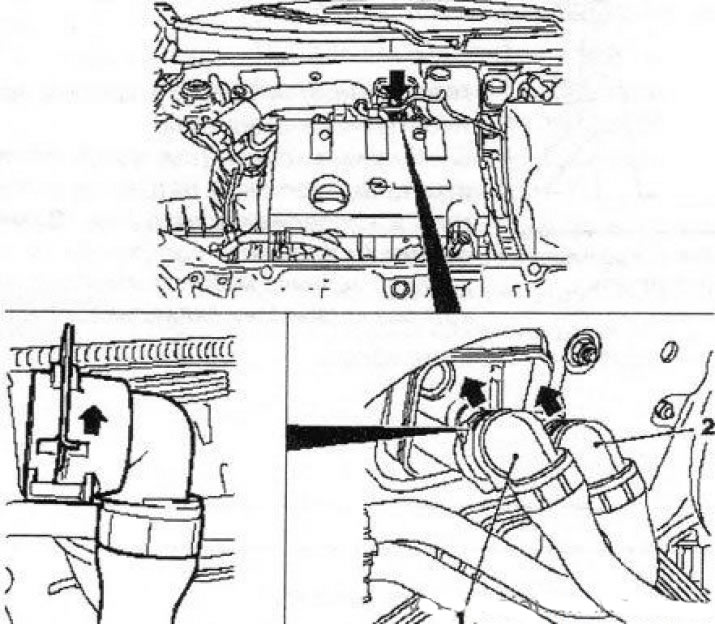
19.2 Hoses (1 and 2) heat exchanger with quick connectors
Note: Branded hoses are equipped with quick connect connectors.
3. Remove the air supply hose to the passenger footwell (see Section 15).
4. Remove 3 screws (see resist. illustration) and remove the heater core cover.
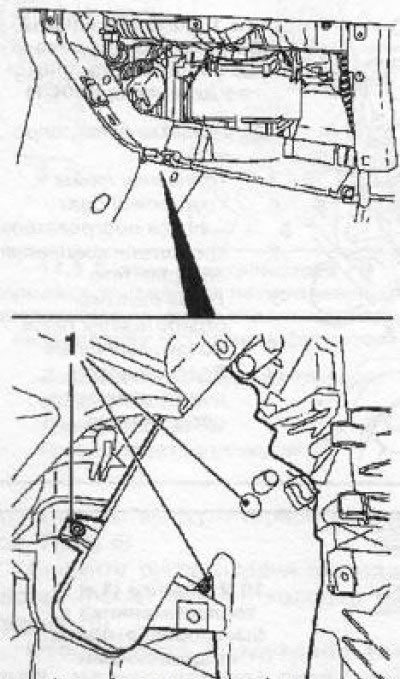
19.4 Screws (1) fixing the cover of the heat exchanger of the heater
5. Remove clamps (see resist. illustration) fixing the heater pipes and disconnect the pipes.
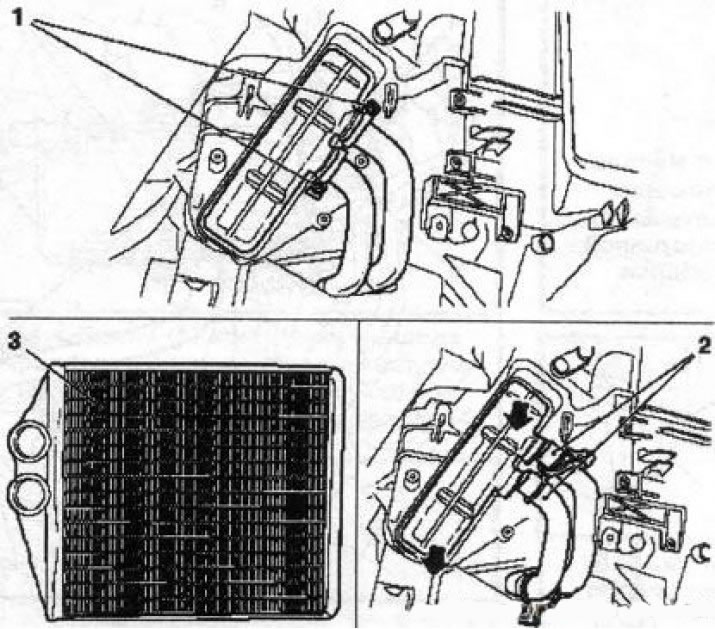
19.5 Clamps (1) fixing pipes 2 heat exchangers (3) heater
Note: Be careful - some coolant may remain in the heat exchanger! Substitute a container to collect liquid or blow out the heat exchanger with compressed air in advance.
6. Pull the heat exchanger out of its seat and remove it from the vehicle.
7. Installation is carried out in the reverse order.
Visitor comments