


Engines 1.4 and 1.6 l
Removal
Disconnect the negative battery terminal.
Remove the outer belt covers as previously described. The power steering pump must be completely removed.
Turn the crankshaft so as to bring piston No.1 to TDC.
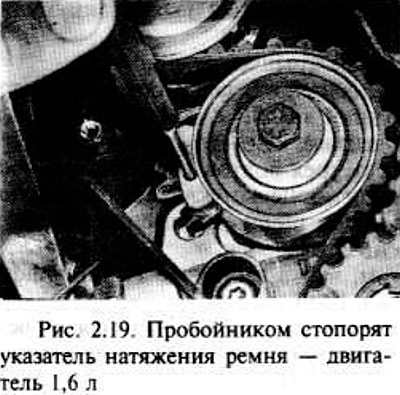
Insert a tool into the hole of the belt tension indicator lever, then turn the lever clockwise until it stops and fix this position.
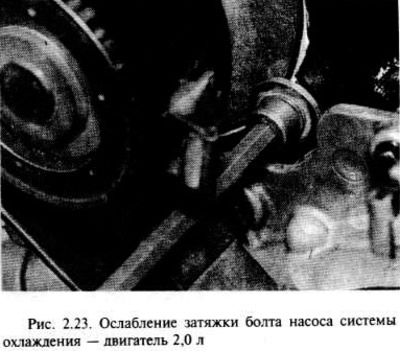
Loosen the three bolts on the coolant pump with a socket wrench, then turn the pump to relieve the belt tension.
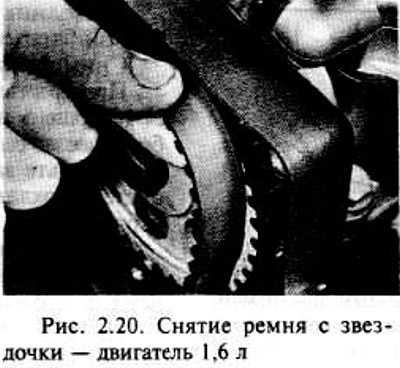
Remove the belt from the sprockets.
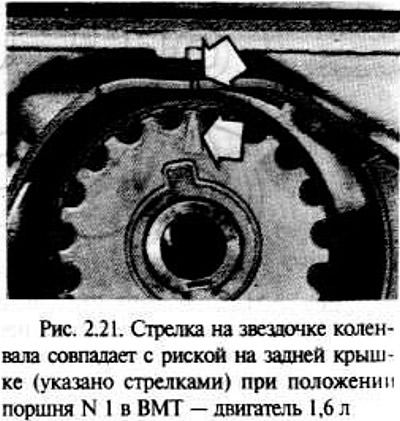
Install the belt onto the sprockets (starting from the crankshaft sprocket), making sure that piston No.1 is at TDC. The arrow on the sprocket should match the mark on the cover.
Adjust the belt tension, replace the covers, install the power steering pump. Connect the negative terminal of the battery.
Adjustment
Note: The engine must be cold when checking and adjusting the distributor belt tension.
After removing the outer belt covers, do the following:
Turn the crankshaft to bring piston No.1 to TDC. To make turning the crankshaft easier, remove the spark plugs.
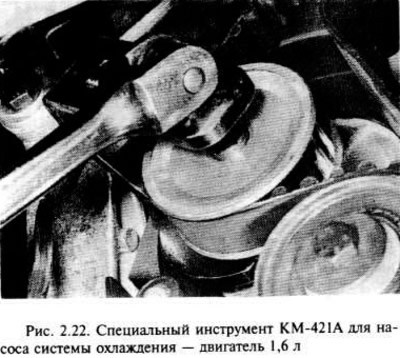
Loosen the coolant pump bolts with a socket wrench. Turn the pump clockwise to increase belt tension until the tension indicator lever reaches the stop (the holes in the lever and the back plate will match). To turn the coolant pump, there is a special tool from Vauxhall/Opel KM-421-A and an equivalent tool.
Tighten the coolant pump bolts to prevent the pump from turning during the next operation.
Using a wrench and the crankshaft pulley bolt, turn the latter clockwise two full turns until piston No.1 reaches the TDC position.
Carefully turn the coolant pump counterclockwise to loosen the belt until the tension indicator needle is in the center of the "V" fork (see picture), then tighten the bolts.
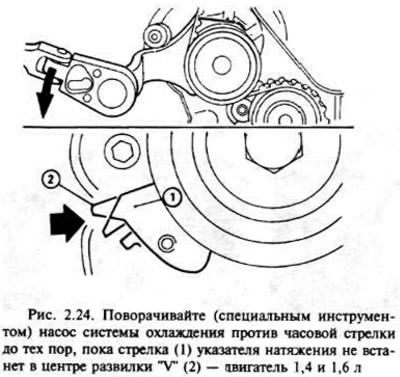
Turn the crankshaft clockwise two full turns and check whether the tension indicator needle is in the position indicated in the previous paragraph - if not, repeat the sequence of operations.
Replace the spark plugs and install the outer belt covers.
Engines 1.8 and 2.0 l
Note: An appropriate crankshaft sprocket puller may be required.
Disconnect the negative battery terminal.
Remove the outer belt covers.
Turn the crankshaft so that the piston in cylinder No.1 is at TDC, using a wrench and the crankshaft sprocket bolt. Remove the crankshaft pulley.
Loosen the three water pump mounting bolts with a socket wrench, then rotate the pump to reduce belt tension.
Remove the belt from the sprockets.
Make sure that the piston in cylinder No.1 is still at TDC.
Place the belt on the sprockets, starting with the crankshaft sprocket. Adjust the belt tension.
Install the pulley onto the crankshaft.
Install the outer covers. Connect the negative terminal to the battery.
Adjustment with Opel device
The auto repair shop has a special device from the company for adjusting the belt tension. The device comes with instructions explaining the order of operations.
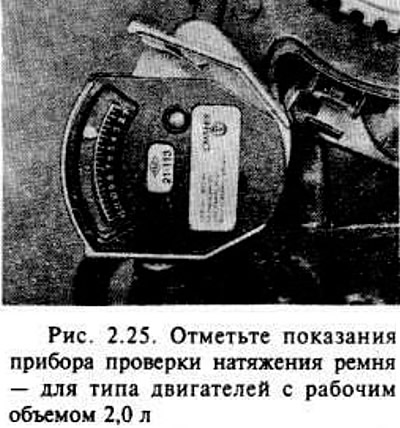
Coarse adjustment
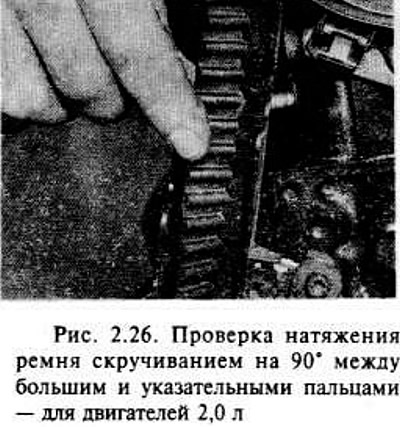
If you do not have a special device, you can check the belt tension by twisting the belt between your thumb and index finger in the middle part. It should turn only 90° with medium pressure on it.
2.0L DOHC engines
Disconnect the negative terminal of the battery, remove the outer belt cover and turn the crankshaft so that the piston of cylinder No.1 is at TDC.
Remove the crankshaft pulley, loosen the pinch bolt as shown in the figure, and release the belt tensioner pulley, then remove the belt from the sprockets and pulleys.
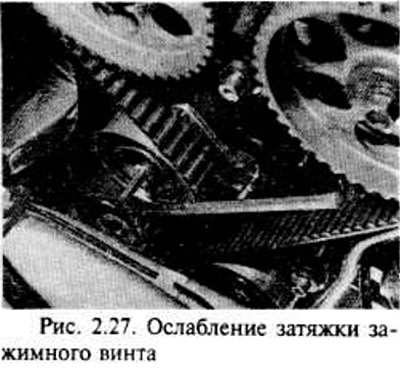
Place the new belt on the sprockets and pulleys, starting with the crankshaft sprocket. Install the crankshaft pulley.
Adjust the belt tension.
Install its outer cover and connect the negative battery terminal.
Visitor comments