
Pilot lamps
2. Control lamps are located on the dashboard. Removal and installation are described in Chapter 19.
Control block
Removing
3. The control unit is located on the passenger side behind the panel, above the glove box.
4. Remove the glove box assembly as described in Section 11.
5. Disconnect the wire contact of the control unit, then disconnect the control unit from the mount and remove the unit.
Installation
6. Installation is carried out in the reverse order.
Coolant level sensor
Removing
7. Coolant level sensor - built into the cap of the coolant expansion tank.
8. Disconnect the electrical wiring from the top of the cover, then unscrew the cover and remove it from the expansion tank.
9. If the sensor is defective, replace the cap.
Installation
10. Installation is carried out in the reverse order.
Washer fluid level sensor
Removing
11. The sensor is installed on the side of the nutrient tank.
12. Disconnect the electrical wiring from the sensor, then unscrew the sensor from the nutrient tank. If the fluid level is above the sensor level, plug the hole.
Installation
13. Installation is carried out in the reverse order.
Brake fluid level sensor
14. The procedure is the same as described for the coolant level sensor in steps 7-10.
Engine oil level sensor
Removing
15. Apply the handbrake, jack up the front of the vehicle and place it on axle stands.
16. On DOHC models, remove the lower engine skid plate as described in Section 11.
17. Disconnect the sensor wire connector.
18. Unscrew three or four screws securing the sensor, depending on the model, and remove the sensor (see illustration).
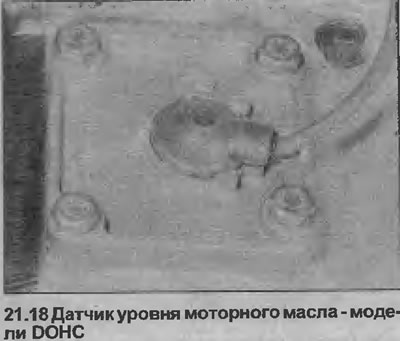
19. Inspect the condition of the O-ring and replace it if necessary.
Installation
20. Installation is carried out in the reverse order. Finally, check and if necessary top up the engine oil level.
Lamp damage sensor
Removing
21. The lamp damage sensor is mounted behind the fuse/relay panel.
22. Release the mounting brackets at the bottom of the fuse/relay panel and tilt it forward.
23. Pull the sensor out of its socket.
Installation
24. Installation is carried out in the reverse order.
Visitor comments