
Models without headlight washer
Removing
2. Disconnect the electrical wiring from the washer pump.
3. Disconnect the flush fluid hose from the pump.
4. Loosen the screw (s), holding the tank to the body and remove the tank.
Installation
5. Install the gay in reverse order.
Models with headlight washer
Removing
6. On models with headlight washer, the reservoir consists of two parts. The upper part can be removed from the engine compartment and the lower part can be removed from under the wheel arch.
7. Disconnect the electrical wiring from the unidirectional valve of the headlight washer top reservoir.
8. Disconnect the flush fluid hoses from the one-way valve.
9. Remove the screw securing the top of the tank to the wing panel.
10. Loosen the plastic connection holding the top of the tank to the bottom. Remove the top of the reservoir from the engine compartment.
11. To remove the bottom of the reservoir, proceed as follows.
12. Apply the handbrake, then jack up the front of the vehicle and place it on axle stands.
13. Turn off screws of fastening and take plastic facing from a forward bumper/wing.
14. Remove beeps (Chapter 22).
15. Remove wheel arch protection (Section 11).
16. Disconnect the wiring and hoses from the washer pump.
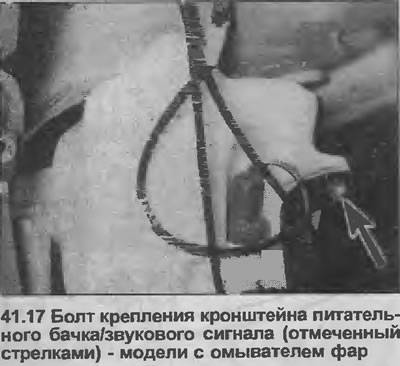
17. Remove the bolts securing the horn/reservoir and reservoir brackets to the housing, then remove the bracket and reservoir (see illustration).
Installation
18. Installation is carried out in the reverse order.
Visitor comments