
Note: The glass envelopes of the lamps and fog lamps must not be touched with fingers. If you accidentally touch the lamp, wipe it with methanol.
1. Disconnect the negative cable from the battery.
Headlights
Removing
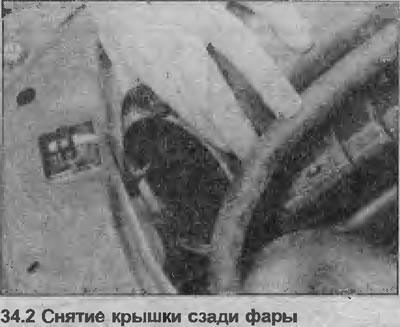
2. Working in the engine compartment, release the mounting bracket and remove the cover at the back of the headlight (see illustration)
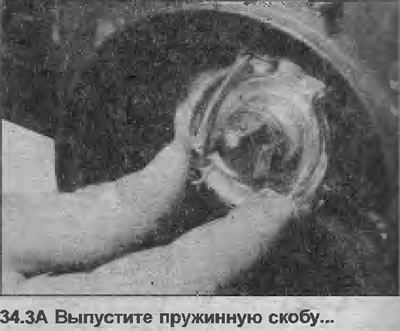
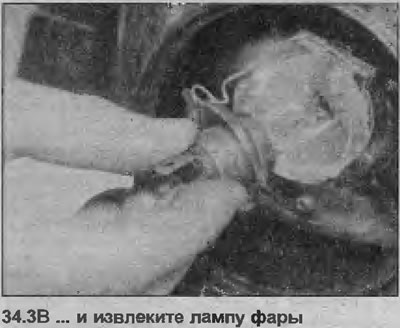
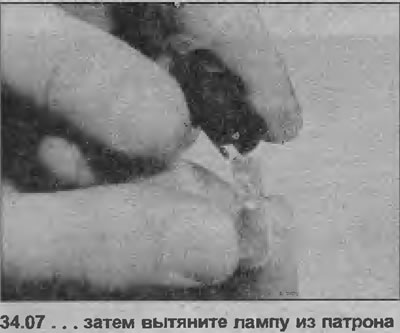
3. Disconnect the wire contact from the base of the lamp, then release the spring clip, grasp the lamp by the contacts and carefully remove it (see illustrations). Do not touch the lamp glass.
Installation
4. Installation is carried out in the reverse order.
Parking lights
Removing
5. Working in the engine compartment, release the mounting bracket and remove the cover at the rear of the headlamp.
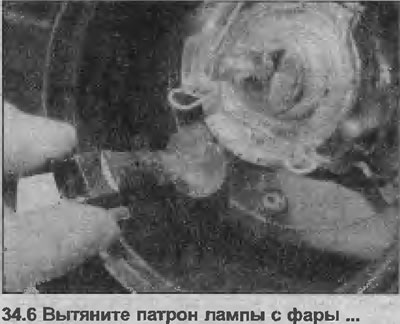
6. Disconnect the wire contact from the bulb socket, then pull the bulb socket out of the headlight (see illustration).
7. Pull the bulb out of the socket (see illustration).
Installation
8. Installation is carried out in the reverse order.
Front turn signal lamp
Removing
9. Working in the engine compartment, disconnect the contact wires from the lamp socket.
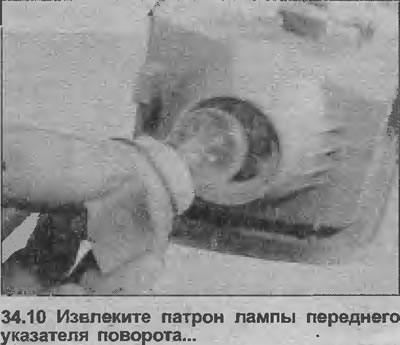
10. Turn the lamp socket counterclockwise and pull it out of the block (see illustration).
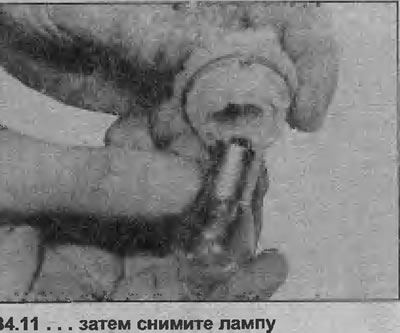
11. Remove the lamp from the socket (see illustration).
Installation
12. Installation is carried out in the reverse order.
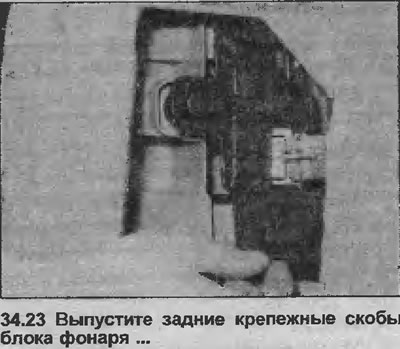
Front side repeater lamp
Removing
13. Turn the lamp lens counterclockwise and separate it from the lamp.
14. Remove the lamp from the socket (see illustration).

Installation
15. Install in reverse order, but make sure the rubber o-ring is properly seated between lens and body panel.
Front fog lamp
Removing
16. Apply the handbrake, jack up the front of the vehicle and place it on axle stands.
17. Unscrew the fastening screws and remove the plastic facing (driver's side only) from the front bumper/wing.
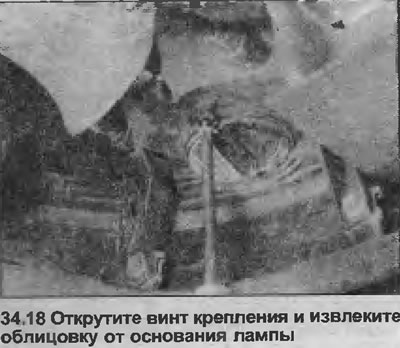
18. Remove the fixing screw and remove the facing from the base of the lamp (see illustration).
19. Release the spring clip, then grasp the lamp by the contacts and carefully remove it (see illustration)..

20. Disconnect the wire contact from the base of the lamp.
Installation
21. Installation is carried out in the reverse order.
Rear light unit
Removing
22. When working in the luggage compartment, remove the cover at the back of the lamp.
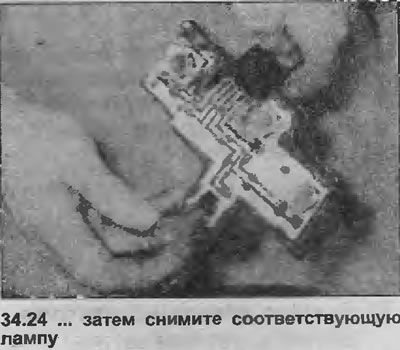
23. Release the top mounting brackets of the base and pull the lamp assembly out of the light (see illustration).
24. Pull the lamp out of the socket (see illustration). Please note that the brake/position lamp has offset pins so that it can be installed in one position.
Installation
25. Installation is carried out in the reverse order.
Rear license plate lamp
Removing
26. Using a thin screwdriver, carefully remove the lamp from the bumper
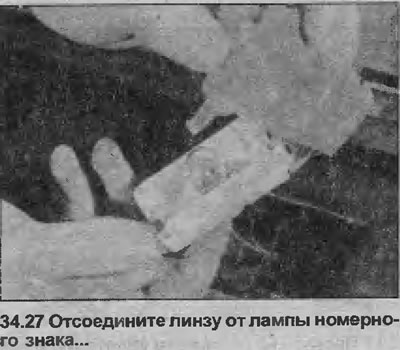
27. Pull the bulb out of the bumper and detach the lens (see illustration).
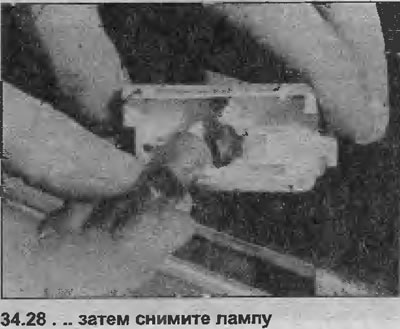
28. Remove the lamp from the socket (see illustration).
Installation
29. Installation is carried out in the reverse order.
Visitor comments