


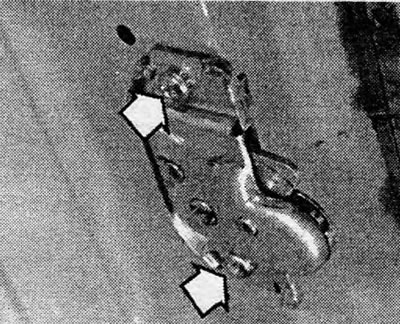
Photo 30.1 Trunk lid lock mounting screws (indicated by arrows)
2. To remove the lock cylinder, release the spring clip using a screwdriver. Pull out the cylinder structure.
3. To disassemble, insert the key into the cylinder and then remove the spring clip (4) using a thin screwdriver (see Figure 11.44).
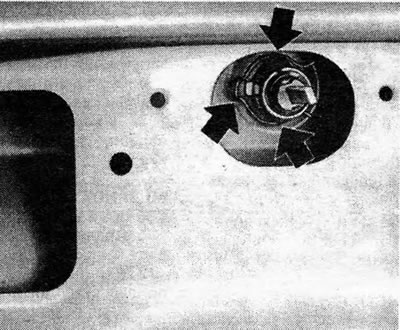
Figure 11.43. Trunk lid lock cylinder retaining clip - left arrow. The remaining arrows point to the spring's locking protrusions
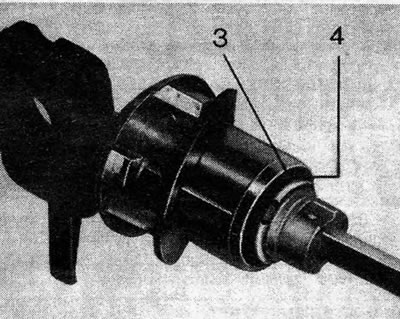
Figure 11.44. Spring clamp (4) of the lock cylinder and washer (3)
[Material provided by this website OPELBOOK.ru]
4. Mark the sequence of installation of the lock parts.
5. Assembly and installation in place are carried out by performing the above steps in reverse order. When installing the lock into the trunk lid, press firmly on the lock cylinder from the keyhole side until you feel the fork-shaped spring clip snap into place completely. Adjust the height of the latch position as necessary to ensure smooth and secure closing of the trunk lid (see photo 30.5).
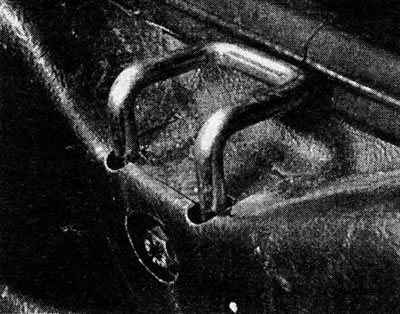
Photo 30.5 Trunk lid lock latch
Visitor comments