
Models 1.7L SOHC
Installation will require new manifold mounting nuts.
1. The exhaust manifold is removed as an assembly with the turbocharger. Engage the parking brake, jack up the front of the car and place it on supports, if equipped, remove the crankcase protection.
2. Remove air ducts and air cleaner with MAF sensor (see Removal and installation of components of an inlet air path).
3. On right-hand drive models, remove the alternator (see chapter Engine electrical equipment).
4. Release connectors, turn out bolts of fastening of a basic arm and remove a tube connecting an intercooler with a turbocharger.
5. Loosen the clamps, unscrew the fixing bolt and remove the air duct connecting the intake pipe to the intercooler.
6. Disconnect the electrical wiring and vacuum hoses from the EGR valve on the left of the manifold - try to remember the order of connecting the vacuum hoses.
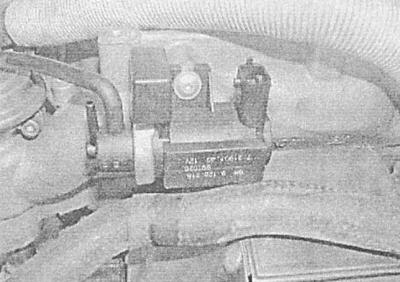
7. Turn out fixing bolts and remove the electromagnetic EGR valve from the inlet pipeline.
8. Disconnect the fuel filter from the filter housing and take it to the side - do not disconnect the fuel pipes.
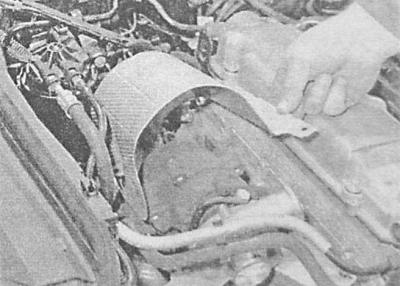
9. Turn out three fixing bolts and remove the heat-shielding screen of a turbocharger.
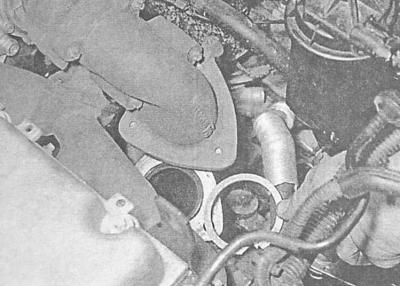
10. Turn out four fixing bolts and remove a corrugated metal tube from the inlet pipeline and a final collector. Remove two seals.

11. Turn out two fixing screws and one nut and remove the protective screen of a starter.
12. Turn out fixing bolts and remove a reception pipe of system of release of the fulfilled gases.
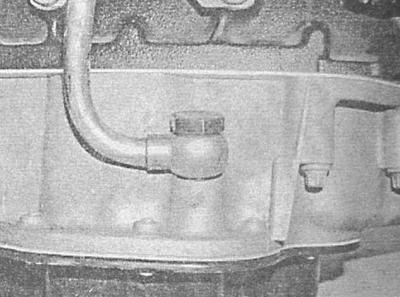
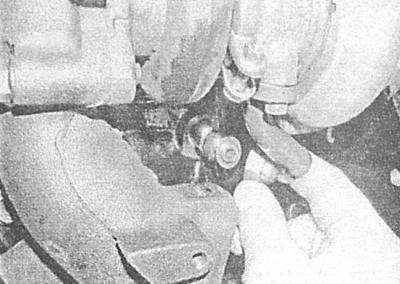
13. Disconnect the oil return tube from the upper section of the oil pan, - remove the two sealing washers installed on both sides of the union connector, - prepare to collect the spilled oil.
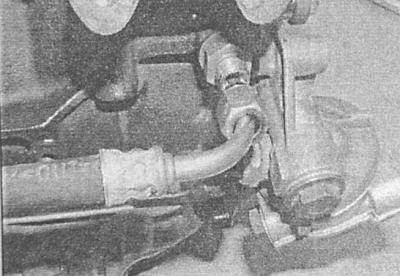
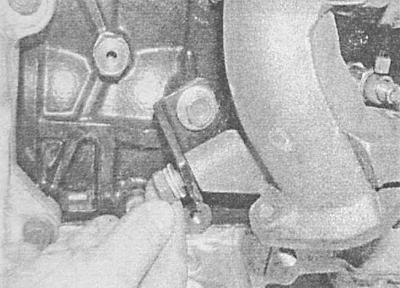
14. Remove the mounting bolt and disconnect the oil supply pipe from the rear of the cylinder block, - remove the two sealing washers installed on both sides of the union connector, - get ready to collect the spilled oil.
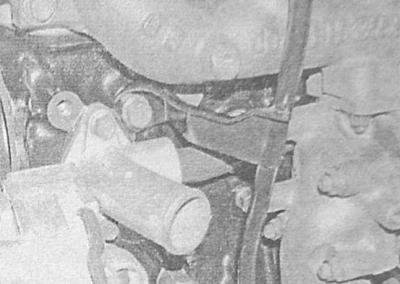
15. Remove the two fixing bolts and remove the exhaust manifold support bracket from the cylinder block.
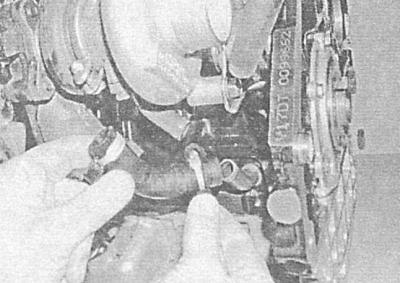
16. Loosen the union nut and remove the oil feed pipe from the turbocharger.
17. In a diagonal manner, evenly loosen and remove the exhaust manifold mounting nuts in several steps. Remove the manifold and remove the gasket. If necessary, separate the turbocharger from the manifold (see Removal and installation of a turbocharger).
18. Installation is carried out in the reverse order. Pay attention to the following points:
- Before installation, make sure that the mating surfaces are absolutely clean and dry, do not forget to replace the gaskets.
- Tighten all fasteners to the required torque.
- Track reliability of connection of oil tubes and inlet air ducts.
Models 1.7L DOHC
Installation will require new manifold mounting nuts.
1. The exhaust manifold is removed as an assembly with the turbocharger. Engage the parking brake, jack up the front of the car and place it on supports, if equipped, remove the crankcase protection.
2. Remove air ducts and air cleaner (see Removal and installation of components of an inlet air path).
3. On models equipped with A/C system, disconnect the electrical wiring from the compressor, unscrew the mounting bolts and take the compressor to the side without disconnecting the refrigeration lines from it.
If you loosen the bolts securing the refrigeration hose support brackets on the right mudguard, the compressor can be tied to the bodywork behind the hood pillar.
4. Turn out three fixing bolts of a basic arm of the compressor.
5. Loosen the fasteners and remove the hose connecting the intercooler to the turbocharger.
6. Turn out two fixing nuts and disconnect from a collector a reception pipe of system of release of the fulfilled gases.
7. Turn out a bolt of fastening of a turbocharger to an arm of the block of cylinders.
8. Turn out a nut of union connection of an oil-supplying tube on the block of cylinders. Remove the sealing washers and prepare to catch the spilled oil.
9. Loosen the clamps and disconnect the oil return hose from the turbocharger.
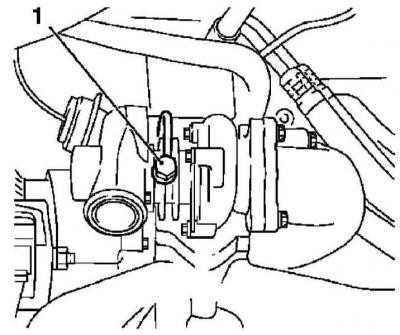
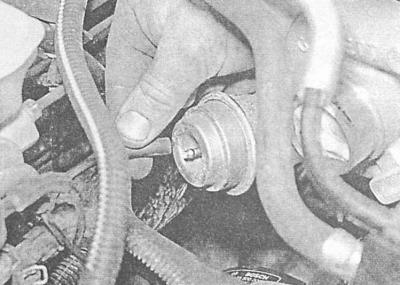
10. Disconnect the vacuum hose from the turbocharger safety assembly.
11. Turn out fixing bolts and remove protective screens of a final collector and turbocharger.
12. Turn out bolts of fastening of a directing tube of the dipstick of measurement of level of oil to the block of cylinders and two bolts of its fastening to the pallet crankcase.
13. The EGR pipe is installed on the left side of the manifold. Remove the two mounting bolts and discard the gasket.
14. Turn out nuts/bolts of fastening of a final collector, turn out two fixing hairpins and remove a collector.
15. If necessary, the turbocharger can be separated from the manifold (see Removal and installation of a turbocharger).
16. Installation is carried out in the reverse order. Pay attention to the following points:
- Before installation, make sure that the mating surfaces are absolutely clean and dry, do not forget to replace the gaskets.
- Tighten all fasteners to the required torque.
- Track reliability of connection of oil tubes and inlet air ducts.
17. Finally, check the engine oil level, if necessary, make the appropriate adjustment (see chapter Current service).
2.0 liter models
When installing, you will need new nuts for fastening the manifold and the exhaust pipe of the exhaust system.
1. Disconnect the negative cable from the battery. Engage the parking brake, jack up the front of the car and place it on supports, if equipped, remove the crankcase protection.
2. Remove air ducts, air cleaner (see Removal and installation of components of an inlet air path) and a metal tube connecting the turbocharger to the manifold / intercooler air duct (depending on configuration).
3. Disconnect wiring from all glow plugs.
4. Turn out fixing screws.

5. Remove the heat shields from the top of the manifold.
6. Turn out fixing nuts and disconnect and disconnect from a collector a reception pipe of system of release of the fulfilled gases.
7. Under the car, turn out fixing bolts and remove a thermofilter from a back part of a starter.
8. Turn out fixing bolts and remove a routing trench of conducting from a back part of the block of cylinders.
9. Thoroughly clean the nipple connectors, loosen the union nuts and drain the oil from the tubes into a suitable container - collect traces of spilled oil with a rag.
10. Turn out fixing bolts and remove a basic arm of a collector. Disconnect the vacuum hose from the safety diaphragm.
11. Loosen and remove the manifold mounting nuts evenly in a diagonal pattern in several steps. Remove the manifold with gasket. If necessary, remove the turbocharger from the manifold (see Removal and installation of a turbocharger).
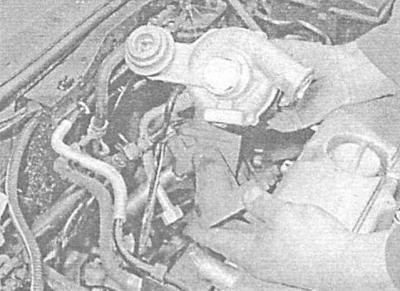
A - Removing the exhaust manifold
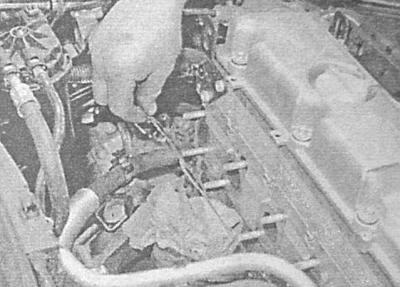
B - Removing the gasket
A.
B.
12. Installation is carried out in the reverse order. Pay attention to the following points:
- Before installation, make sure that the mating surfaces are absolutely clean and dry, do not forget to replace the gaskets.
- Tighten all fasteners to the required torque.
- Track reliability of connection of oil tubes and inlet air ducts.
13. In conclusion, check the level of impellent oil, if necessary, make the appropriate adjustment (see chapter Current service).
14. After starting the engine, let it idle for a few minutes to pump oil to the turbine bearings.
Visitor comments