
Drain any remaining fuel in the tank through the nozzle into a clean metal container and close it.
Place chocks under the front wheels, then raise the rear of the vehicle and secure it to the stand at the drive axle.
The sensor is located on the front end of the fuel tank.
Mark the sensor and fuel tank so that it can be installed in its original position.
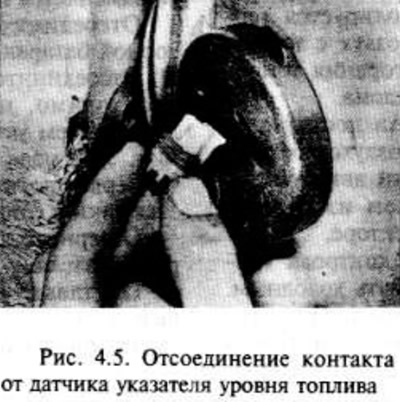
Disconnect the wire from the sensor.
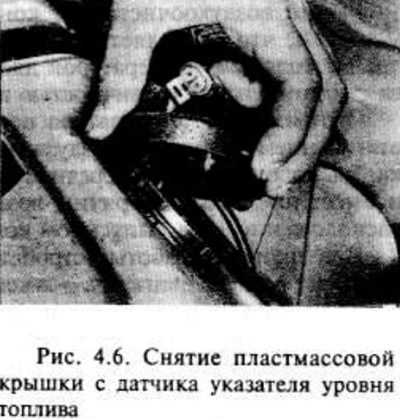
Remove the plastic cover, then disconnect the fuel hose (And) from the device. Considering possible fuel leakage, take fire safety measures. Close the ends of the hoses to prevent fuel leakage and dirt ingress.
To remove the sensor, use a flat piece of metal as a lever and turn it counterclockwise.
Remove the device carefully so as not to bend the float arm.
Remove the sealing ring.
Installation is carried out in the reverse order, taking into account the following.
Check the condition of the sealing ring, if necessary, replace it.
Check that the marks on the sensor and the fuel tank match.
Check that the hoses are connected correctly.
When finished, fill the fuel tank and check for leaks. Check if the sensor readings are correct. If a leak is evident, stop the engine immediately and find out what the problem is. Remember that the engine may start later than usual because the fuel pump is refilling with fuel.
Visitor comments