


Removal
1.6L engines
Upper casing
1. Remove the air filter housing.
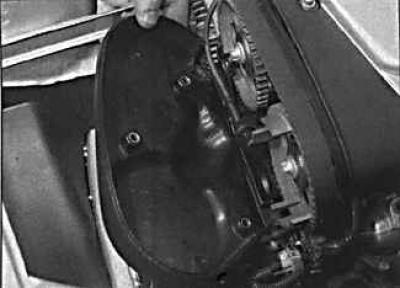
2. Remove the screws securing the upper timing belt cover to the rear cover and remove it from the engine compartment.
3. Installation is carried out in the reverse order of removal.
Lower casing
4. Remove the top cover.
5. Remove the crankshaft pulley.
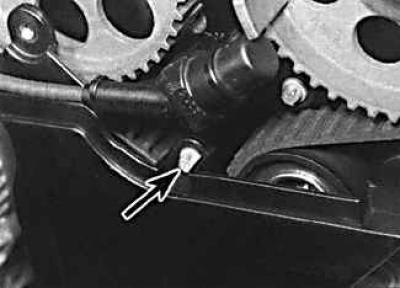
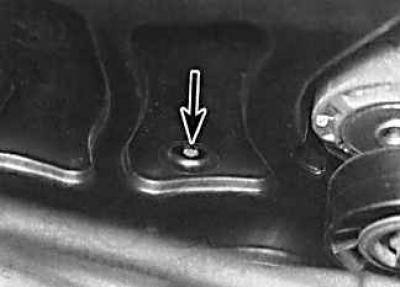
6. Unscrew the bolts securing the lower casing to the rear casing and remove it from the vehicle (in the photo on the left is the upper bolt securing the lower casing, on the right is the lower bolt securing it).
7. Installation is carried out in the reverse order of removal.
Rear casing
8. Remove the timing belt.
9. Remove the camshaft pulleys, crankshaft pulley, timing belt tensioner and rear idler pulley.
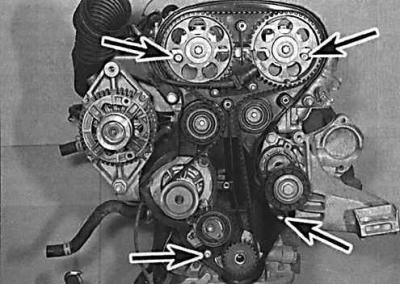
10. Unscrew the mounting bolts (indicated by arrows) and remove the rear timing belt cover.
11. Installation is carried out in the reverse order of removal.
Engines 1.8 and 2.0 l
Outer casing
12. Remove the air filter housing.
13. Remove the auxiliary drive belt
14. Remove the torque compensator rod mounting bolts from the engine bracket and remove it from the right end of the engine.
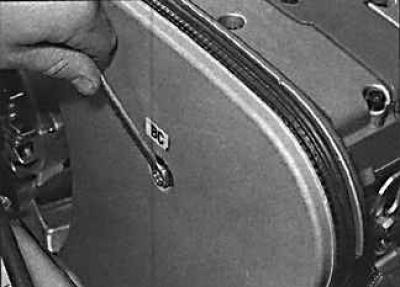
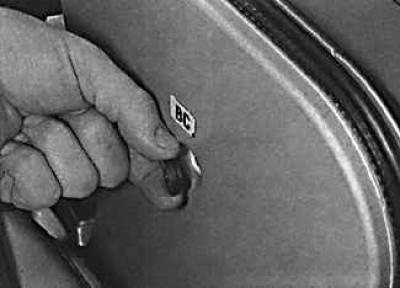
15. Unscrew the mounting bolts, remove the rubber gaskets under the bolts and remove the outer timing belt cover.
16. Installation is carried out in the reverse order of removal.
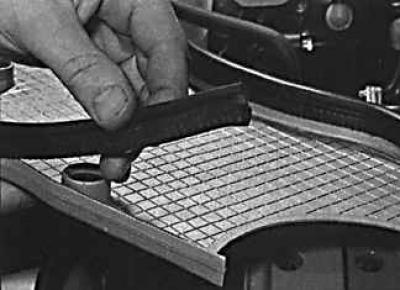
17. Install the seal onto the outer timing belt cover.
Rear casing
18. Remove the timing belt.
19. Remove the camshaft pulleys, crankshaft pulley, timing belt tensioner and idler pulley.
20. Unscrew the camshaft sensor mounting bolt.
21. Unscrew the torque compensator rod mounting bolts from the end of the cylinder head.
22. Unscrew the bolts and remove the rear timing belt cover.
23. Unscrew the bolts and remove the rear timing belt cover.
Visitor comments