


Contents: Outer cover ⬇ Inner lid ⬇
Outer cover
Removal
1. Remove the auxiliary drive belt (see the relevant section), having previously marked the direction of rotation on it.
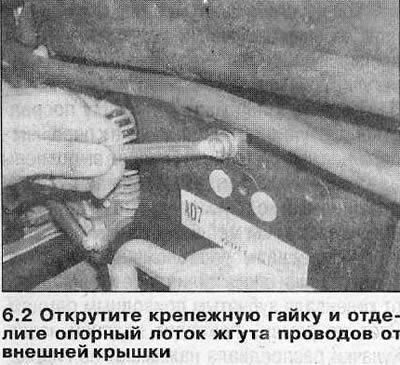
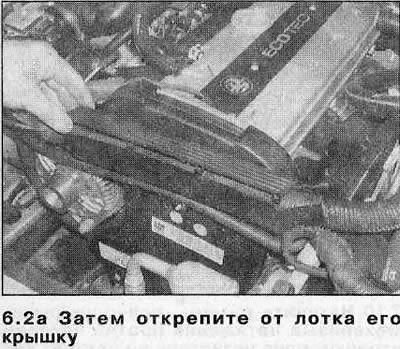
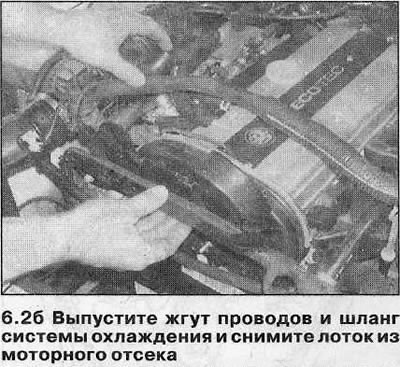
2. Loosen and remove the nut securing the wiring harness support tray to the upper mount of the outer timing belt cover and separate the tray from the cover. Unfasten the tray cover from the tray, then release the wiring harness and coolant hose and remove the tray from the engine compartment (see illustrations).
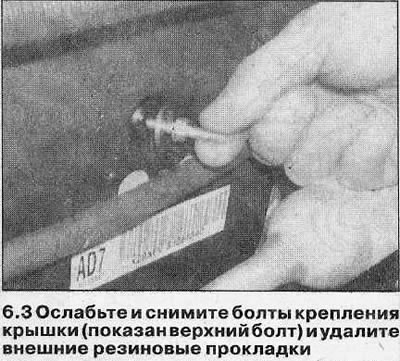
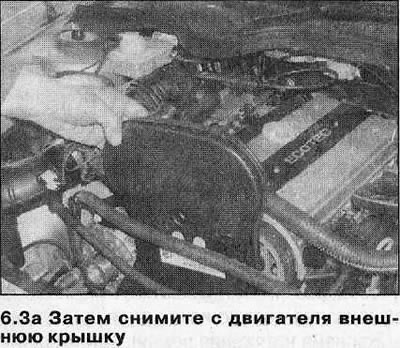
3. Loosen and remove the mounting bolts along with the washers and outer rubber gaskets, then remove the outer cover and seal from the engine. Remove the inner rubber gaskets from the mountings (see illustrations).
Installation
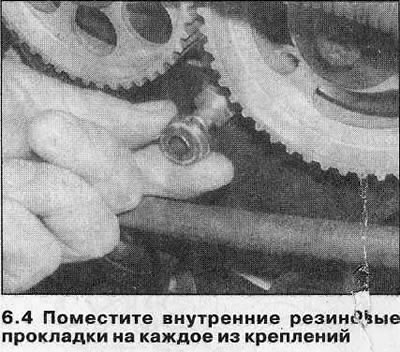
4. Place the internal rubber pads on each of the fasteners, then slide the cover into position (see illustration).
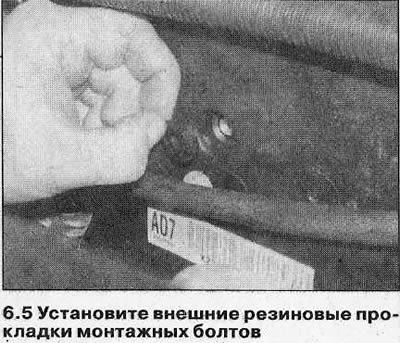
5. Install the washers and outer rubber gaskets of the mounting bolts, then install the bolts (each one strictly to the same place) and tighten them to the tightening torque specified in the Specifications (see illustration).
6. Place the wiring harness in the tray and install the tray cover. Staple the tray to the timing belt cover and tighten the mounting nut securely.
7. Install the auxiliary drive belt (see the relevant section), using the mark made before removal.
Inner lid
Removal
8. Remove the toothed drive belt as described in Chapter 7.
9. Remove the camshaft sprockets, crankshaft sprocket, timing belt tensioner and idler pulley assembly as described in Chapter 8.
10. Remove the camshaft sensor bolts from the cylinder head.
11. Unscrew the mounting bolts, marking them so as not to mix them up during subsequent installation, and remove the inner cover from the engine.
Installation
12 Installation is carried out in the reverse order. Tighten all bolts to the specified tightening torque Specifications.
Visitor comments