
2. However, we do not recommend reassembling old parts that have already become accustomed to each other.
3. If the teeth of the synchronizer hub or clutch are worn, you can replace these parts individually, but if the synchronizer is generally worn out, it is better to replace it as an assembly.
5. To disassemble the synchronizer, press the hub out of the coupling, making sure that the sliding keys do not fly apart.
5. Pull out the ring springs and keys.
6. The synchronizer is assembled in the reverse order. Check that the bent ends of the springs are on the same key and that the springs run in opposite directions relative to each other (see photos).
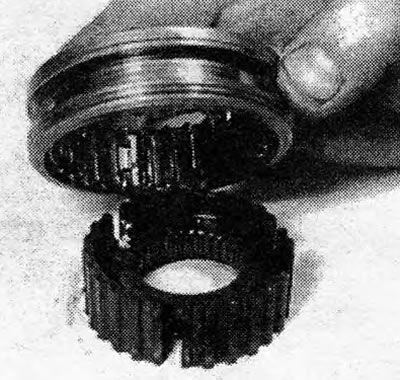
Photo 13.6A. Synchronizer hub and clutch.
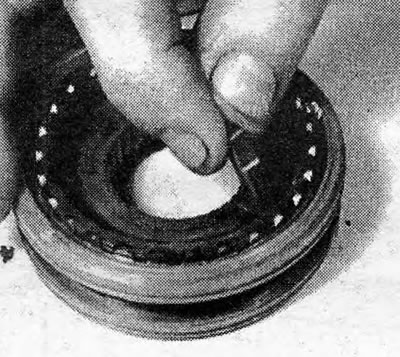
Photo 13.6B. Installing the synchronizer sliding key.
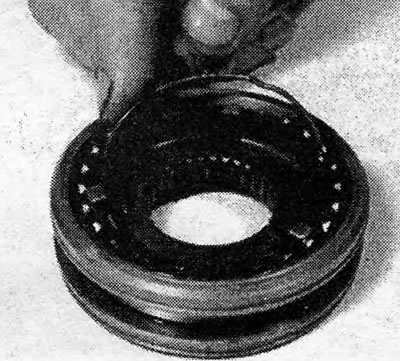
Photo 13.6C. Installing the synchronizer spring.
7. To check the cone rings for wear, rotate them on the corresponding cones. The ring should "get stuck" on the cone at a certain gap between the ring and the gear shoulder. If these conditions are not met, the cone rings should be replaced.
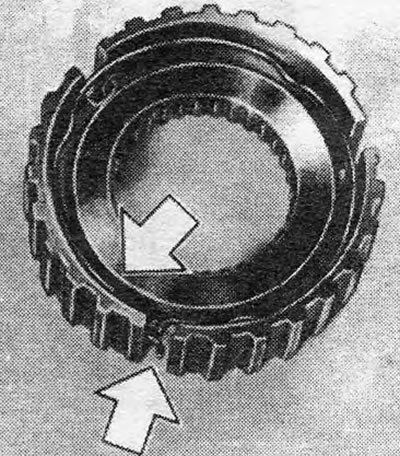
Pic. 6.27. Arrangement of synchronizer springs (shown by arrows)
Visitor comments