
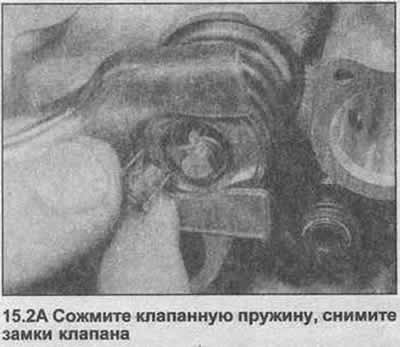
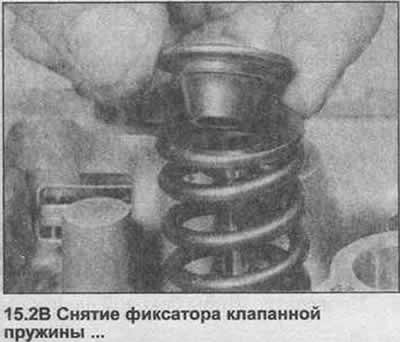
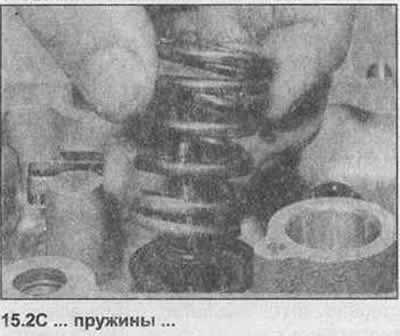
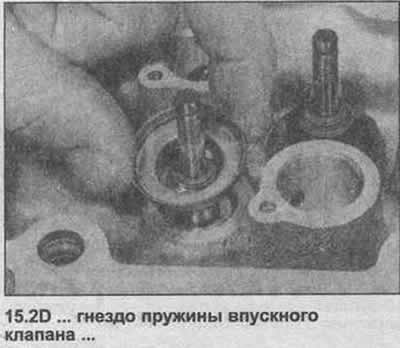
2. Remove the valves by compressing the valve spring with the extractor and lifting the valve locks. Release the compressor, remove the valve spring retainer and spring. Remove the intake valve spring seat (photo).
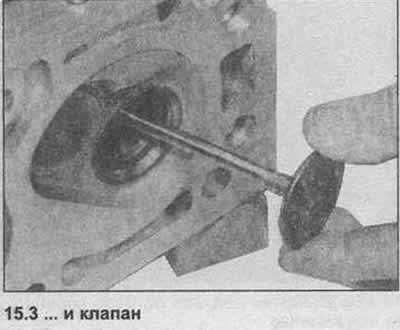
3. Remove the valves, stack them in a strict order to ensure correct installation (photo).
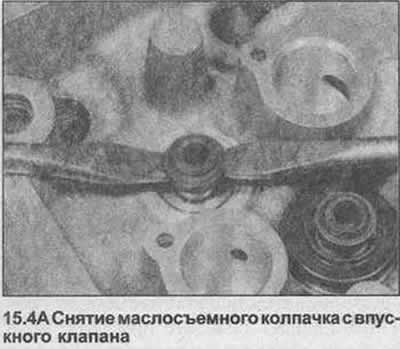
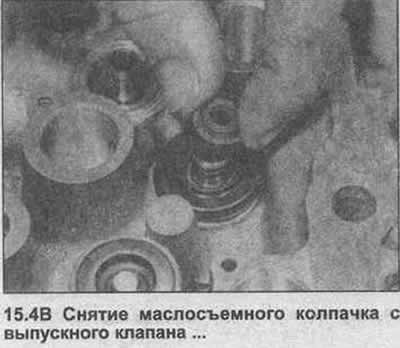
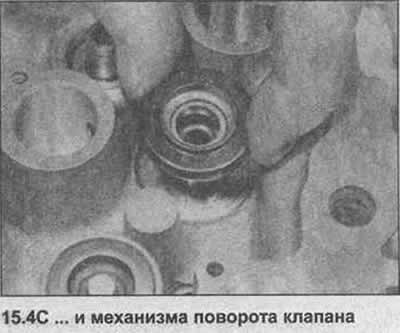
4. Lift the valve stem seals off the valve guides, then remove the exhaust valve rotators (photo).
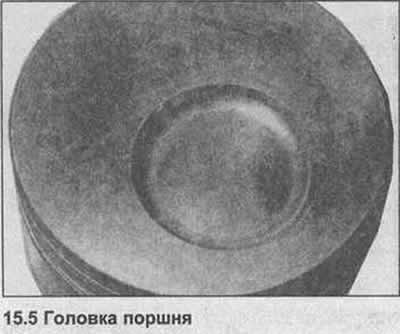
5. Clean valves, combustion chambers and channels from carbon deposits. Piston heads can also be cleaned at this stage, be careful not to get carbon between the piston and cylinder bore (photo).
6. Check the condition of the valve heads and seats. If there is slight corrosion on the valve and seat, it can be removed by grinding the valve and seat and then lapping the valve. If the pitting is deep, the valves must be ground on the valve lapping mechanism and the seats must be ground down. Both of these operations are work for a specialist.
7. Check the condition of the valve guides by inserting the valve into the guide and moving it from side to side. If play is felt, the valve guides must be replaced.
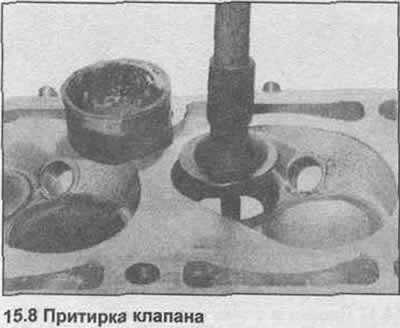
8. Lapping of valve seats is performed as follows. Using a suction cup, lap the valve into the seat with a twisting motion, lifting the valve and turning from time to time (photo). A light spring under the valve head will assist in this action. When the valve and seat have a matte smooth surface, wash off the coarse paste. Repeat lapping with fine paste until a continuous gray matte ring appears on the valve and seat. Gently wash off all traces of the paste.
9. Check up a condition of valvate springs, if it is possible, compare their length with a new spring. Replace them if necessary.
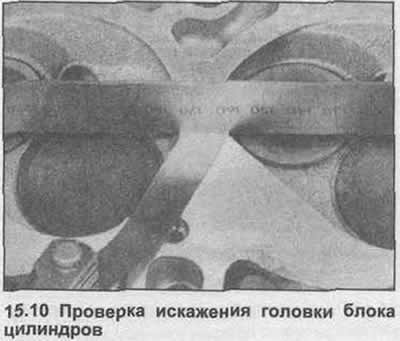
10. Use a ruler edge and feeler gauge to check the distortion of the cylinder head connector surface (photo). If it is greater than the maximum allowable given in Specifications, the head can be regrinded. Consult your GM dealer if necessary.
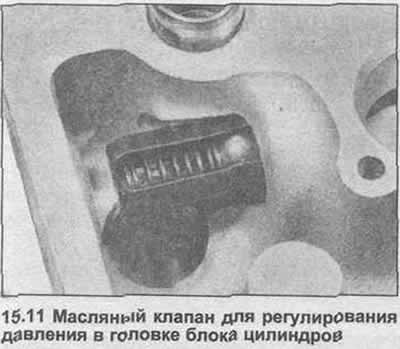
11. An oil pressure regulating valve in the cylinder head stabilizes the pressure applied to the valve lifters (photo). To replace the valve, remove the plug in the head.
12. Begin assembly by installing the exhaust rotators over their respective guide bushings.
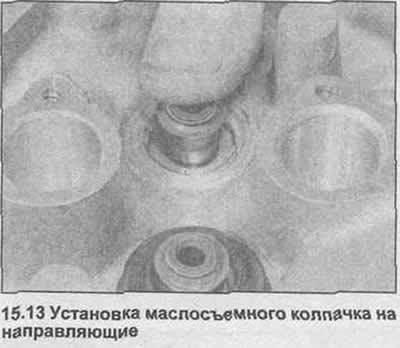
13. Install the valve stem seals on the guides (photo).
14. To install the valves, lubricate the valve stem with engine oil, insert it into the guide. Install the spring seat on the intake valve.
15. Install the spring and spring retainer, then using a valve spring remover, compress the spring until the valve locks seat in the slots in the valve stem. Release the compressor and check that the valve locks are placed correctly.
16. After all valves are installed, tap the tops of the springs lightly to ensure proper seating of the valve locks.
Visitor comments