
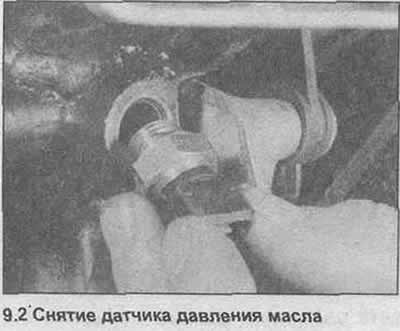
2. Unscrew and remove the oil pressure sensor (photo).
3. Remove the dipstick for measuring the oil level.
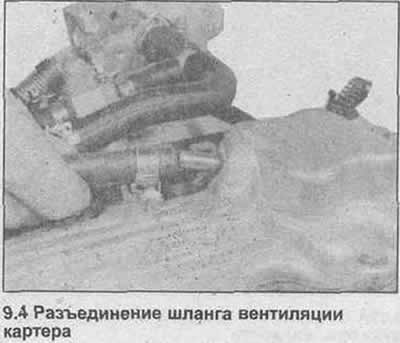
4. Disconnect the crankcase ventilation hose from the camshaft cover (photo).
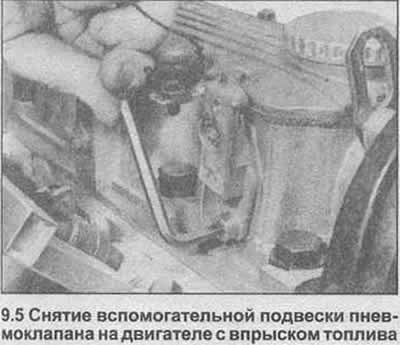
5. On models with fuel injection, unscrew the auxiliary suspension of the air valve from the camshaft housing (photo). Remove the gasket.
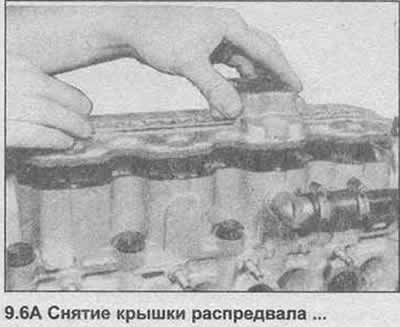
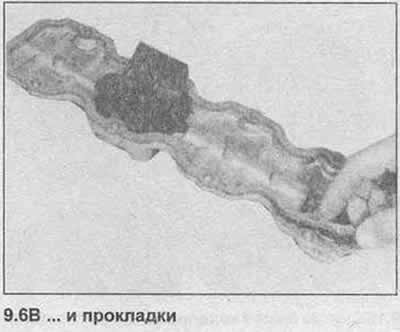
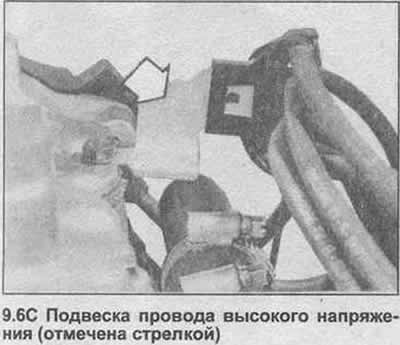
6. Unscrew the camshaft cover, remove the gasket. Note the location of the high voltage wire suspension (photo).
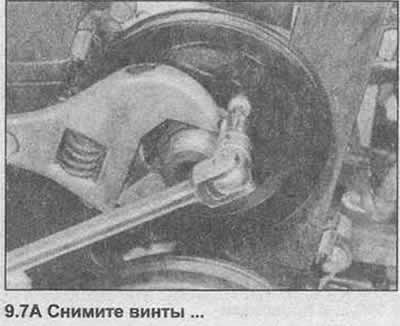
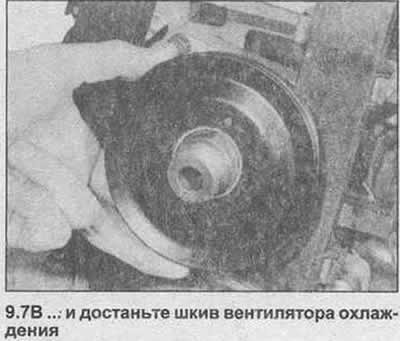
7. Remove the cooling fan pulley by holding the hub with a wrench while loosening the pulley screw (photo).
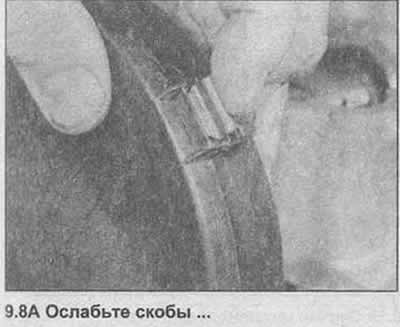
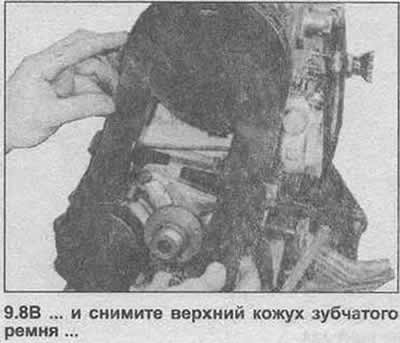
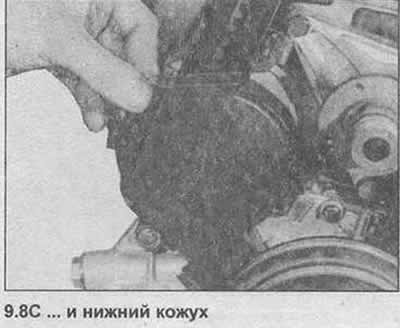
8. Unfasten and remove the two timing belt covers (photo).
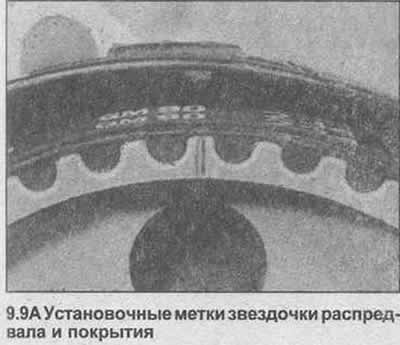
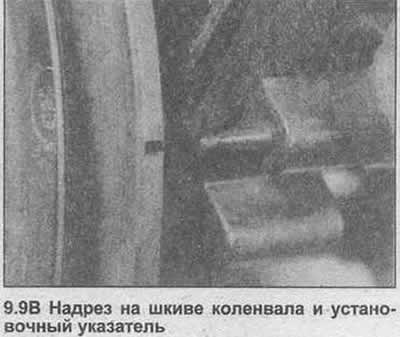
9. Turn the engine with a wrench on the crankshaft pulley bolt until the mark on the camshaft sprocket aligns with the pointer on the top of the back cover of the timing belt. Also align the notch in the crankshaft pulley with the pointer on the underside of the timing belt rear cover (photo).
10. Loosen the bolts securing the water pump to the block.
11. Unscrew and remove the bolt securing part of the drive timing belt cover to the oil pump housing.
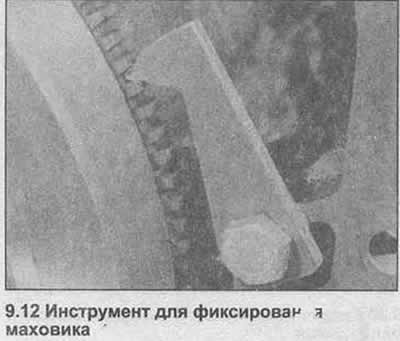
12. Unscrew the crankshaft pulley bolt, fixing the flywheel / drive plate (photo).
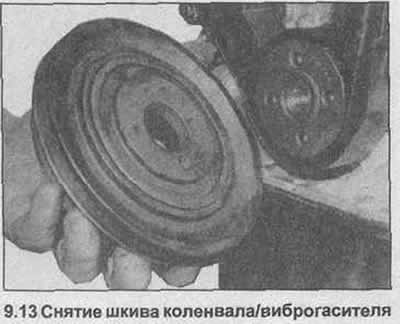
13. Unscrew the crankshaft pulley / vibration damper from the sprocket (photo).
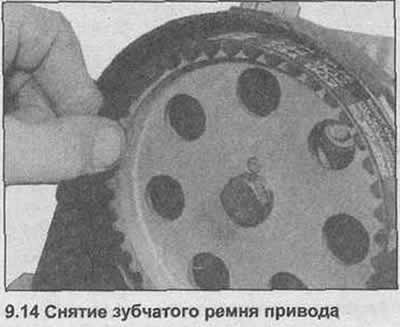
14. Turn the water pump housing counterclockwise. Remove the timing belt from the water pump sprockets, camshaft and crankshaft (photo).
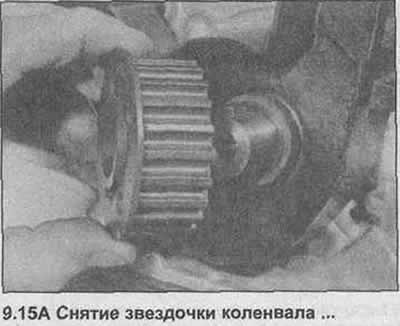
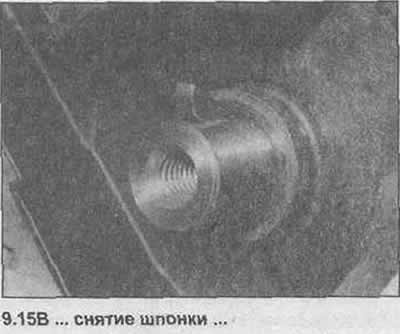
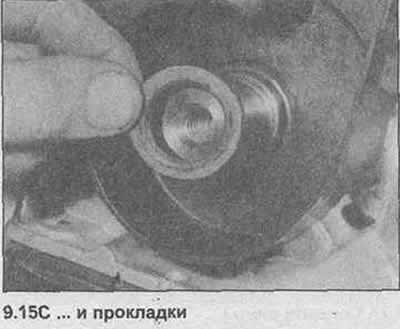
15. Pull off the crankshaft sprocket, then remove the key and gasket (photo).
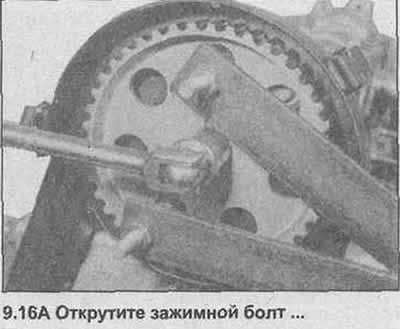
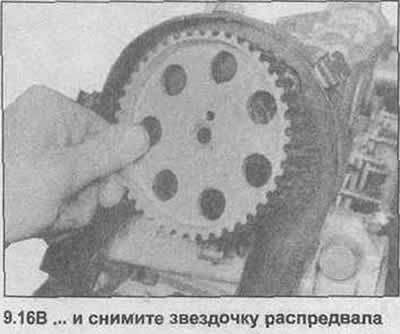
16. Fixing the camshaft sprocket as shown (photo), unscrew the clamping bolt. Remove the sprocket from the camshaft (photo).
17. Turn off and remove three tightening bolts and washers, get the water pump from the block.
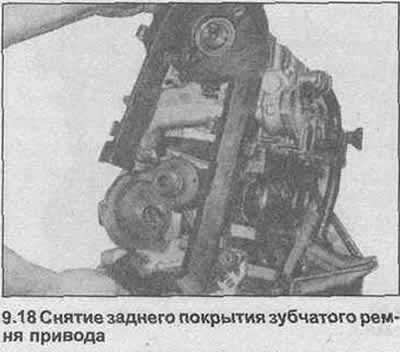
18. Unscrew and remove the back cover of the toothed drive belt (photo).
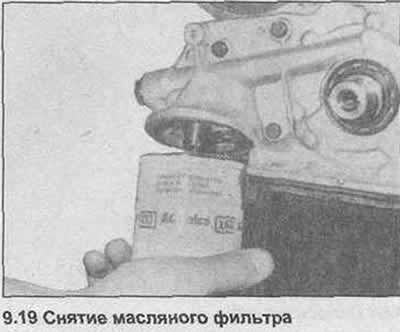
19. Unscrew the oil filter from the oil pump housing (photo).
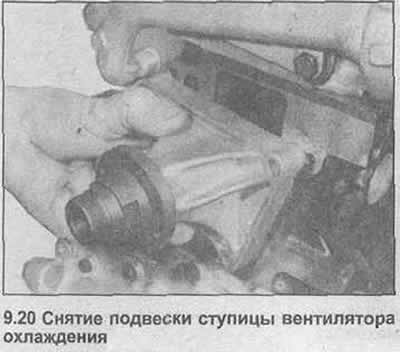
20. Unscrew the cooling fan hub hanger from the block (photo).
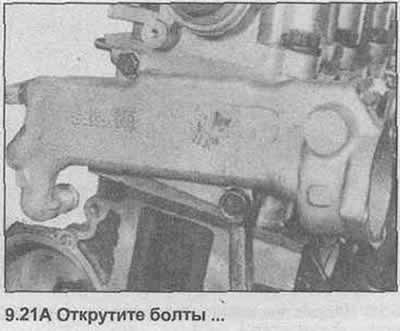
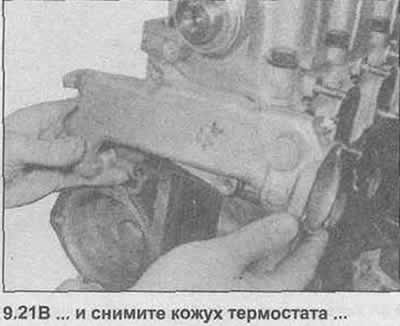
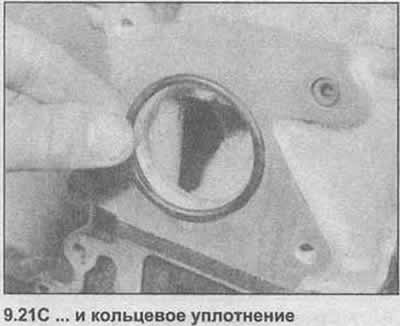
21. Unscrew the thermostat cover from the cylinder head, remove the O-ring (photo).
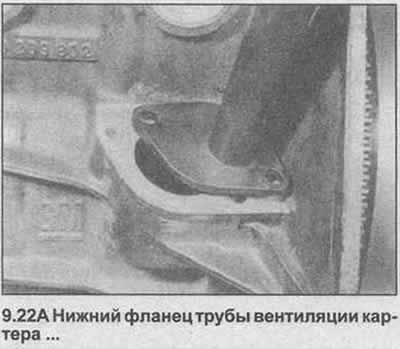
22. Remove the crankcase ventilation pipe from the camshaft housing and block by disconnecting the hose and unscrewing the flange mounting bolts (photo). Remove the gasket.

23. In a spiral from outside to inside, loosen each cylinder head bolt a quarter of a turn. Then, in the same sequence, loosen the bolts half a turn, then remove them completely. Note that the cylinder head bolts must be replaced every time they are loosened; prepare a new set of bolts for assembly.
24. Raise the camshaft housing and camshaft.
25. Lift the cylinder head off the block.
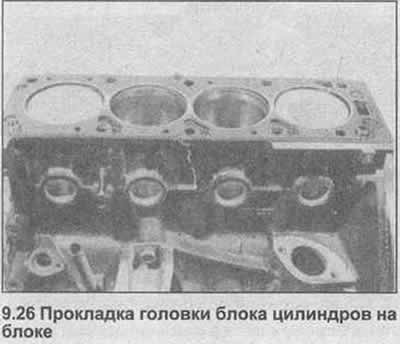
26. Remove the gasket from the block (photo).
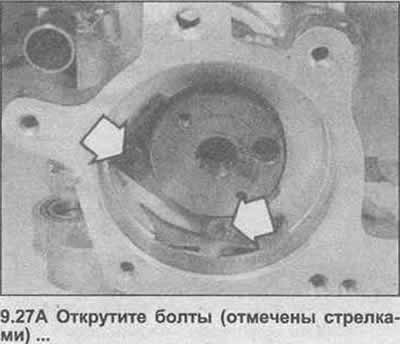
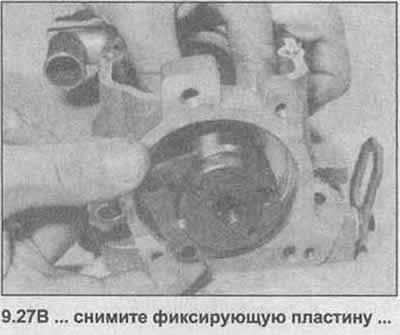
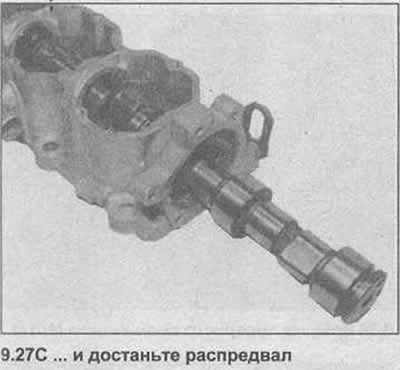
27. Unscrew the bolts of the camshaft fixing plate, remove the fixing plate, remove the camshaft from the camshaft housing (photo).
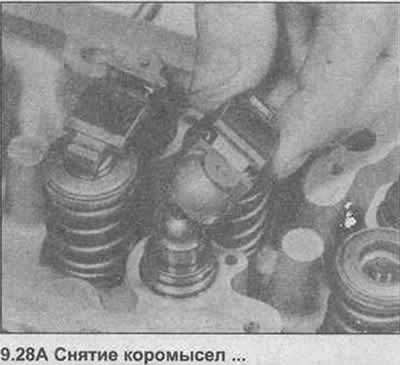
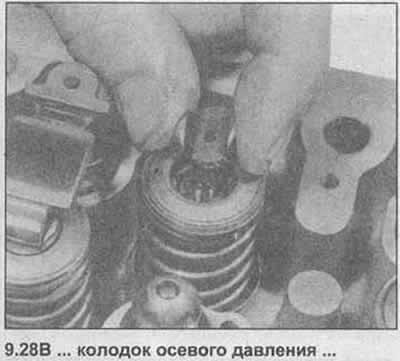
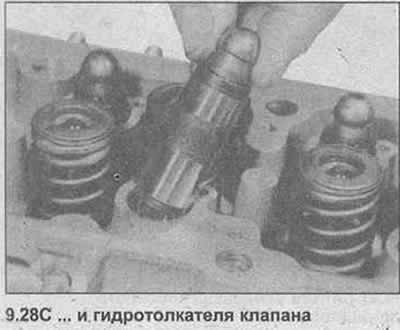
28. Remove the rocker arms and thrust pads from the cylinder head. Remove the valve lifters, dip them in a container of clean engine oil to prevent oil from leaking out of them. Remove all components, marking their position (photo).
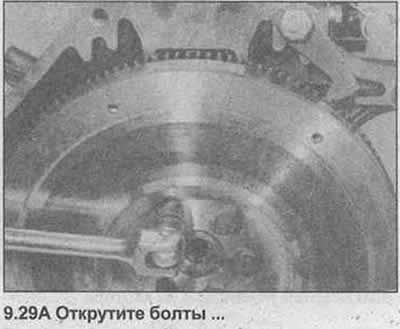
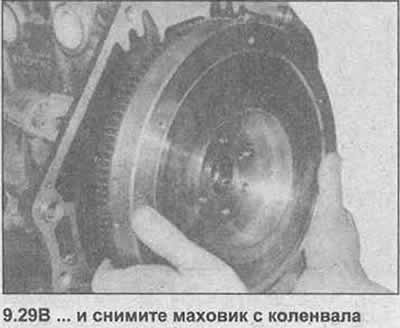
29. After fixing the flywheel / drive plate using the method described in paragraph 12, unscrew the bolts and lift the block from the crankshaft (photo). Discard the flywheel/drive plate bolts; when installing, use new ones.
30. turn the engine over on the workbench.
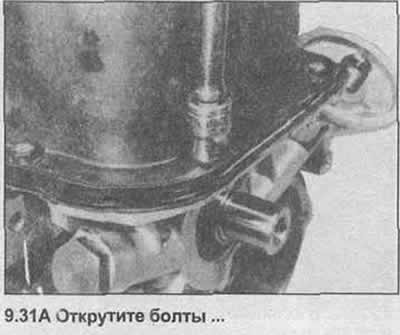
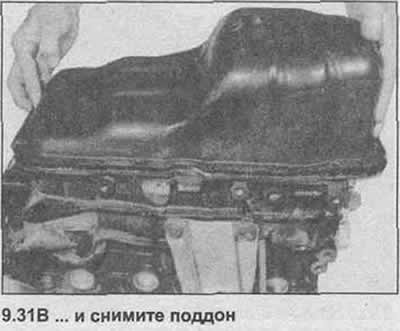
31. Remove the bolts and remove the pallet (photo).
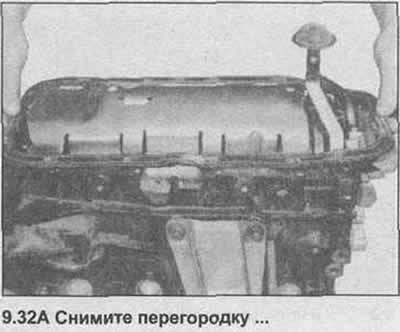
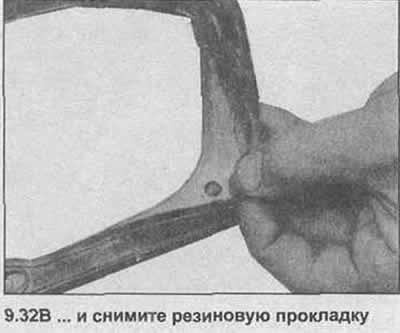
32. Remove the baffle, remove the rubber gasket by the edge (photo).
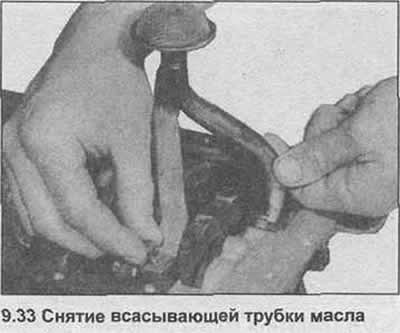
33. Unscrew the oil suction pipe from the block and oil pump (photo).
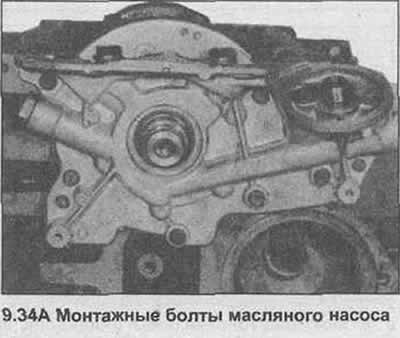
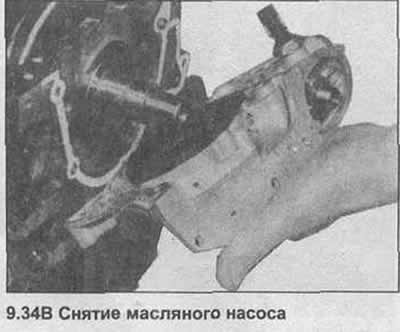
34. Unscrew the oil pump, remove the gasket (photo).
35. Mark the connecting rod caps and connecting rods relative to each other, numbering them from the front end of the engine.
36. Lay the block on its side, then unscrew the bolts of the lower head of the connecting rod of cylinder No. I and remove the cover (photo). Remove the connecting rod and piston through the top of the block. Temporarily install the cap on the connecting rod, leaving the bearing shells in their basic positions.

37. Repeat the procedure on the remaining pistons and connecting rods. Note that all connecting rod cap bolts must be replaced, prepare a new set of bolts for assembly.
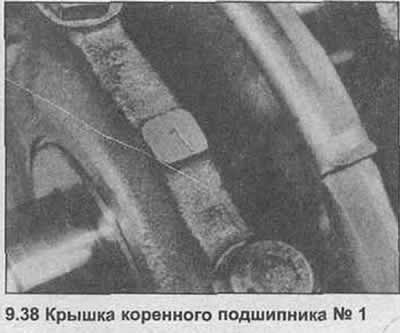
38. The main bearing caps should already be numbered from the front of the engine. However, if there are no marks, make them with a puncher (photo).
39. Turn the block upside down again, then unscrew the bolts of the main bearings and remove the covers (photo). Be careful to store the earbuds in their respective caps. Note that the main bearing cap bolts must be replaced; prepare a new set of bolts for assembly.

40. Lift the crankshaft from the crankcase, remove the oil seal (photo).

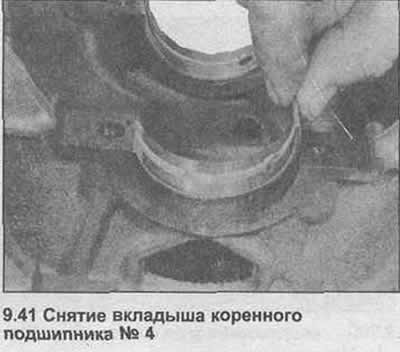
41. Remove the upper halves of the main bearing shells from the crankcase, place them with the appropriate caps (photo).
Visitor comments