
Removing
Attention: The cylinder head can only be removed from a cold engine (room temperature, approx. 20°C).
Disconnect the ground cable from the battery.
Remove air filter.
Drain and collect coolant see point 3.2.
Remove the camshaft housing cover.
Remove the vacuum pump see 7.14.
Disconnect and remove all water hoses from the cylinder head.
Disconnect the electrical wires from the thermal switch and glow plugs.
Use fuel to clean the high pressure fuel lines but the pump and injector nozzles, then unscrew them. Close all openings with appropriate plugs.
Remove the V-belt see point 22.3.
Remove the top and bottom timing belt covers.
Completely remove intake pipe.
Remove clutch dome cover see also fig. B4735 Section 7.11.
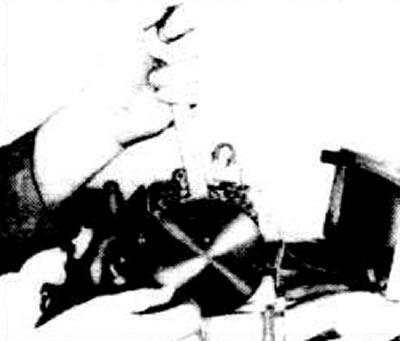
Turn the crankshaft in the direction of engine rotation until the TDC mark on the flywheel (right drawing) and the TDC mark on the high pressure fuel pump do not match.
Install the OPEL KM-537 tool instead of the vacuum pump and block the camshaft. The lock is not needed if you later remove the camshaft.
Unscrew the fixing screws of the camshaft gear. At the same time, using a wrench, keep the shaft from turning (flattened place between the intake and exhaust cams of the fourth cylinder).
Remove the toothed belt only at the top, see point 6.5.
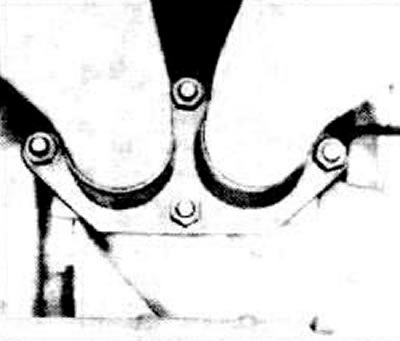
Spiraling from outside to inside (starting from 1) Unscrew the cylinder head screws and all cylinder head screws, first unscrew but 1/4 turn, then 1/2 turn. Finally, unscrew the screws completely.
Attention: Undo the cylinder head screws only when the engine is cold (room temperature. around 20°C).
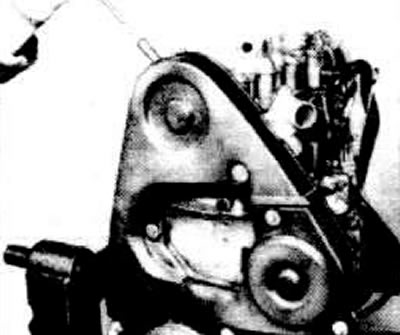
Remove the camshaft housing.
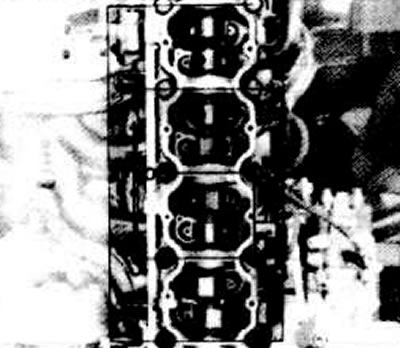
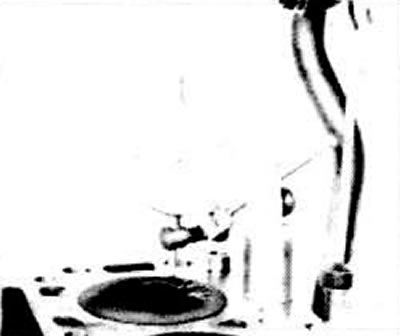
Remove cylinder head with intake manifold and exhaust manifold.
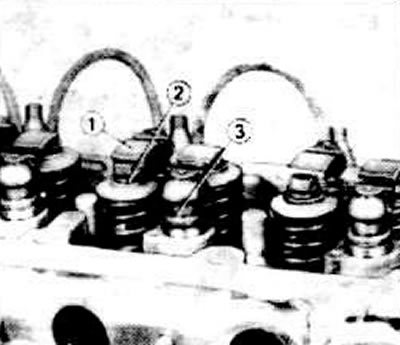
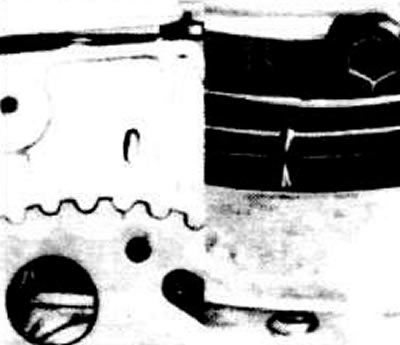
Remove snarl -1-, pressure piece -2- and valve clearance compensator -3- for cleaning purposes. First, mark all these parts so that later they can be installed in the same place.
Installation
Clean the mating surfaces of the engine block, cylinder head and camshaft housing. Ensure that no dirt gets into the cylinders.
Before installing, thoroughly clean the cylinder head and steering gear housing.
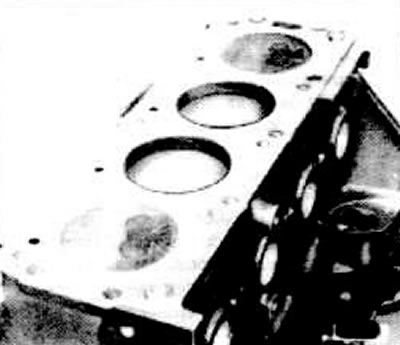
Check the flatness of the cylinder head and cylinder block, see paragraph 1.19.
Install a new cylinder head gasket, do not use sealant.
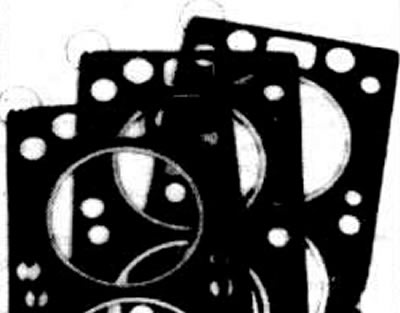
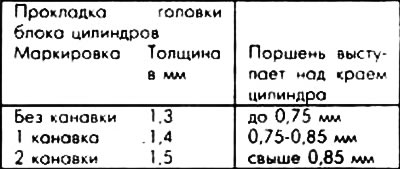
Attention: Depending on how far the piston protrudes from the cylinder edge, three types of cylinder head gaskets of different thicknesses are used. In case of replacement of the gasket, carefully read the marking of the old one in order to use a gasket with exactly the same marking later.
Examine the pistons and valves for signs of contact, if necessary, replace them. If such traces are insignificant, then the use of a thicker gasket is sufficient. To do this, use a dial-type indicator to determine how far the piston protrudes from the edge of the cylinder.
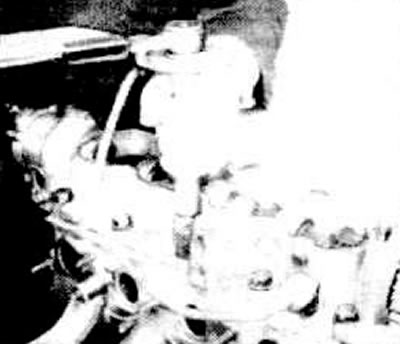
Install the cylinder head.
Apply a small amount of sealant to the mating surfaces of the cylinder head/camshaft housing (OPEL №1503166).
Spread this product evenly with a brush.
Install the camshaft housing.
Caution: Completely replace the cylinder head mounting screws.
Screw in the cylinder head screws by hand.
Tighten the cylinder head screws by hand.
Slightly, but not completely, tighten the cylinder head screws in a spiral (from 1 to 10).
Caution: The cylinder head screws must be tightened in four stages. An accurately working torque wrench is required to tighten these screws.

Using a torque wrench, tighten the cylinder head screws to 25 Nm, working in a spiral from the inside out.
In the second step, use a strong wrench to turn all the cylinder head screws but 90°, doing this in a spiral from the inside out.
But in the third stage, tighten all the cylinder head screws by another 90°, do this in a spiral.
But in the fourth step tighten all the cylinder head screws in a spiral by another 45°.
To maintain this screw tightening angle (90°or 45°), it makes sense to put the appropriate marks on the camshaft housing cover. To do this, put the key on the screw and mark with chalk at a distance of 90°or 45°.
On a warm engine, the cylinder head screws must be tightened again.
Tighten the cylinder head screws very carefully. The torque wrench should first be checked for accuracy.
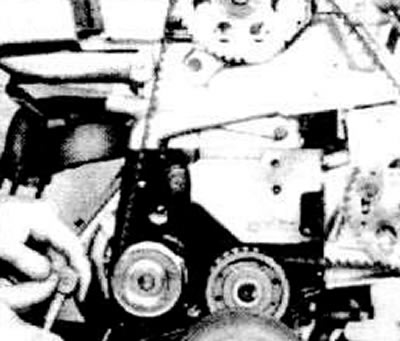
Install toothed belt and tension it, see point 6.6.
Tighten the water pump mounting screws.
Check if all TDC marks match, correct if necessary, see point 6.4.
Install the camshaft gear and tighten the fasteners to 90 Nm. At the same time, use a wrench to keep the camshaft from turning.
Remove the KM-537 tool.
Check valve timing, see 7.15.
Install vacuum pump.
Install the upper and lower toothed belt covers.
Install and tighten the V-belt.
Connect fuel lines to pump and injectors.
Connect cables to glow plugs and thermal switch.
Check the beginning of the fuel delivery by the high pressure fuel pump, see clause 7.11.
Connect water hoses to cylinder head.
Install the air filter.
Screw on the exhaust pipe.
Screw on the clutch dome cover.
Fill in coolant.
Check engine oil level, top up if necessary.
Connect ground cable to battery.
Start the engine and warm it up to operating temperature (about 80°C).
Tighten the cylinder head screws by 30°, turning in a spiral from the inside out.
Attention: After a run of 1000 km, the cylinder head screws must be tightened by another 45°.
Check idle speed and maximum speed, correct if necessary, see paragraph 4.27.
Check coolant level, see point 3.2.
Visitor comments