
OpelBook.ru
Cars AvtoVAZ Cars Mitsubishi Cars BMW Cars Mercedes Cars Nissan Cars Toyota Cars Chevrolet
English Русский
Български
Беларускі
Український
Српски
Hrvatski
Română
Polski
Slovenský
Magyar
 |  Sitemap  |  Contacts  |    


Main Astra Corsa Insignia Kadett Omega Vectra Zafira Others Articles
Kadett D (1979-1984) Kadett E (1984-1995)
  • Main
  • Kadett
  • Kadett D
  • Power unit
  • Fuel system (diesel)
  • Checking and adjusting valve timing

Checking and adjusting valve timing (Opel Kadett D)

            0

Contents: Cars produced before 6/84 ⬇ Adjusting the valve timing in cars…⬇

Cars produced before 6/84


Remove the air filter.

Remove the camshaft cover, see p. 1.6.

Remove the clutch cover, see p. 9.1.
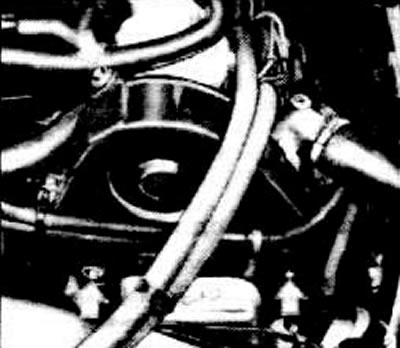
Remove the clutch cover, see p. 9.1.


Remove the upper and lower timing belt guards.

Check the timing belt tension.

Set cylinder 1 to TDC. The marking on the flywheel should match the indicator on the clutch housing (Figure B4738).
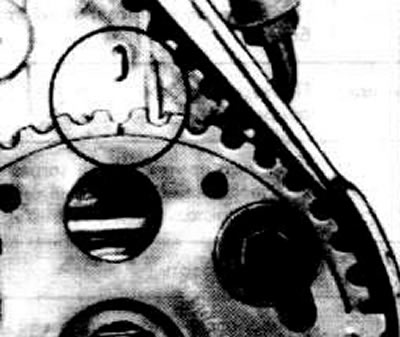
Set cylinder 1 to TDC. The marking on the flywheel should match the indicator on the clutch housing…


The marking on the gear wheel of the injection pump must match the marking on the bracket.

Shine vacuum pump.

Instead of the pump, install KM-537, locking the camshaft in the TDC position; if there is no KM-537, then the adjustment can be made using a micrometer.

Note: KM-537 must be installed without tension, so as not to change the TDC position.
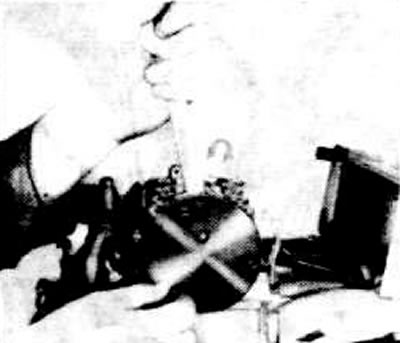


Note: KM-537 must be installed without tension, so as not to change the TDC position.


If the KM-537 tool is installed with voltage, it is necessary to adjust the position of the camshaft/camshaft wheel.
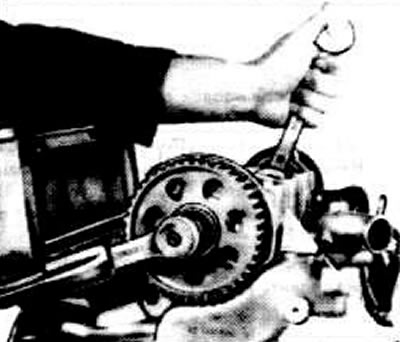
If the KM-537 tool is installed with voltage, it is necessary to adjust the position of the…


Remove the camshaft wheel, holding it with a wrench by the flats between the intake and exhaust cams of cylinder 4.

Lock the KM-537 camshaft. Turn the camshaft with a key so that the tool can be installed without tension.

Check that all TDC markings match, otherwise adjust.

Attention: The deviation of the flywheel mark from the pointer mark should not exceed ±1.0 mm.


Tighten the camshaft wheel screws to 90 Nm.

Remove KM-537

Check the rose adjustment again. To do this, turn the crankshaft 90° back and again to TDC.

Install the vacuum pump.

Check the timing belt tension, see p. 6.6.

Check the feed moment of the injection pump, see item 7.11.


Install the clutch cover.

Install the upper and lower timing belt guards.

Install and tighten the camshaft cover.

Install the air filter.

Adjusting the valve timing in cars manufactured after 6/84


Valve timing adjustment was previously performed by locking the camshaft with the KM-537 OPEL lock. Since June 1984, there are no more holes in the camshaft housing for installing the KM-537. It is not possible to lock the camshaft in this way.

Adjustment of valve timing is now performed using the KM-537 OPEL measuring bar and a micrometer.

If you don't have a measuring bar at hand, you can measure with a micrometer and a crossbar placed on the camshaft housing. This adjustment method can also be used on cars manufactured before June 1984.
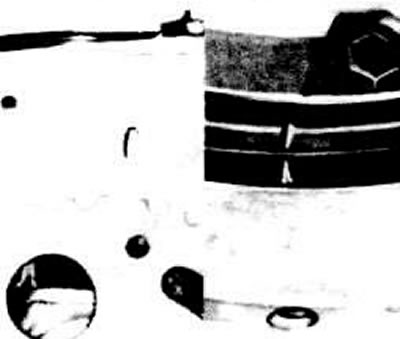
If you don't have a measuring bar at hand, you can measure with a micrometer and a crossbar placed…


Turn the crankshaft so that the marking on the flywheel coincides with the pointer on the clutch housing (photo). In this case, the piston of the 1st cylinder is at TDC, the valves of the 4th cylinder are overlapped.

The marking on the injection pump gear matches the marking on the water pump bracket (left photo).

Attention: Check the tension of the toothed belt using KM-510 A, adjust if necessary, see section 6.6.


Install the KM-238 measuring bar with a micrometer so that the micrometer leg ∅ 7-10 mm is at the base of the 2nd cam of the intake valve of cylinder 1. Set the micrometer to 0.
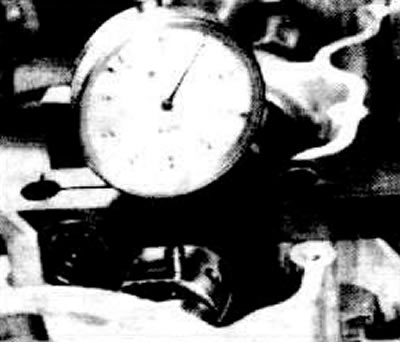
Install the KM-238 measuring bar with a micrometer so that the micrometer leg ∅ 7-10 mm is at the…


Move the micrometer together with the tire towards the top of the cam by 10 mm.
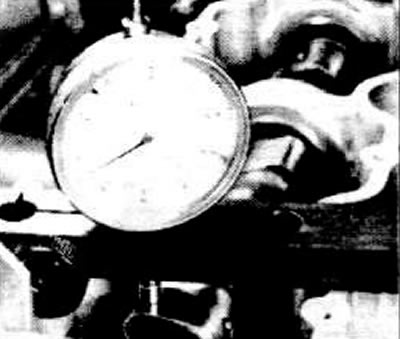
Move the micrometer together with the tire towards the top of the cam by 10 mm.


Using a 22mm wrench, turn the camshaft clockwise until the micrometer leg rises by 0.56mm.

While holding the camshaft in this position, tighten the wheel bolts to 90 Nm.

Check the adjustment again. Also check the adjustment of the injection pump. Adjust.


This article is available at russian, bulgarian, belarusian, ukrainian, serbian, croatian, romanian, polish, slovak, hungarian
Checking the article: Kornev Georgy

Share information:

Previous articles
Opel Kadett D: Fuel system (diesel)
Next articles

Removal and installation a vacuum pump
Malfunction: too high fuel consumption
Cleaning and replacing the air filter element
Checking and adjusting the moment of start of injection of the high-pressure fuel pump
Loud knocking noises in the engine
Idle speed problems
Removal and installation the electromagnetic shut-off valve
Malfunction: Engine power too low


See similar ones from other Opel car manuals:
▶ Checking and adjusting valve timing (2.0L engines) Opel Astra G (1998-2004)
▶ Checking and adjusting valve timing Opel Vectra A (1988-1995)
▶ Checking and adjusting valve timing Opel Ascona C (1981-1988)
▶ Checking and adjusting valve clearances on a diesel engine Opel Corsa B (1993-2000)
▶ Timing Belt — Checking Condition, Adjusting Tension and… Opel Zafira A (1999-2005, petrol)
Link to this page in different formats

Visitor comments


No comments yet


How much will 32 + 28 =


Kadett E (1984-1995) 
  • General information
  • Vehicle description
  • Operation and maintenance
  • OHV power unit
  • Engine design
  • Check and repair
  • Engine work
  • OHC power unit
  • Engine design
  • Engine repair
  • Ignition system
  • Cooling and lubrication
  • Supply system
  • Fuel injection «LE-Jetronic»
  • Fuel injection «LE3-Jetronic»
  • Motronic ML4.1 system
  • Motronic M1.5 system
  • Motronic M2.5 system
  • Transmission
  • Clutch
  • Gearbox F10 and F13
  • Gearbox F16 and F20
  • Automatic gearbox
  • Drive shafts
  • Chassis
  • Front suspension
  • Rear suspension
  • Steering
  • Brake system
  • Electrical equipment
  • Equipment and devices
  • Electrical circuits
Kadett D (1979-1984) 
  • General information
  • Car care
  • Maintenance
  • Power unit
  • Gasoline engines
  • Lubrication system
  • Cooling system
  • Power system (gasoline)
  • Carburetor Solex 35 PDSI
  • Carburetor Varajet II
  • Carburetor 1B1
  • Fuel injection (gasoline)
  • Diesel engines
  • Fuel system (diesel)
  • Transmission
  • Clutch
  • Manual gearbox
  • Chassis
  • Front suspension
  • Rear suspension
  • Steering
  • Brake system
  • Wheels and tires
  • Body
  • Body elements
  • Doors and windows
  • Electrical equipment
  • Equipment and devices
  • Lighting system
  • Power devices
  • Ignition system
  • Electrical circuits
OpelBook.ru © 2017–2026 · Mobile version · · Sitemap: EN BG BY UA RS HR RO PL SK HU · Feedback · Site search
Astra F, petrol · Astra G, petrol · Astra G · Astra H · Astra J, petrol · Corsa B · Corsa C, petrol · Corsa C · Insignia A · Kadett D · Kadett E · Omega A · Omega B · Omega B2 · Vectra A, petrol · Vectra A · Vectra B, petrol · Vectra B · Vectra C · Zafira A, petrol · Frontera A, petrol · Frontera B · Ascona C · Vivaro A ·
We want your visit to be comfortable 🤝! We use cookies 🍪 to make that happen.