
Removing the engine
Raise the engine hood. First, use a scriber to mark the position of the mounting screws and washers. At a later stage, this facilitates a quick and correct installation of the engine hood.
Disconnect the engine compartment lighting plug.
Disconnect ground wire from battery.
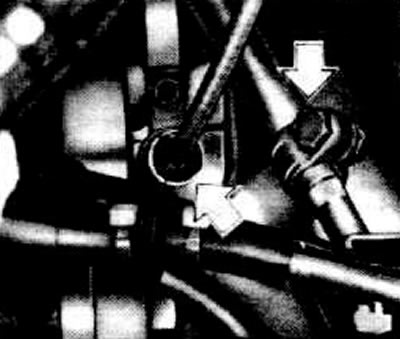
Disconnect male "+" from the battery and disconnect the plug (arrow).
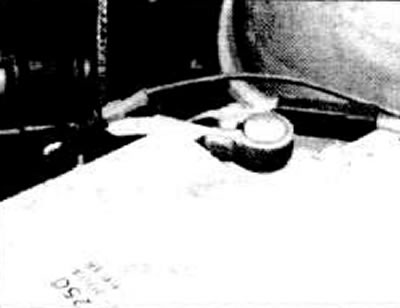
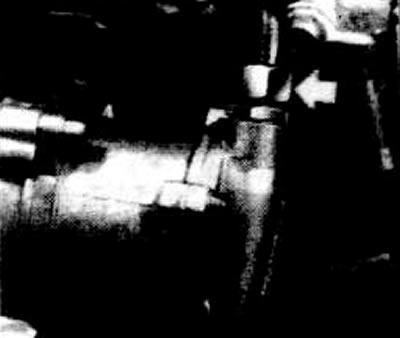
Remove the lock washer between the suction hood and the suction pipe.
Drain the coolant see point 3.2.
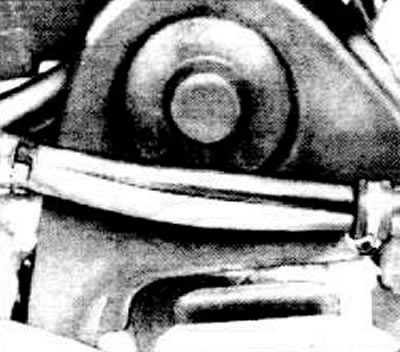
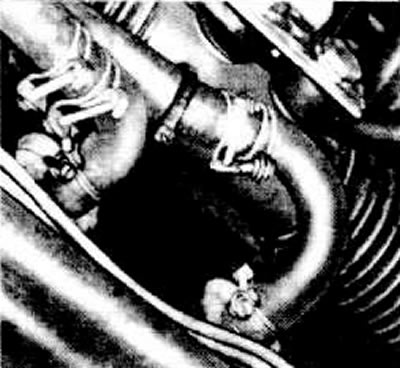
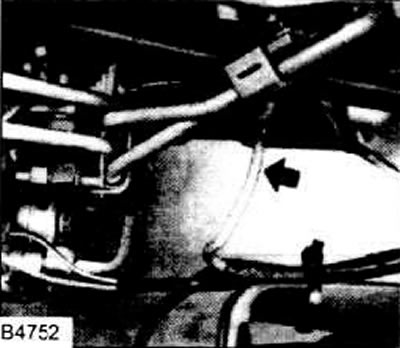
Remove supply hose between thermostat housing/expansion tank from thermostat housing (arrow on the left, Fig. B4755).
Remove the return hose from the expansion tank.

Unscrew the fuel hose (up) from the fuel filter.
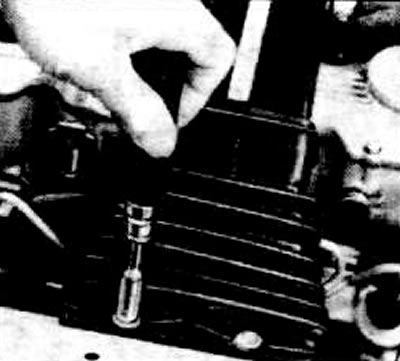
Disconnect hose straps (arrow left) and unscrew the clamps on the top cover of the toothed belt (right arrow).
Disconnect the vacuum hose from the vacuum pump.
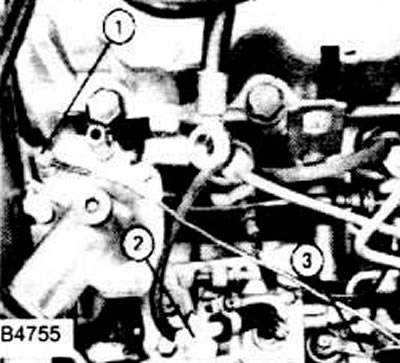
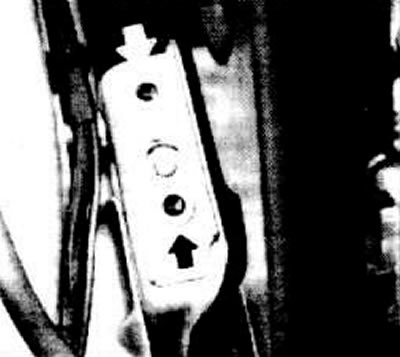
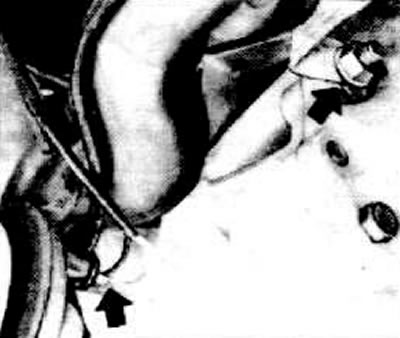
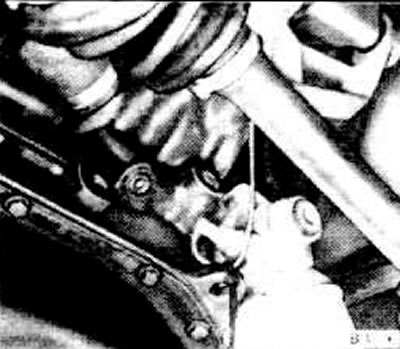
Remove the males of the thermal switch -1-, the magnetic valve -3- and the glow plugs (arrow, Fig. B4752, see below).
Detach fuel return hose from tee -2-.
Remove the male from the hydraulic switch, see fig. B4776 further.
Disconnect the throttle cable (top arrow). To do this, disconnect the return spring, move the throttle lever to the full throttle position, disconnect the throttle cable from the ball joint. Pull the throttle cable up on the support, do not remove the lock washer.
Disconnect the cold start cable (bottom arrow). To do this, release the cable from the locking clips, remove the lock washer from the support and remove the cold start cable.
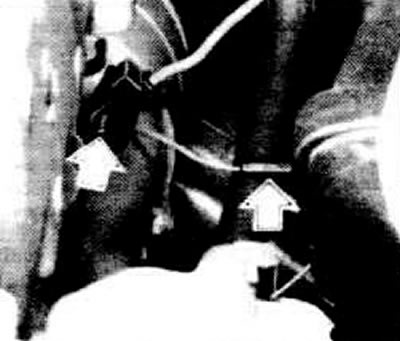
Unscrew the electrical wires from the generator (arrow left) and disconnect the plug connection (right arrow).
Unscrew the speedometer shaft from the gearbox housing.
Disconnect the shift fork rod. To do this, disconnect the fixing clamps.
Disconnect the clutch control cable rod from the clutch release lever. First, remove the fastening clips from the cable pull.
Disconnect the cable from the reverse handicap switch.
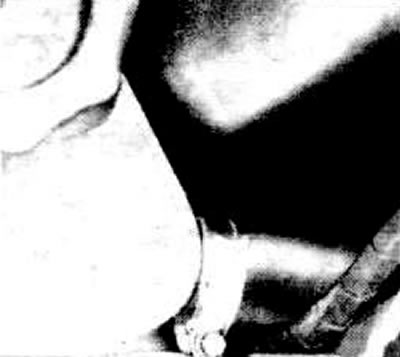
Unscrew the right engine mount (arrow).
Loosen the screws on both front wheels.
Jack up the car.

Unscrew intake pipe from manifold.

Disconnect the flange connection, disconnect the exhaust pipe from the intake pipe and remove.
Remove the heating hoses from the heat exchanger.
Disconnect the ground wire from the gearbox housing (right arrow).
Remove both front wheels.
Disconnect the steering joint from the steering knuckle, remove the drive shaft from the gearbox, see point 12.5.
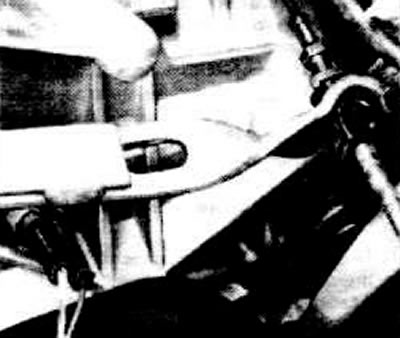
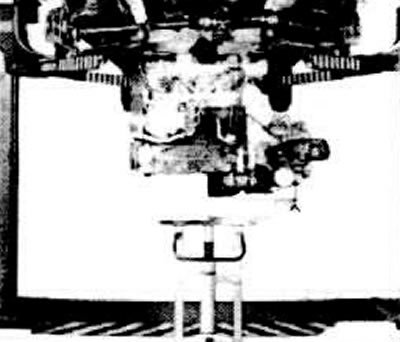
Place the engine removal tool under the engine and gearbox and lift them slightly so that the engine bearings become free. If you do not have such a device, then the engine and gearbox should be slightly lifted on a cable with a crane. Cable placement points are located on the engine (Pic. B4755, arrow on the right) and on the gearbox on the rear left. A sufficiently thick metal strip should be used for the gearbox.
Disconnect the engine mount at the rear, left front and from the torque arm.
Remove the engine together with the gearbox downwards from the engine compartment.
Lower the engine with the gearbox with a crane, while carefully driving them. Lower the engine onto the cart and pull it out. The car must be raised for this, but about 80 cm.
Attention: Never lower the engine down with a garage jack, as such a jack can cause damage to the engine.
Engine installation
The engine is installed in the reverse order.
Evenly and slowly start the engine from below together with the gearbox into the engine compartment.
Lubricate the centering pin of the engine mount at the front right.
Install the front and rear engine mounts without tension. Hangers must not be twisted during installation. Tighten screws to 40 Nm.
Lower the engine and remove the cable.
Install the drive shaft and guide joint.
Screw on the front wheels.
Connect ground wire to gearbox housing.
Install exhaust pipe with new gasket.
Connect the heating hoses to the heat exchanger. Ensure free access to the exhaust pipe.
Connect the cable to the hydraulic switch.
Lower the vehicle and tighten the front wheel bolts to 90 Nm.

Connect the cable to the generator and connect the plug. Make sure the cable (arrow) was well insulated from the generator case.
Connect the clutch control cable rod to the clutch release lever.
Connect the reverse light switch cable.
Screw the speedometer cable to the gearbox housing.
Move the shift fork rod to "neutral position" and secure it with a clamp. Fasten the cold start cable without tension and fix it with clips on the support.
Fasten the throttle cable to the support and install it on the conical joint of the throttle lever. Attach return spring. Attach the fuel hose to the fuel filter.
Put the fuel return hose on the tee and secure with a clamp.
Connect males to temperature sensor, solenoid valve and preheating system (arrow). Tie the cable harness with plastic straps to the fan motor bracket.
Connect the vacuum hose to the vacuum pump.
Fasten the straps and collars on the top cover of the toothed belt.
Connect all coolant hoses and secure with hose clamps.
Fill in coolant see point 3.2.
Connect the cables to the battery, connect the plug.
Install the lock washer for the air filter.
Install the engine hood. Orient the hood, for which screw the screws along the previously made marks. Connect plug.
Check the oil level in the gearbox.
Check engine oil level.
Start the engine and check the fuel and water hoses for leaks.
After reaching operating temperature, check the coolant level and top up if necessary.
Check idle speed and maximum speed, see point 7.3.
Visitor comments