
Removal and installation
2. Disconnect the wire from the negative battery terminal (see Section 8), if necessary, remove the engine cover (see chapter 2).
3. On Y17DT engines (L) remove the air cleaner (see chapter 4), and on the Z17DTH engine, the intake air duct and intake pipeline.
4. On Y17DT engines (L) /Z17DTH remove the electronic engine control module (ECM) together with the holder (see Chapter 2, Section 10).
5. Disconnect connectors (see resist. illustration) glow plug wiring harness and remove the spark plugs.
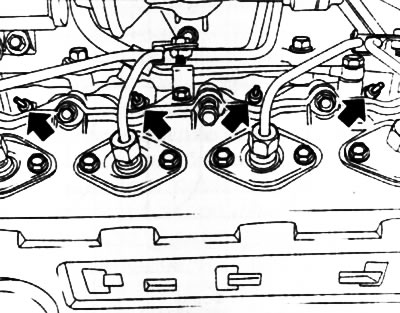
7.5. Connectors (indicated by arrows) glow plug wiring (Y17DT engines (L))
6. Installation is carried out in the reverse order. Tighten the spark plugs to the correct torque (see specs).
Verification
7. After removal, it is necessary first of all to check the candles for mechanical damage - if necessary, replace.
8. Checking the performance of the glow plug can be done by applying a voltage of 12 V to it (see resist. illustration), - a serviceable candle should be red-hot in a timely manner (be careful not to burn yourself):
- A) The power supply must be equipped with a fuse for short circuit protection;
- b) The clamps for applying voltage to the candle must have reliable insulation;
- c) After checking, let the candle cool for a few minutes so as not to burn yourself.
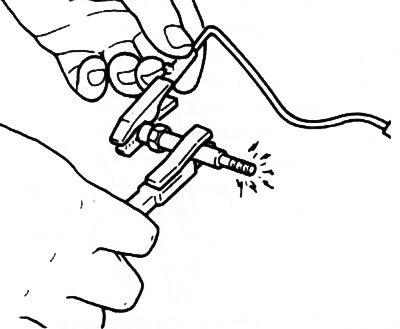
7.8. Checking the glow plug
9. The working element of a serviceable candle should be red-hot no later than after 5 seconds. If it takes noticeably longer to warm up the candle, or if the tip only glows in the middle, the candle must be replaced.
10. For a more thorough check of candles, special equipment is used, which is available at almost any service station.
Visitor comments