
Note: If an air filter is installed "round type", follow the procedure described in Section 4A.
Removing
1. Detach the coolant expansion tank hose from the air filter cap, and move it to the side.
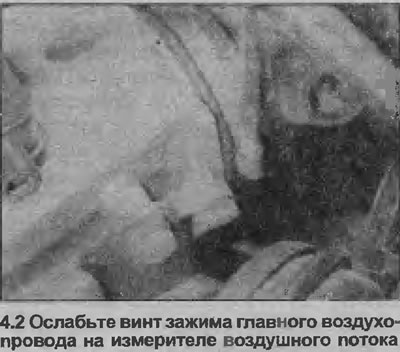
2. Loosen the clamp screw and disconnect the main air line from the airflow meter (see illustration).
3. Disconnect the negative cable from the battery, then disconnect the electrical wiring from the airflow meter.
4. Unfasten the two fixing brackets on the left side of the air filter cover, unscrew the two fixing screws on the right side, then remove the cover.
5. Raise the filter element.
6. Loosen heated hoses, fixing nuts.
7. Remove the nuts securing the two block rubber struts that are attached to the bottom half of the air filter housing.
8. Some models are equipped with a resonant air intake box to reduce noise. This box is located under the wheel arch, and connects to a pipe on the air intake pipe.
9. The resonance box must be removed before removing the intake air pipe. To do this, first tighten the handbrake, then jack up the front of the car and install it on axle stands, placed under the sidewalls of the body frame.
10. Unscrew the mounting screws, remove the lower mudguard from under the wing to get to the resonant box.
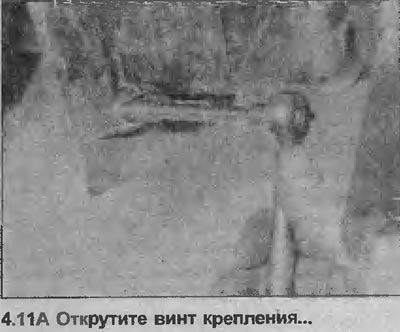
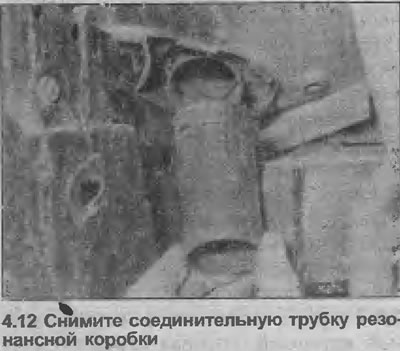
11. Loosen the fastening screw, disconnect the resonance box from the connecting pipe (see illustrations).

12. If required, you can remove the intake air pipe by first removing the connecting pipes from under the wing (see illustration).
13. Manipulating the intake air pipe, release the alignment pins from the front body panel. This is a very difficult action and requires patience. For better access, you can remove the headlight as described in Section 12.
Installation
14. Installation of all components is carried out in the reverse order. Remember that the air filter element is installed with the rubber band on the flange facing up.
Visitor comments