


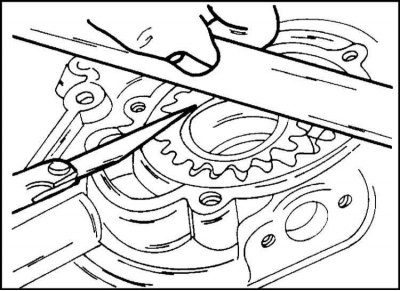
1. To measure the axial clearance in the pump, place a steel ruler on the pump body and measure the clearance with a feeler gauge as shown in the illustration. The gap should be 0.10–0.20 mm. If it is outside the specified limits, replace the pump cover.
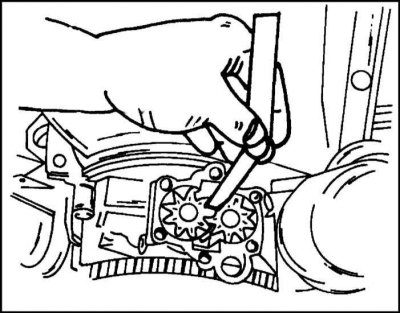
2. The side clearance in the pump engagement is measured in a different way. Insert the dipstick as shown in the illustration. between gears. If the gap is greater than 0.01–0.20 mm, the pump must be replaced.
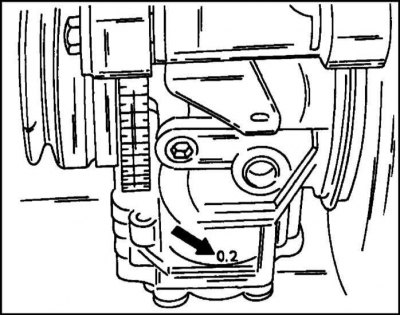
3. In the case of using pump shafts of repair size, a distribution mechanism drive housing is sometimes installed, in which the gears or shafts are bored to an increased repair size. This is important when replacing gears/shafts. For this reason, it is necessary to check whether there is a 0.2 marking in the place shown in the illustration. The marking indicates an increased repair size.
4. Before installation, the pump cover is lubricated with sealant. Tighten the bolts evenly around the circumference. Before installing the pump, unscrew the plug and fill the pump with oil to prevent it from running dry during the first start-up. After this, screw the plug back in.
Oil pump seal
1. If leaks are visible from the front of the engine, then in most cases they are the result of a leak in the crankshaft seals. The seal can be replaced without removing the engine, as described above. For the 2.0L engine and the DOHC engine, the oil seal is located in the oil pump housing; for the 2.4L engine, it is located in the timing case cover.
To remove the seal, punch a small hole in it with a sharp mandrel and screw a self-tapping screw into it (or two screws lying opposite each other) and pull out the seal with pliers.
Lubricate the working edge and the outer surface of the new seal and press it into the pump body using a pipe resting on the outer contour.
Visitor comments