
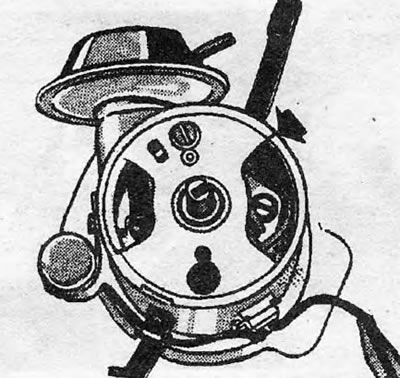
Pic. 4.1. Mark for installing the rotor on the rim of the distributor housing
2. Remove the distributor cover.
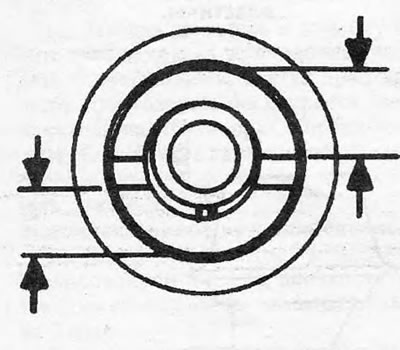
Pic. 4.2. Offset slots on camshaft
3. If you are going to disconnect the wires from the cover, they should be marked or numbered so as not to be confused during installation.
4. Remove the spark plugs and check that the gearbox is in neutral (this is necessary so that the engine can be cranked manually).
5. Turn the crankshaft using a wrench placed on the bolt of its pulley, so that piston No. 1 begins to rise on the compression stroke. Continue turning the shaft until the mark on the pulley aligns with the pointer on the camshaft belt cover (see photo). The cutout in the upper part of the distributor shaft should align with the mark on the rim of its body.
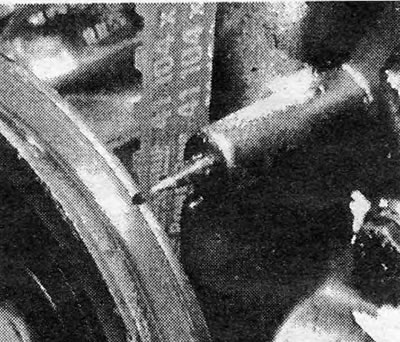
Photo 6.5. Marker for ignition control.
6. When removing the distributor, make sure that the engine does not move from this position, because this will greatly facilitate the subsequent installation of the distributor.
7. Disconnect the low voltage wire from the coil.
8. Disconnect the vacuum tube from the distributor.
9. Unscrew the nuts and remove the clamping plate of the distributor. Remove the distributor from the engine (see photo).
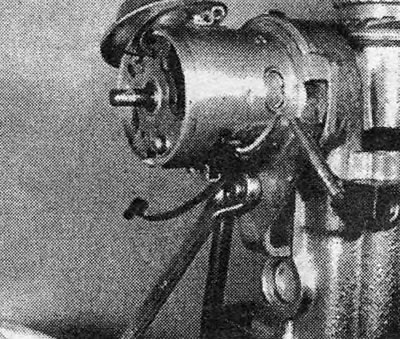
Photo 6.9. Removing the distributor clamping plate nuts.
10. Installation of the distributor is carried out in the reverse order. Check that the engine has not moved from the position in which it was installed before removing the distributor. If for some reason this happens, install the engine again in the position indicated in paragraph 5.
11. Install a new sealing ring on the distributor flange and align the cutout in the distributor shaft with the mark on the rim of its body. Check that the distributor pawl is correctly positioned relative to the slots in the camshaft, and install the distributor in place (see photos).
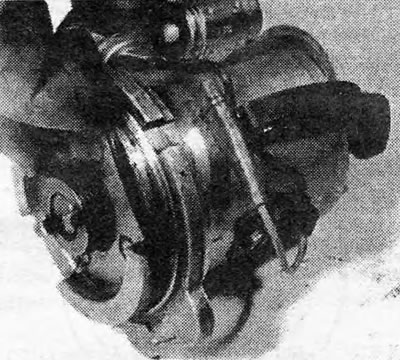
Photo 6.11A. Installing the O-ring.
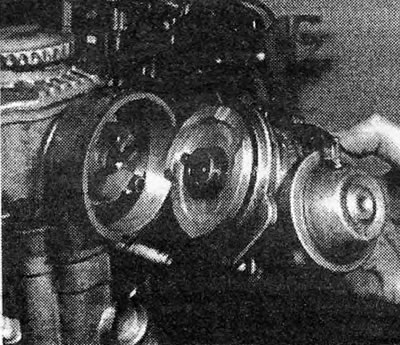
Photo 6.11B. Distributor installation.
12. Rotate the distributor to again align the cutout on its shaft with the mark on the rim of the housing.
13. Screw into place and tighten the clamping bolt of the distributor.
14. Connect the low voltage wire to the coil and the vacuum tube to the vacuum block. Replace the cover, connect the wires, plugs and negative battery cable.
15. Check ignition timing using a strobe lamp (see section 8).
Visitor comments