
Examination
1. Jack up the vehicle and place it on jack stands.
2. Unscrew wheel bolts and remove a wheel.
3. Make sure the brake disc mounting bolt is tight and rotate the brake disc to inspect it for grooves and damage. Shallow grooves are perfectly acceptable, but if serious grooves are found, remove the disc and replace it, or grind it if the thickness of the disc allows.
4. Make sure that the disc runout at approximately 10.0 mm from its edge does not exceed the limit (see illustration).
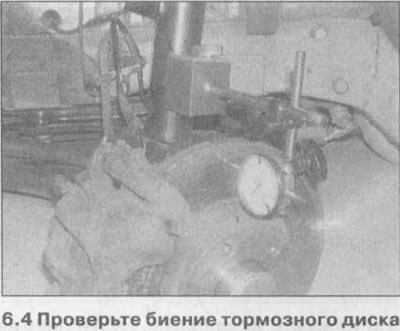
If the disc runout is out of range, remove the disc and check that the contact surfaces of the disc and hub are clean.
5. Install the disc and recheck it for runout.
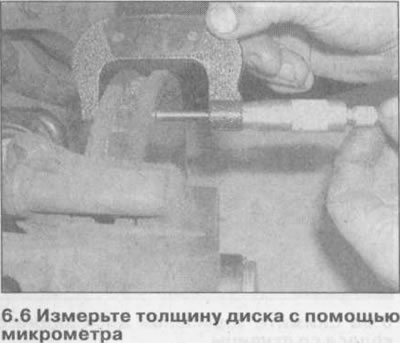
6. Check the thickness of the disc with a micrometer at several points where the brake pads fit, (see illustration). If one of the discs is worn to the minimum allowable thickness, then replace both discs.
Removing
7. Remove the mounting bolts and remove the brake pad guide from the steering knuckle. The brake pads do not need to be removed in this case. There is no need to disconnect the brake hose from the caliper. Fasten the detached brake shoe guide together with the caliper with wire to the body.
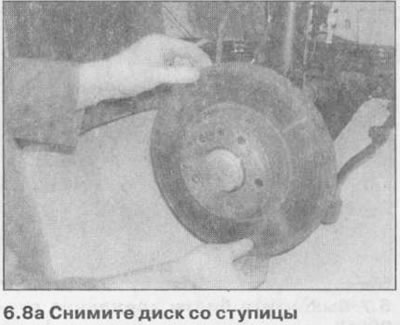
8. Unscrew the bolt securing the brake disc to the hub, and then remove the disc from the hub, tilting it as needed (see illustrations 6.8 and 6.8a).

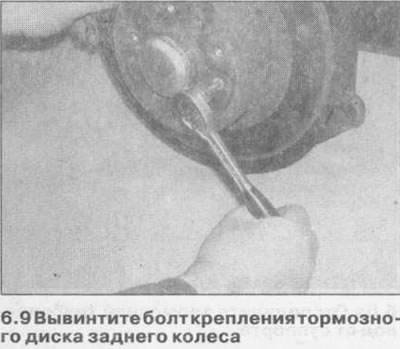
9. Move the expansion mechanism bar through the inspection hole in the disc brake drum so that the parking brake pads move away from the walls of the drum, and remove the rear wheel brake disc by unscrewing the mounting bolt (see illustrations 6.9 and 6.9a).

Installation of a brake disk is carried out in sequence, return to removal.
Visitor comments